Overview
As mentioned in the previous section, starting from this article we do not need to take care of the other hardware. All we do will revolve around the “status” that we defined from previous articles. hey, I will write a little Android app to connect to Firebase.
Oke.Let’s GO!
Prepare
- Knowledge of Android programming
- Android Studio IDE
Program
- Firstly, you need to connect your app to Firebase. You can refer here
- The data structure we use
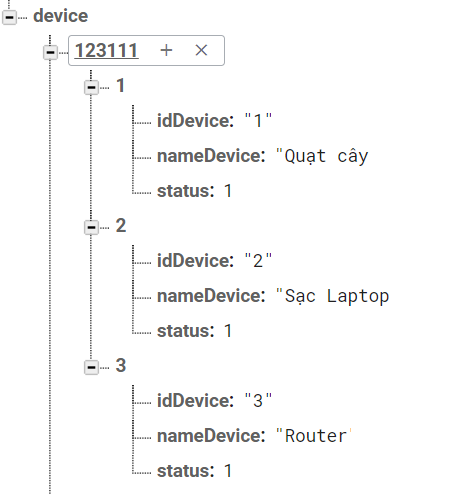
You can see, this is how I use it in general, I use lots of devices
- Modal construction, corresponding to the above structure. This is the definition of my class
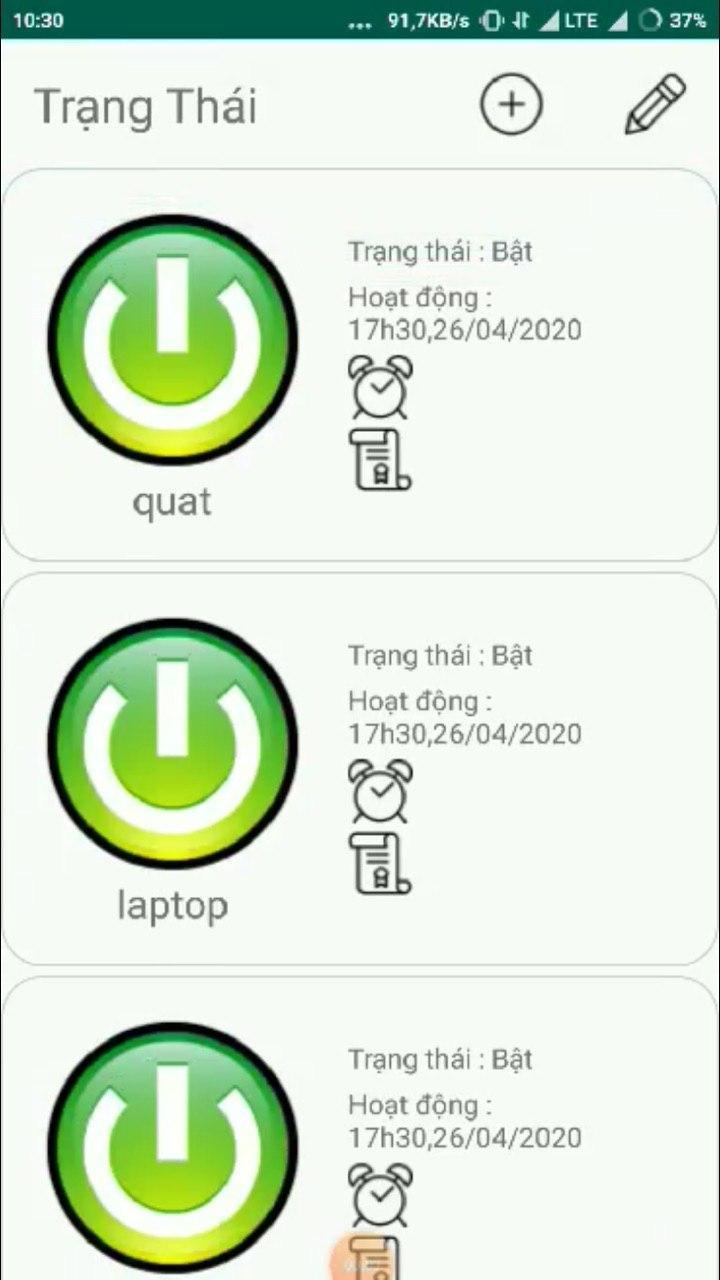
- Create item for each button
 Here I use Recyclerview to display List format like this.
 - Logical processing
 Here I use Recyclerview to display List format like this.
Explain
- When we press the button on the image, it will change the status of the status attribute from 0> 1 and vice versa
- Update the status value of the previous Device on Firebase.
- ESP8266 will then receive the change value and decide “on”, “off”
Summary
So I have instructed you the easiest way, to be able to control the device via the Android app. In the next sections I will guide you to control using Siri or Google Assitant, .. You guys follow up!