The article comes with its Youtube Video . I hope you Subcribe and Share to help me be more motivated
His original blog (English): https://www.trendfx-dojo.com/tech/kubernetes/setup-azure-aks-kubernetes/
Today, I will continue to guide the installation of a Kubernetes Cluster on Microsoft Azure – Azure Kubernetes Service ( AKS ). Then, I will deploy Sample Application on the AKS cluster.
The commands I use in this video are run in the Vagrant Ubuntu 18 virtual machine environment. However, you can completely refer to the installation on environments other than Macbook and Windows.
Okay so let’s get started !!!
1. Install Azure CLI
The first step, is to install Azure CLI (CLI – Command Line Interface).
Link guide: https://docs.microsoft.com/en-us/cli/azure/install-azure-cli .
Because I installed in Vagrant Ubuntu virtual machine, I will choose “Install – Linux with apt” .
Microsoft provides a script to automatically install Azure CLI with just one command.
1 2 | curl -sL https://aka.ms/InstallAzureCLIDeb | sudo bash |
After the installation is complete, to test you can use the command:
1 2 | az version |
2. Configure Azure CLI
Before configuring Azure CLI , you will need to sign up for a Microsoft Azure account.
During the registration process, you will need to enter credit or debit card information.
You will get $ 150 Free to learn about Microsoft Azure within 1 month.
Ok, To configure Azure CLI with the account you just created. You will run the command:
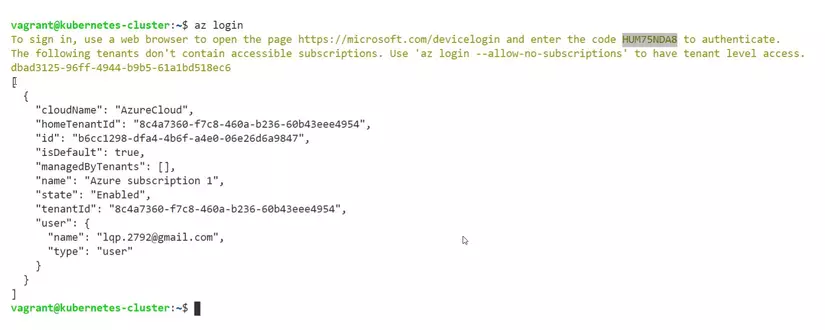
1 2 | az login |

The terminal will display a text containing a URL and a piece of code . In which the URL will be: https://microsoft.com/devicelogin
After opening the URL, the browser will ask you to enter a code (you just need to copy and paste)
You will use the account you just created to login. After successfully logging in, you can close your browser.
Terminal will display some information like this, meaning you have successfully configured.
3. Create AKS Cluster
To create an AKS Cluster , we will first have to create an Azure Resource Group .
Resource Group is used to deploy and manage resources on Azure.
To create a Resource Group, you use the command:
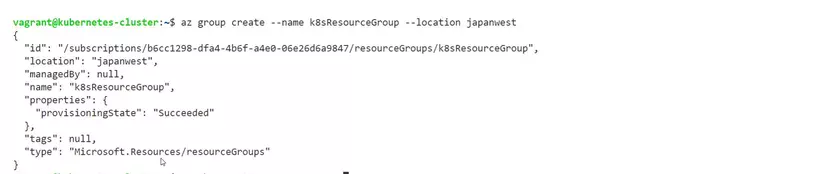
1 2 | az group create --name k8sResourceGroup --location japanwest |
Location is the location where the Resource Group’s metadata is stored. Since I’m in Japan, the location I’ll take is japanwest .
I will create a Resource Group named k8sResourceGroup .
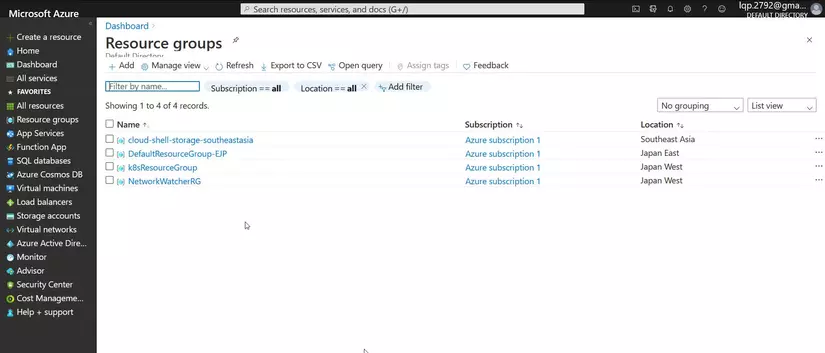
You can open the management interface of Azure to check the Resource Group you just created.
Next, they will create AKS Cluster with the command:
1 2 | az aks create --resource-group k8sResourceGroup --name k8sCluster --node-count 3 --generate-ssh-keys |
–node-count : 3 (Number of instances running in the cluster)
We need to wait 3-5 minutes for the command to finish running.
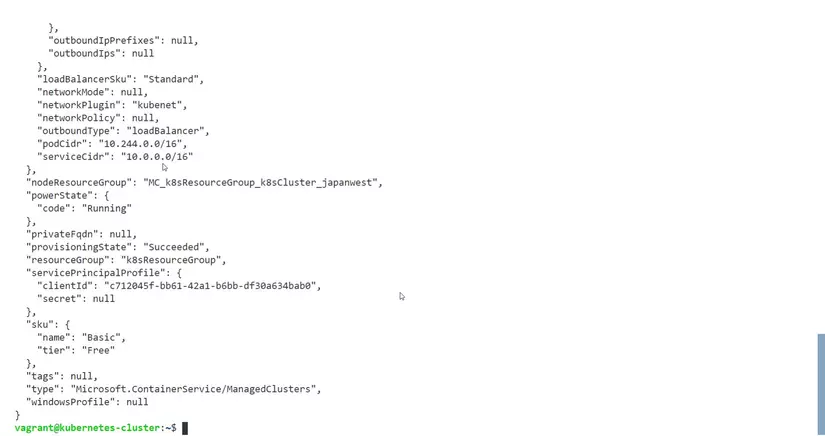
Once successful, terminal will display the cluster’s information in JSON format.
Finally, to operate with Kubernetes Cluster we will install kubectl with the command:
1 2 | sudo az aks install-cli |
Note : this command requires sudo privileges
To configure kubectl with the AKS Cluster, we will run the command:
1 2 | az aks get-credentials |
(You see youtube to know how to check on the interface of Azure)
After configure to plus, To test, we will use the command:
1 2 | kubectl get nodes |
The terminal displayed like this is successful.
We can take the next step.
4. Deploy Sample Application: azure-voting-app-redis
Next, I will deploy a sample application called azure-voting-app-redis . (This is the application used in the Azure Kubernetes Service tutorial).
Github: https://github.com/Azure-Samples/azure-voting-app-redis
Before deploying to Kubernetes Cluster , we have to run a test in the development environment to see how the application works.
First, we will clone repository:
1 2 | git clone https://github.com/Azure-Samples/azure-voting-app-redis.git |
Before deploying to Kubernetes Cluster, I will use Docker-compose to test the application first. A docker-compose of azure-voting-app will have 2 services, namely azure-vote-back and azure-vote-front .
To run this docker-compose file, I will use the command:
1 2 | docker-compose up -d |
After running, docker will download the docker image to your computer, depending on the speed of the network, the download process will last 3-5 minutes.

In the azure-vote-front part, the setup ports are 8080: 80 . This means to access azure-vote-front running on port 80, I will have to use port 8080 on Vagrant virtual machine.
My Vagrant virtual machine has IP: 192.168.33.10 So I will visit: 192.168.33.10:8080 Ok So this is the interface of azure-voting-app

Next I will check that Docker images are available on my Vagrant virtual machine. We will have an image: mcr.microsoft.com/azuredocs/azure-vote-front .
After checking in the development environment there are no problems. I will turn off docker-compose with the command:
1 2 | docker-compose down |
To deploy azure-voting-app to the AKS cluster, we will create an Azure Container Registry (you can also use Docker Hub) We run the following command:
1 2 | az acr create --resource-group k8sResourceGroup --name phulek8s --sku Basic |
Azure Container Registry has 3 tiers: Basic, Standard and Premium. Basic is the cheapest tier suitable for use with small scale production and development.
In which there are 2 important information is SKU and LoginServer.
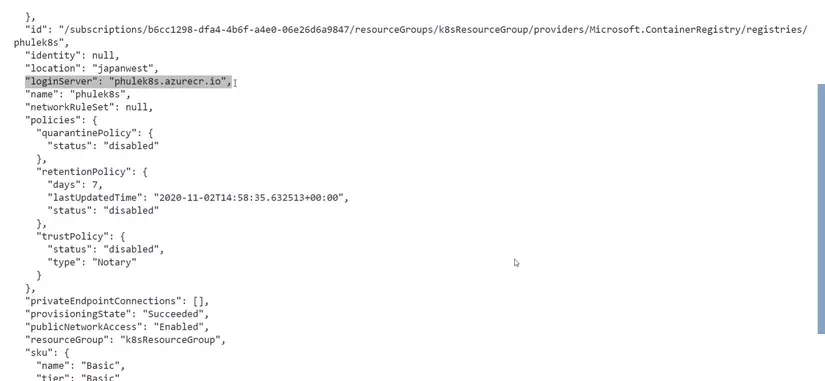
Login Server will be used when you pull or push Docker Image.
You can test on the Azure interface. (Watch Youtube)
To configure the docker with the Azure Container Registry , use the command:
1 2 | az acr login --name phulek8s |
The terminal displaying Login Succeed is ok.
There is one point to note: At the time I created the AKS Cluster in step 3, I did not specify any Azure Container Registry . Therefore, we need to run the following command to configure the AKS Cluster with the Azure Container Registry we just created.
1 2 | az aks update --name k8sCluster --resource-group k8sResourceGroup --attach-acr phulek8s |
After creating and configuring the Azure Container Registry with AKS Cluster . We need to push the docker image to the Azure Container Registry . The first is to create a new tag for the auzre-vote-front docker image using the command:
1 2 | docker tag mcr.microsoft.com/azuredocs/azure-vote-front:v1 phulek8s.azurecr.io/azure-vote-front:v1 |
Then check again by
1 2 | docker images |

Next use
1 2 | docker push phulek8s.azurecr.io/azure-vote-front:v1 |
to push to the Azure Container Registry. In fact, docker push will take about 3-5 minutes.
After successful push, you can on the Azure management interface (Watch Youtube) Alternatively, you can also use Azure CLI to test:
1 2 | az acr repository list --name phulek8s --output table |
After we have pushed azure-vote-front Docker Image to Azure Container Registry , we will deploy to AKS Cluster. In azure-voting-app-redis , we will have a file called: azure-vote-all-in-one-redis.yaml . Here is the manifest file of the Kubernetes (simply the config file to deploy into b).
In today’s tutorial we will modify the Docker Image in azure-vote-front Deployment object definition to the login Server of the Azure Container Registry.
After the change is complete, for deploying we will use kubectl apply :
1 2 | kubectl apply -f azure-vote-all-in-one-redis.yaml |
The terminal will display the 4 Kubernetes Objects created. 2 Deployment and 2 Service.

To test, I will use:
1 2 | kubectl get pods |
After about 1-2 minutes, the Pods will have a Running Status.

To access the Kubernetes Cluster externally, you will need a Service Object of type LoadBalancer . I will check with:
1 2 | kubectl get svc |

You will see a Service named azure-vote-front , copy EXTERNAL-IP and open it in Browser.
So, we have successfully deployed azure-voting-app-redis to AKS Cluster .
5. Clean up Resources
And the final step, is to delete all used Azure Resources to avoid being charged. We will use the command
1 2 | az group delete --name k8sResourceGroup --yes |
You can add the option: –wait to not have to wait.
Once the command has finished running, you can open the Azure management interface and test it. (Watch youtube)
- Resource Group
- Cost Management
End
If you have any questions, feel free to leave a comment.
See you in the next blog post.


