I am an iOS developer, when I make a flutter app, I wonder what widget Flutter will show the date of birth, what widget show the appointment calendar, if I find out, I can use the same DatePicker as a calendar to choose the date, month, year. Maybe Android devs are no stranger to it.
1. Set up DatePicker.
Please add the following code:
1 2 3 4 5 6 7 8 9 10 11 12 13 14 15 16 17 18 19 20 21 22 23 24 25 26 27 28 29 30 31 32 33 34 35 36 37 38 39 40 41 42 43 44 45 46 47 48 49 50 51 52 53 54 55 56 57 58 59 60 61 62 63 64 65 66 67 | import 'package:flutter/material.dart'; class MyHomeApp extends StatelessWidget { @override Widget build(BuildContext context) { return MaterialApp( title: 'Flutter Demo', theme: ThemeData(primarySwatch: Colors.blue, brightness: Brightness.dark), home: DatePickerDemo(), ); } } class DatePickerDemo extends StatefulWidget { @override _DatePickerDemoState createState() => _DatePickerDemoState(); } class _DatePickerDemoState extends State<DatePickerDemo> { /// Which holds the selected date /// Defaults to today's date. DateTime selectedDate = DateTime.now(); _selectDate(BuildContext context) async { final DateTime picked = await showDatePicker( context: context, initialDate: selectedDate, firstDate: DateTime(2000), lastDate: DateTime(2025), ); if (picked != null && picked != selectedDate) setState(() { selectedDate = picked; }); } @override Widget build(BuildContext context) { return Scaffold( body: Center( child: Column( mainAxisSize: MainAxisSize.min, children: <Widget>[ Text( "${selectedDate.toLocal()}".split(' ')[0], style: TextStyle(fontSize: 55, fontWeight: FontWeight.bold), ), SizedBox( height: 20.0, ), RaisedButton( onPressed: () => _selectDate(context), child: Text( 'Select date', style: TextStyle(color: Colors.black, fontWeight: FontWeight.bold), ), color: Colors.greenAccent, ), ], ), ), ); } } |
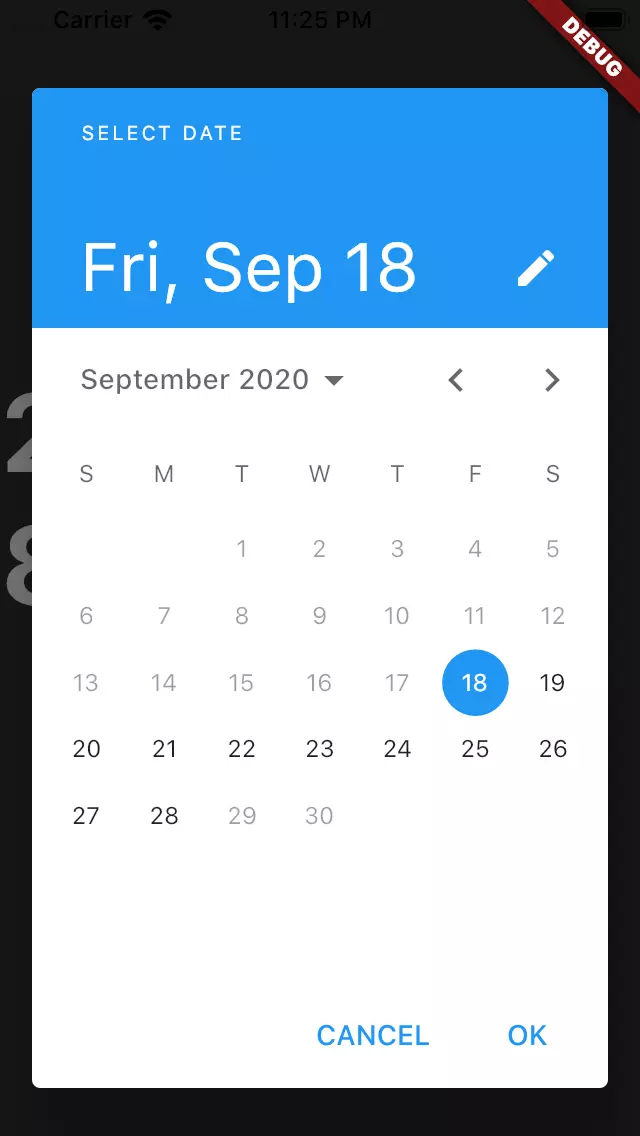
Result:

With just a few lines of code you can implement DatePicker:
1 2 3 4 5 6 7 | showDatePicker( context: context, initialDate: DateTime.now(), firstDate: DateTime(2000), lastDate: DateTime(2025), ) |
To set the DatePicker limit, you set code for two properties: firstDate , lastDate . Above I set the limit until Picker is Min Year Date: 2000, Max Year Date: 2025.
2. Setting dialog box to enter the date.
If you do not like the DatePicker interface like Calendar, you can change it to the date input interface in a dialog box:
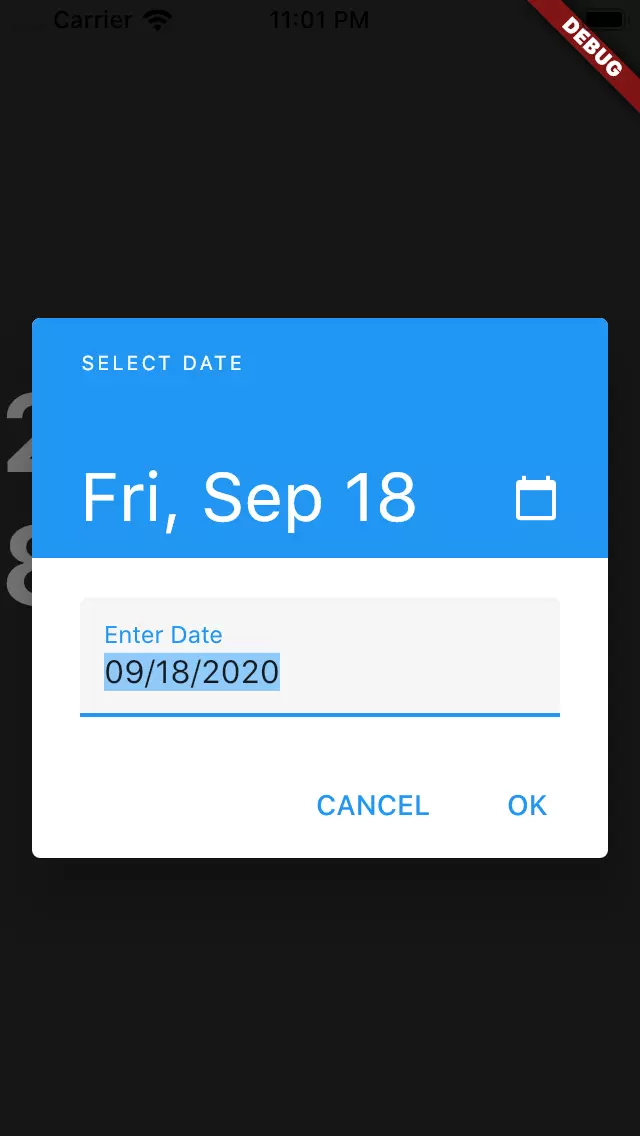
Simply in the showDatePicker function whose initialEntryMode property default value is DatePickerEntryMode.calendar , you change it to DatePickerEntryMode.input . Very simple ^ _ ^.
Now, if you know for certain that the birthday is a certain year and you want to choose the year before then choose the date then in the showDatePicker function add the initialDatePickerMode: DatePickerMode.year property.
3. Setting users are only allowed to enter dates within specific limits.
If you want 1 user to only select a certain number of days in a month, you add the: selectableDayPredicate property . Add the following code:
1 2 3 4 5 6 7 8 9 10 11 12 13 14 15 16 17 | /// This decides which day will be enabled /// This will be called every time while displaying day in calender. bool _decideWhichDayToEnable(DateTime day) { if ((day.isAfter(DateTime.now().subtract(Duration(days: 1))) && day.isBefore(DateTime.now().add(Duration(days: 10))))) { return true; } return false; } showDatePicker( context: context, initialDate: selectedDate, firstDate: DateTime(2000), lastDate: DateTime(2025), selectableDayPredicate: _decideWhichDayToEnable, ) |
Result :
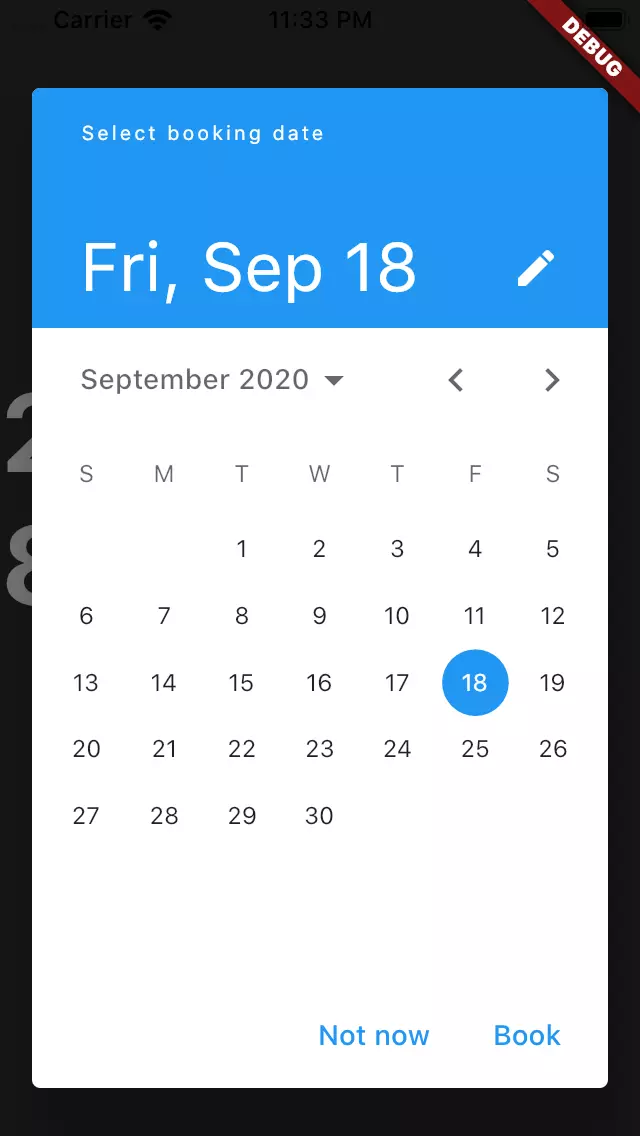
4. Change the DatePicker text.
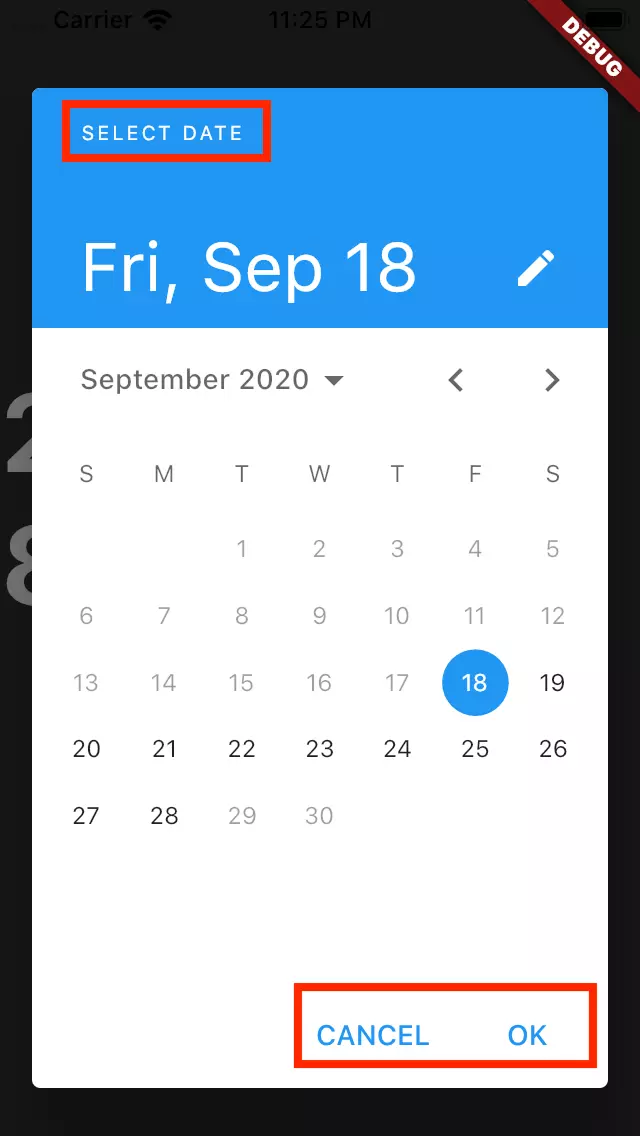
Try adding 3 lines of code into the showDatePicker function:
1 2 3 4 5 6 7 8 9 10 | showDatePicker( context: context, initialDate: selectedDate, firstDate: DateTime(2000), lastDate: DateTime(2025), helpText: 'Select booking date', // Can be used as title cancelText: 'Not now', confirmText: 'Book', ) |
Result :
5. Change the error message.
When the DatePicker is in input mode you can change the error text:
1 2 3 4 5 6 7 8 9 | showDatePicker( context: context, initialDate: selectedDate, firstDate: DateTime(2000), lastDate: DateTime(2025), errorFormatText: 'Enter valid date', errorInvalidText: 'Enter date in valid range', ) |
Result :

Similarly, you can change label and hint text. This paragraph you try it yourself:
1 2 3 4 5 6 7 8 9 | showDatePicker( context: context, initialDate: selectedDate, firstDate: DateTime(2000), lastDate: DateTime(2025), fieldLabelText: 'Booking date', fieldHintText: 'Month/Date/Year', ) |
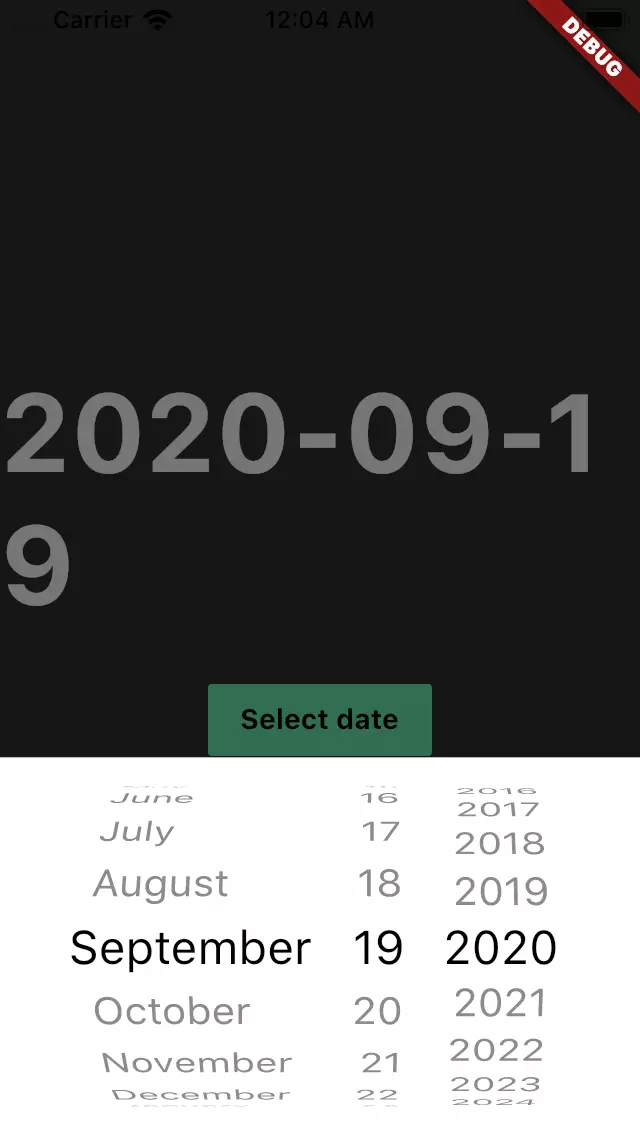
6. How to have the same DatePicker interface as the target Platform?
Currently, I am using Material Design, so how to use Cupertino Datepicker in iOS? You import the following code:
1 2 3 4 5 6 7 8 9 10 11 12 13 14 15 16 17 18 19 20 21 22 23 24 25 26 27 28 29 30 31 32 33 34 35 36 37 38 39 40 41 42 43 44 45 46 47 48 49 50 51 52 53 54 55 56 57 58 59 60 61 | import 'package:flutter/material.dart'; import 'package:flutter/cupertino.dart'; _selectDate(BuildContext context) async { final ThemeData theme = Theme.of(context); assert(theme.platform != null); switch (theme.platform) { case TargetPlatform.android: case TargetPlatform.fuchsia: case TargetPlatform.linux: case TargetPlatform.windows: return buildMaterialDatePicker(context); case TargetPlatform.iOS: case TargetPlatform.macOS: return buildCupertinoDatePicker(context); } } /// This builds material date picker in Android buildMaterialDatePicker(BuildContext context) async { final DateTime picked = await showDatePicker( context: context, initialDate: selectedDate, firstDate: DateTime(2000), lastDate: DateTime(2025), builder: (context, child) { return Theme( data: ThemeData.light(), child: child, ); }, ); if (picked != null && picked != selectedDate) setState(() { selectedDate = picked; }); } /// This builds cupertion date picker in iOS buildCupertinoDatePicker(BuildContext context) { showModalBottomSheet( context: context, builder: (BuildContext builder) { return Container( height: MediaQuery.of(context).copyWith().size.height / 3, color: Colors.white, child: CupertinoDatePicker( mode: CupertinoDatePickerMode.date, onDateTimeChanged: (picked) { if (picked != null && picked != selectedDate) setState(() { selectedDate = picked; }); }, initialDateTime: selectedDate, minimumYear: 2000, maximumYear: 2025, ), ); }); } |
So when running an Android device, the Datepicker will be displayed in the material, while running iOS it will display cupertino’s DatePicker as shown below:
Thank you for watching my post.
References :
https://medium.com/flutter-community/a-deep-dive-into-datepicker-in-flutter-37e84f7d8d6c