Nginx is open source software as a web server. In addition to the features of an HTTP server, Nginx can also act as a proxy server for email (IMAP, POP3 and SMTP) and a load balancer and reverse proxy for hosts. Host HTTP, TCP and UDP.
Nginx was created by Igor Sysoev and first released in 2004. According to W3techs, Nginx is used by many users as a Web server, accounting for 42.1% of the total number of Web servers in the world.
1. Install
Step 1: Install Epel Repo
1 | $ sudo yum install epel-release |
Step 2: Install Nginx
1 | $ sudo yum install nginx |
Step 3: Start Nginx
1 | $ sudo systemctl start nginx |
If you are turning on the Firewall, run the following commands to enable the launch of HTTP and HTTPS protocols
1 | sudo firewall-cmd --permanent --zone=public --add-service=http sudo firewall-cmd --permanent --zone=public --add-service=https sudo firewall-cmd --reload |
Allow to start Nginx service
1 | $ sudo systemctl enable nginx |
Now when you access the domain name or IP address you will see the default index page of Nginx. So our installation steps are complete 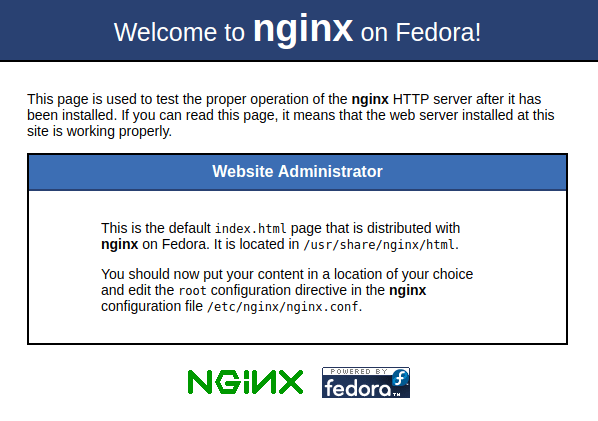
2. The basic command line for Nginx operation
Start Nginx
1 | $ sudo systemctl start nginx |
Turn off Nginx
1 | $ sudo systemctl stop nginx |
Restart Nginx
1 | $ sudo systemctl restart nginx |
Check Nginx status
1 | $ sudo systemctl status nginx |
Check Nginx config file
1 | $ sudo nginx -t |
3. Basic configuration form for Nginx
Nginx's default configuration template
First we move to the configuration directory of Nginx on CentOS
1 | $ cd /etc/nginx |
Let's see the default config file of Nginx
1 | $ cat nginx.conf.default |
1 | ........................................ include /etc/nginx/conf.d/*.conf; server { listen 80 default_server; listen [::]:80 default_server; server_name _; root /usr/share/nginx/html; # Load configuration files for the default server block. #include /etc/nginx/default.d/*.conf; location / { } error_page 404 /404.html; location = /40x.html { } error_page 500 502 503 504 /50x.html; location = /50x.html { } ........................................ |
include /etc/nginx/conf.d/*.conf; : call the .conf files that contain our own configuration commands
listen : the network port we need to use
server_name : our domain name
If you are configuring locally, add domain local at the hosts file in the directory etc
Move to the directory etc
1 | $ cd /etc/ |
Edit hosts file
1 | $ sudo nano hosts |
Add our local domain
1 | 127.0.0.1 duongtiendat.com ::1 duongtiendat.com 127.0.0.1 cv.duongtiendat.com ::1 cv.duongtiendat.com |
root : address of the project directory that we want to call, by default, we will call the index.html file in that directory, if we want to show the file we specify then we need to declare the file name under the sentence root command
1 | root /var/www/html/duongtiendat/; index index.php; |
4. Configure Subdomain on Nginx
In this section, I will configure the domain and subdomain as:
Step 1: Prepare the project
First, I will prepare 2 project folders to use for the domain, subdomain at /var/www/html/duongtiendat/ and /var/www/html/my_resume/
If you do not already have a project, you can create 2 basic index.html files for testing
Step 2: Configure the domain
We move to the /etc/nginx/conf.d/ directory, which will contain our config files
I will create a domain config file called duongtiendat.com.conf
Note: The config files must always be in
.confformat
 Note: The config files must always be in
 1 | $ sudo touch duongtiendat.com.conf |
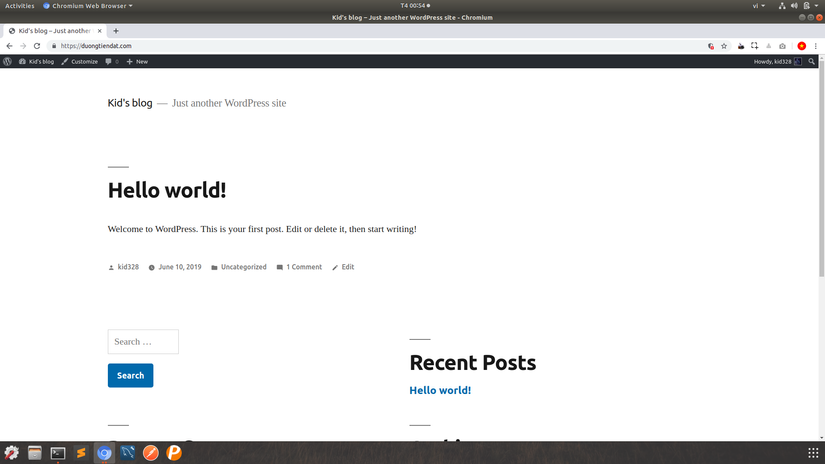
The file config will have the following content (This file I configured for the WordPress project should have a few more options):
1 | server { ## Your website name goes here. server_name duongtiendat.com www.duongtiendat.com; ## Your only path reference. root /var/www/html/duongtiendat/; ## This should be in your http block and if it is, it's not needed here. index index.php; location = /favicon.ico { log_not_found off; access_log off; } location = /robots.txt { allow all; log_not_found off; access_log off; } location / { # This is cool because no php is touched for static content. # include the "?$args" part so non-default permalinks doesn't break when using query string try_files $uri $uri/ /index.php?$args; } location ~ .php$ { #NOTE: You should have "cgi.fix_pathinfo = 0;" in php.ini include fastcgi.conf; fastcgi_intercept_errors on; fastcgi_pass 127.0.0.1:9000; } location ~* .(js|css|png|jpg|jpeg|gif|ico)$ { expires max; log_not_found off; } } |
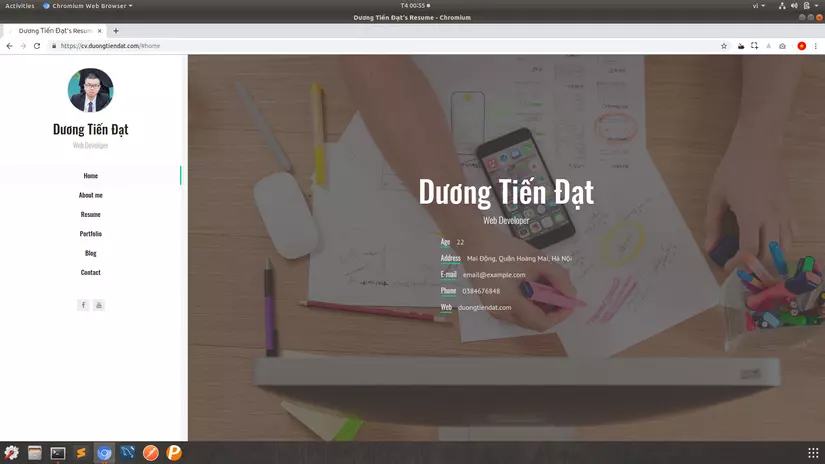
Step 3: Configure Subdomain
We create subdomain config file named cv.duongtiendat.com.conf
1 | server { listen 80; server_name cv.duongtiendat.com; location / { root /var/www/html/my_resume; index index.php index.html index.htm; } error_page 500 502 503 504 /50x.html; location = /50x.html { root html; } } |
Step 4: Complete config
To check if the last config file has errors, we use the command
1 | $ sudo nginx -t |
If the command returns as below, then we have succeeded
1 | nginx: the configuration file /etc/nginx/nginx.conf syntax is ok nginx: configuration file /etc/nginx/nginx.conf test is successful |
And now we restart nginx to update the latest customizations
1 | $ sudo systemctl restart nginx |
So we have finished config, now let's access the domain and subdomain to see the results