With the release of iOS 12, Apple allowed developers to create custom purposes that could be used with Siri. This new feature gives developers the ability to create custom actions within apps that can be activated with Siri without opening the app. Today in this tutorial, you will learn how to use a simple shortcut key to perform an action when called with Siri.
Start!
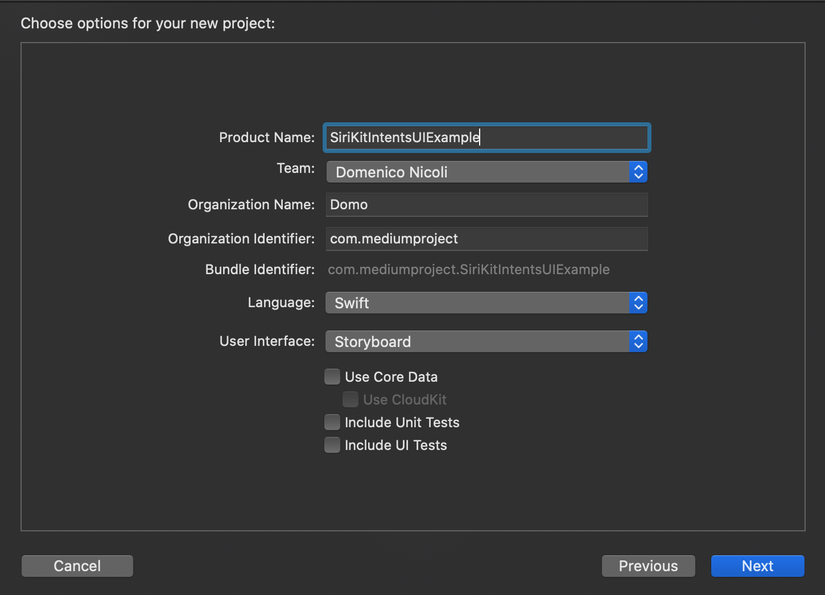
First, open Xcode and create a new project. Select Single View Application
Go to Target Settings, Signing & Capabilities and add Siri.

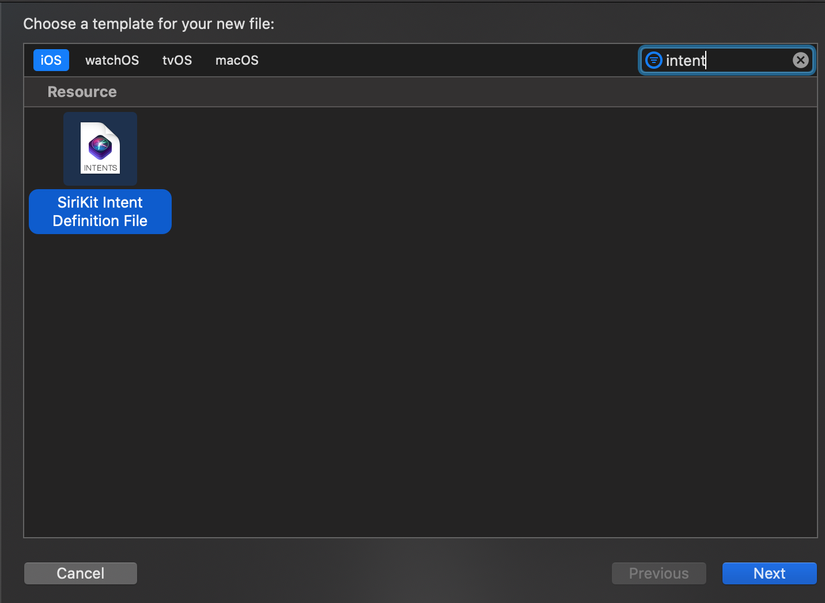
Now, right-click on the project folder and click on New File. Then search for the intent keyword and click next to create SiriKit Intent Definition File, which we will use in the next steps.
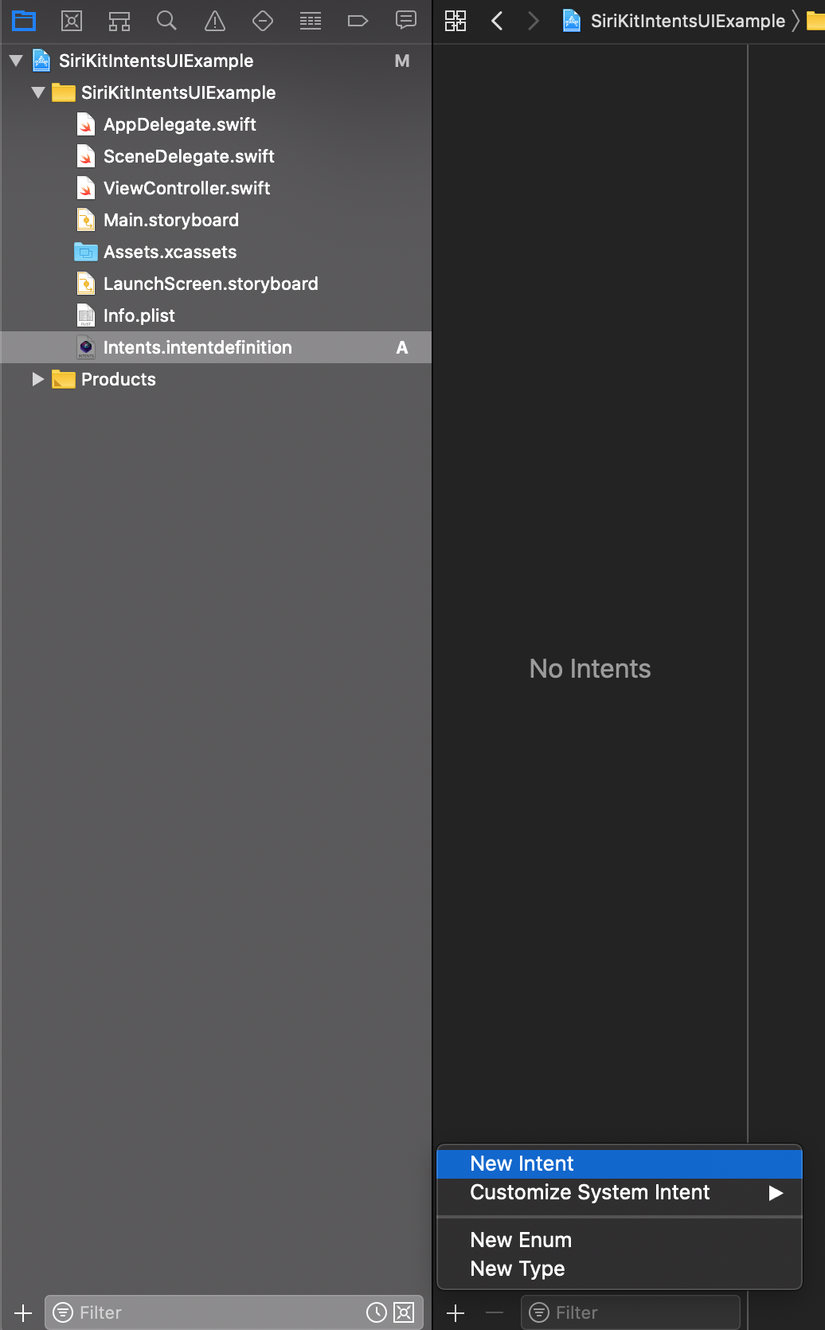
We start creating a new intent. Select File intents, click + at the bottom of the screen and then select New Intent.
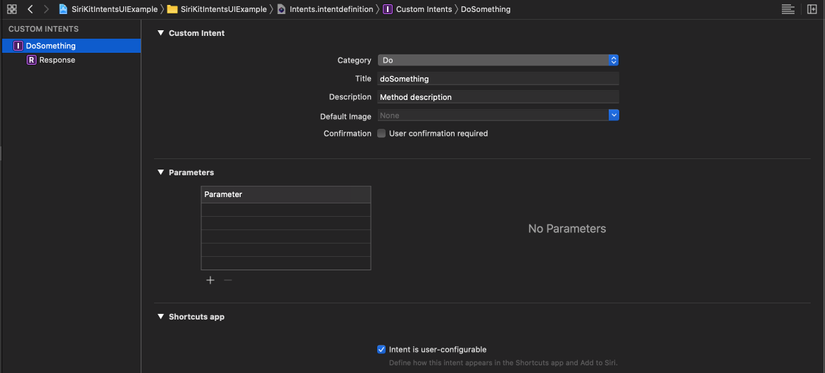
Now reset the Title and Description for the intent and save.
Open ViewController and add the following code:
1 2 3 4 5 6 7 8 9 10 11 12 13 14 15 16 17 18 19 20 21 22 23 24 25 26 27 28 29 30 31 32 33 34 35 36 37 38 39 40 41 42 43 44 45 46 47 48 49 50 51 52 53 54 55 56 57 58 59 60 61 62 63 64 65 66 67 68 69 70 71 72 73 74 75 76 77 78 79 80 81 82 83 84 85 86 87 88 89 90 | import UIKit import IntentsUI class ViewController: UIViewController { override func viewDidLoad() { super.viewDidLoad() // Do any additional setup after loading the view. addSiriButton(to: self.view) } func addSiriButton(to view: UIView) { if #available(iOS 12.0, *) { let button = INUIAddVoiceShortcutButton(style: .whiteOutline) button.shortcut = INShortcut(intent: intent ) button.delegate = self button.translatesAutoresizingMaskIntoConstraints = false view.addSubview(button) view.centerXAnchor.constraint(equalTo: button.centerXAnchor).isActive = true view.centerYAnchor.constraint(equalTo: button.centerYAnchor).isActive = true } } func showMessage() { let alert = UIAlertController(title: "Done!", message: "This is your first shortcut action!", preferredStyle: UIAlertController.Style.alert) alert.addAction(UIAlertAction(title: "OK", style: .default, handler: nil)) self.present(alert, animated: true, completion: nil) } } extension ViewController { @available(iOS 12.0, *) public var intent: DoSomethingIntent { let testIntent = DoSomethingIntent() testIntent.suggestedInvocationPhrase = "Test command" return testIntent } } extension ViewController: INUIAddVoiceShortcutButtonDelegate { @available(iOS 12.0, *) func present(_ addVoiceShortcutViewController: INUIAddVoiceShortcutViewController, for addVoiceShortcutButton: INUIAddVoiceShortcutButton) { addVoiceShortcutViewController.delegate = self addVoiceShortcutViewController.modalPresentationStyle = .formSheet present(addVoiceShortcutViewController, animated: true, completion: nil) } @available(iOS 12.0, *) func present(_ editVoiceShortcutViewController: INUIEditVoiceShortcutViewController, for addVoiceShortcutButton: INUIAddVoiceShortcutButton) { editVoiceShortcutViewController.delegate = self editVoiceShortcutViewController.modalPresentationStyle = .formSheet present(editVoiceShortcutViewController, animated: true, completion: nil) } } extension ViewController: INUIAddVoiceShortcutViewControllerDelegate { @available(iOS 12.0, *) func addVoiceShortcutViewController(_ controller: INUIAddVoiceShortcutViewController, didFinishWith voiceShortcut: INVoiceShortcut?, error: Error?) { controller.dismiss(animated: true, completion: nil) } @available(iOS 12.0, *) func addVoiceShortcutViewControllerDidCancel(_ controller: INUIAddVoiceShortcutViewController) { controller.dismiss(animated: true, completion: nil) } } extension ViewController: INUIEditVoiceShortcutViewControllerDelegate { @available(iOS 12.0, *) func editVoiceShortcutViewController(_ controller: INUIEditVoiceShortcutViewController, didUpdate voiceShortcut: INVoiceShortcut?, error: Error?) { controller.dismiss(animated: true, completion: nil) } @available(iOS 12.0, *) func editVoiceShortcutViewController(_ controller: INUIEditVoiceShortcutViewController, didDeleteVoiceShortcutWithIdentifier deletedVoiceShortcutIdentifier: UUID) { controller.dismiss(animated: true, completion: nil) } @available(iOS 12.0, *) func editVoiceShortcutViewControllerDidCancel(_ controller: INUIEditVoiceShortcutViewController) { controller.dismiss(animated: true, completion: nil) } } |
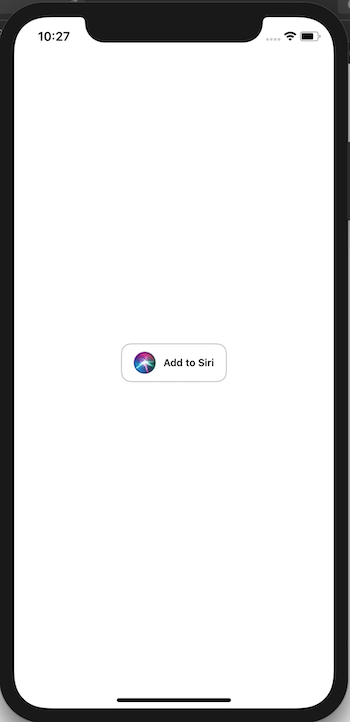
Now, if you run the application, you should have a blank screen with a button in the middle to add the shortcut you just created for Siri. You can press the button and use the default text or put a new button to activate the shortcut. Now if you activate Siri and speak the selected command, your application will automatically open!
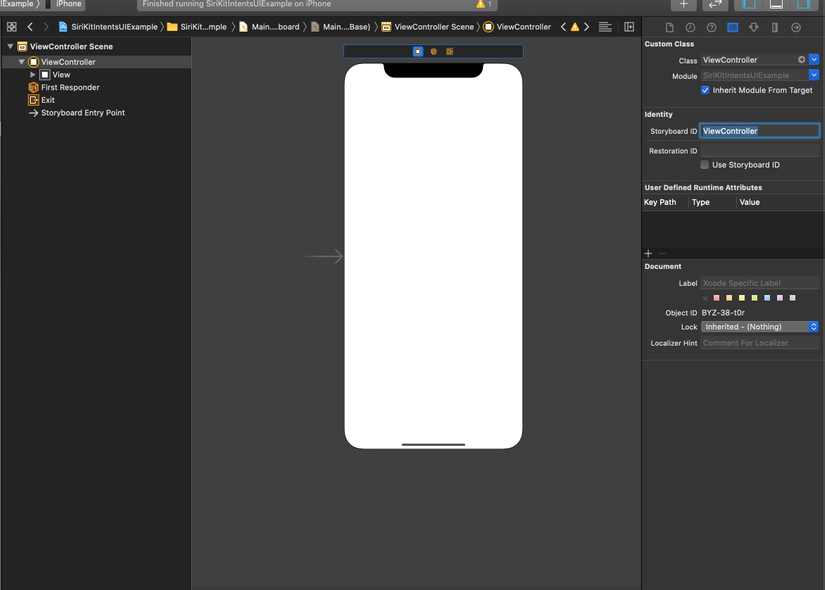
Now your app will open when you speak commands to Siri, but what do you have to do to associate this phrase with a specific action in your application? First, go to Main.storyboard and set ViewController for the StoryboardID property.
Now on SceneDelegate.swift (on iOS 13) or on AppDelegate.swift (before iOS 13), copy the following code (this is the version for SceneDelegate, but on AppDelegate, the method to add the same):
1 2 3 4 5 6 7 8 9 10 11 12 13 14 | func scene(_ scene: UIScene, continue userActivity: NSUserActivity) { if let _ = userActivity.interaction?.intent as? DoSomethingIntent { if let windowScene = scene as? UIWindowScene { self.window = UIWindow(windowScene: windowScene) let storyboard = UIStoryboard(name: "Main", bundle: nil) let initialViewController = storyboard.instantiateViewController(withIdentifier: "ViewController") as! ViewController self.window!.rootViewController = initialViewController self.window!.makeKeyAndVisible() initialViewController.showMessage() } } } |
Check it out
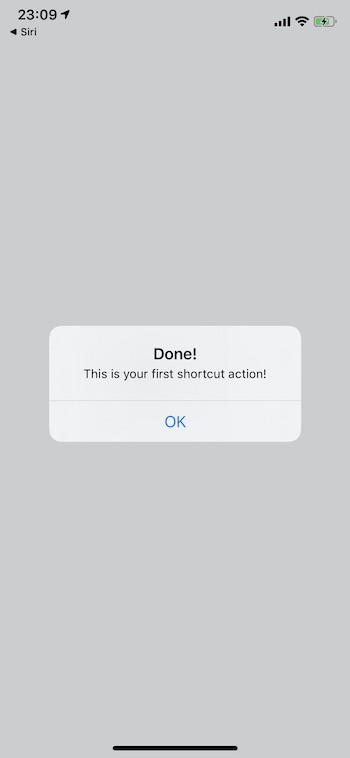
Finally, you are ready to test your application! Let Siri know your command and this will be the result:
The article is referenced here .