Question
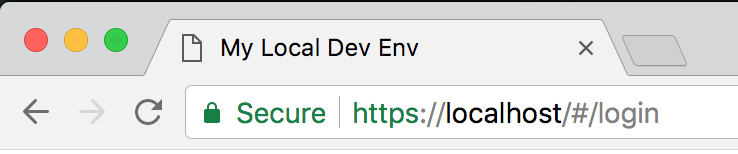
Currently, almost any website you visit is protected by HTTPS. Protecting your server with HTTPS also means that you cannot send requests to this server from a server that is not HTTPS-protected. This poses a problem for developers using the develop environment because they all run on http: // localhost . If you try to access by https: // localhost Chorme will always report the error NET::ERR_CERT_COMMON_NAME_INVALID
So how to deploy HTTPS on localhost ?
Solution
We will use OpenSSL to create all of our certificates.
Step 1 Root SSL certificate
The first step is to create the original security layer (SSL) certificate. This certificate can then be used to sign any certificates that you can create for individual domains. If you are not familiar with SSL certificates, posts this will introduce SSL certificate.
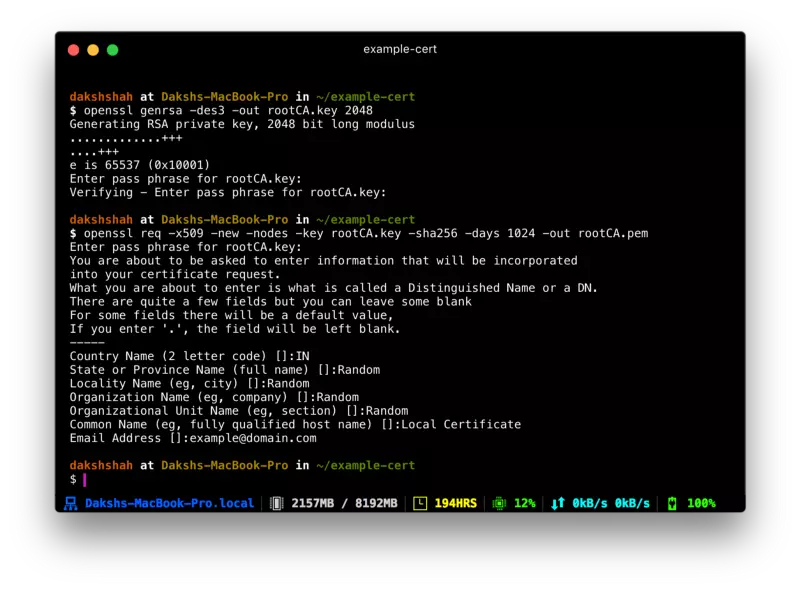
Create the RSA-2048 key and save it to the rootCA.key file. This file will be used as a key to create SSL certificates. You will need to enter the pass phrase each time you use this key to create a certificate.
openssl genrsa -des3 -out rootCA.key 2048
You can use the key you created to create a new SSL certificate. Save it to a file named rootCA.pem . This certificate will be valid for 1,024 days. Feel free to change it to any number of days you want. You will also be prompted for other optional information.
openssl req -x509 -new -nodes -key rootCA.key -sha256 -days 1024 -out rootCA.pem
Step 2 Trust the root SSL certificate
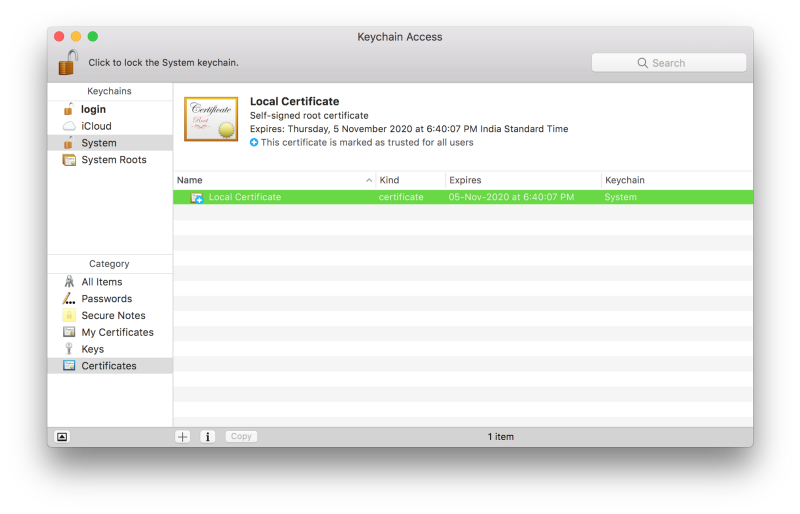
Before you can use the newly created SSL certificate to start domain certification, do one more step. You need to make your computer trust your SSL certificate so that all individual certificates issued by it are trusted. Open Keychain Access on your computer and go to the Certificates list in the System Keychain . Then, enter rootCA.pem by selecting File > Import Items . Double-click the imported certificate and change the “When using this certificate” to Always Trust certificate will look like this inside Keychain Access if you have followed the instructions from the beginning to the end.
Step 3: Domain SSL certificate
The SSL certificate can be used to grant your development specific certificate at the localhost domain. Create a server.csr.cnf file to configure the new OpenSSL so you can enter these settings when creating certificates instead of typing them on the command line.
1 | [req] default_bits = 2048 prompt = no default_md = sha256 distinguished_name = dn [dn] C=US ST=RandomState L=RandomCity O=RandomOrganization OU=RandomOrganizationUnit <a class="__cf_email__" href="/cdn-cgi/l/email-protection">[email protected]</a> CN = localhost |
Create v3.ext file to create X509 v3 certificate. We specify subjectAltName here.
1 | authorityKeyIdentifier=keyid,issuer basicConstraints=CA:FALSE keyUsage = digitalSignature, nonRepudiation, keyEncipherment, dataEncipherment subjectAltName = @alt_names [alt_names] DNS.1 = localhost |
Create a certificate key for localhost using the configuration settings stored in server.csr.cnf . This key is stored in server.key .
openssl req -new -sha256 -nodes -out server.csr -newkey rsa:2048 -keyout server.key -config <( cat server.csr.cnf )
The certificate’s signature is required through the SSL certificate we created earlier to create a domain certificate for localhost . The output is a certificate file called server.crt .
openssl x509 -req -in server.csr -CA rootCA.pem -CAkey rootCA.key -CAcreateserial -out server.crt -days 500 -sha256 -extfile v3.ext

Use the newly created certificate
Now you are ready to secure your localhost using HTTPS. Move server.key and server.crt files to an accessible location on your server. In an application written in Node.js, how to do it. Make sure you do this only for the development environment. Do not use in production environment.
1 | var path = require('path') var fs = require('fs') var express = require('express') var https = require('https') var certOptions = { key: fs.readFileSync(path.resolve('build/cert/server.key')), cert: fs.readFileSync(path.resolve('build/cert/server.crt')) } var app = express() var server = https.createServer(certOptions, app).listen(443) |
Hope this guide is useful for everyone. If I have followed the instructions above, I have created a set of scripts that you can run quickly to create a certificate for you. Details can be found here