1. Introduction
Hello friends . Extensions are useful tools for our website. With different extensions, they will serve certain websites. So what is the purpose of writing extension? Extensions translated into Vietnamese means extensions. In fact, it is adding tools or adding extensions that help our web experience. For example, a famous extension like google translate is used to search words in web pages and translate words in that web page.
Today with my little knowledge. I will share with you how to create an extension for the browser. In the scope of the article I would like to share how to write extensions for Chrome browser. Let’s get started You only need to know about Javascript and a little bit of VueJS can create yourself an extension!
2. Main content.
Creating extensions is quite simple. An extension is like a web application that is run independently and embedded in our browser. With VueJS, we can create extensions professionally and extremely simply.
First we will use Vue CLI to create a Vue application like creating a normal web application: (first install Vue CLI first, maybe on the page https://cli.vuejs.org /guide/installation.html for reference. Here I use npm to manage packages and install vue.
Install vue CLI:
1 2 | $ npm install -g @vue/cli |
When you check $ vue --version and give the result like this, the computer has already installed vue cli:
1 2 | @vue/cli 4.5.9 |
Initialize the vue application:
1 2 | $ vue create demo_extension |
Normally at this point we have created an application that can be run in a web browser. But for the extension, the most important indispensable is the following step: After creating the vue application, we will go to the root folder of the demo_extension and create a manifest.json file. Literally this file is to serve the purpose of declaring the browser information of the application. And most importantly, to help our extension work. Everyone, please create more content-script.js file for me. This file will execute the js operations in the browser. Our folder structure should now look like this:
Temporarily in the manifest.json file we will declare the following:
1 2 3 4 5 6 7 8 9 10 11 12 13 14 15 16 17 18 19 20 21 22 23 24 | <span class="token punctuation">{</span> <span class="token string">"name"</span> <span class="token operator">:</span> <span class="token string">"Demo extension"</span> <span class="token punctuation">,</span> <span class="token string">"version"</span> <span class="token operator">:</span> <span class="token string">"1.0.0"</span> <span class="token punctuation">,</span> <span class="token string">"manifest_version"</span> <span class="token operator">:</span> <span class="token number">2</span> <span class="token punctuation">,</span> <span class="token string">"description"</span> <span class="token operator">:</span> <span class="token string">"This is demo extension"</span> <span class="token punctuation">,</span> <span class="token string">"browser_action"</span> <span class="token operator">:</span> <span class="token punctuation">{</span> <span class="token string">"default_icon"</span> <span class="token operator">:</span> <span class="token punctuation">{</span> <span class="token string">"16"</span> <span class="token operator">:</span> <span class="token string">"assets/icons/logo16.png"</span> <span class="token punctuation">,</span> <span class="token string">"32"</span> <span class="token operator">:</span> <span class="token string">"assets/icons/logo32.png"</span> <span class="token string">"48"</span> <span class="token operator">:</span> <span class="token string">"assets/icons/logo48.png"</span> <span class="token string">"128"</span> <span class="token operator">:</span> <span class="token string">"assets/icons/logo128.png"</span> <span class="token punctuation">}</span> <span class="token punctuation">,</span> <span class="token string">"default_title"</span> <span class="token operator">:</span> <span class="token string">"Demo Extension"</span> <span class="token punctuation">,</span> <span class="token string">"default_popup"</span> <span class="token operator">:</span> <span class="token string">"index.html"</span> <span class="token punctuation">}</span> <span class="token punctuation">,</span> <span class="token string">"content_scripts"</span> <span class="token operator">:</span> <span class="token punctuation">[</span> <span class="token punctuation">{</span> <span class="token string">"js"</span> <span class="token operator">:</span> <span class="token punctuation">[</span> <span class="token string">"content-scripts.js"</span> <span class="token punctuation">]</span> <span class="token punctuation">,</span> <span class="token string">"matches"</span> <span class="token operator">:</span> <span class="token punctuation">[</span> <span class="token string">"https://viblo.asia/*"</span> <span class="token punctuation">]</span> <span class="token punctuation">}</span> <span class="token punctuation">]</span> <span class="token punctuation">,</span> <span class="token punctuation">}</span> |
Inside :
- name – The name of the extension will appear in the chrome extension’s store or appear in the browser extension selection menu
- version: Our extension version
- manifest_version: The version of the manifest, currently on the document of the chrome extension, there is a documentation with the manifest version 3
- browser_action: Here we will declare the icon, title when hovering on the mouse or popup that pops up when we click on the extension’s icon in the upper right corner of the browser.
- content_scripts: Here we will declare script files to interact with extension
jswith the browser or web pages that can be used with the extension in attribute:matches…
In addition we have many more properties to declare such as page_action, background, storage, comands … people can go to the homepage of chrome here https://developer.chrome.com/docs/extensions/mv2/ manifest / to learn more.
With the file as above, we currently cannot run the extension yet =)) After creating the application as well as adding the manifest.json file. You add your own assets folder to store icons image files.
With normal Vue application when we run alias npm run serve, vue will run automatically and compile when the file changes. It is declared in package.json
1 2 3 4 5 6 | <span class="token string">"scripts"</span> <span class="token operator">:</span> <span class="token punctuation">{</span> <span class="token string">"serve"</span> <span class="token operator">:</span> <span class="token string">"vue-cli-service serve"</span> <span class="token punctuation">,</span> <span class="token string">"build"</span> <span class="token operator">:</span> <span class="token string">"vue-cli-service build"</span> <span class="token punctuation">,</span> <span class="token string">"lint"</span> <span class="token operator">:</span> <span class="token string">"vue-cli-service lint"</span> <span class="token punctuation">}</span> <span class="token punctuation">,</span> |
Ok, so in order for us to run this extension we need to compile it as if running on production and we will run npm run build At this point, vue will compile the source code in our vue application into the dist folder
And this folder is also the folder we will import into chrome for extension.
Now let’s copy the file content-scripts.js , manifest.json and the assets folder earlier into this dist folder. And notice in the manifest.json file the path should be pointed to its target properly. The manifest.json file must always be in the root directory, here in the dist directory.
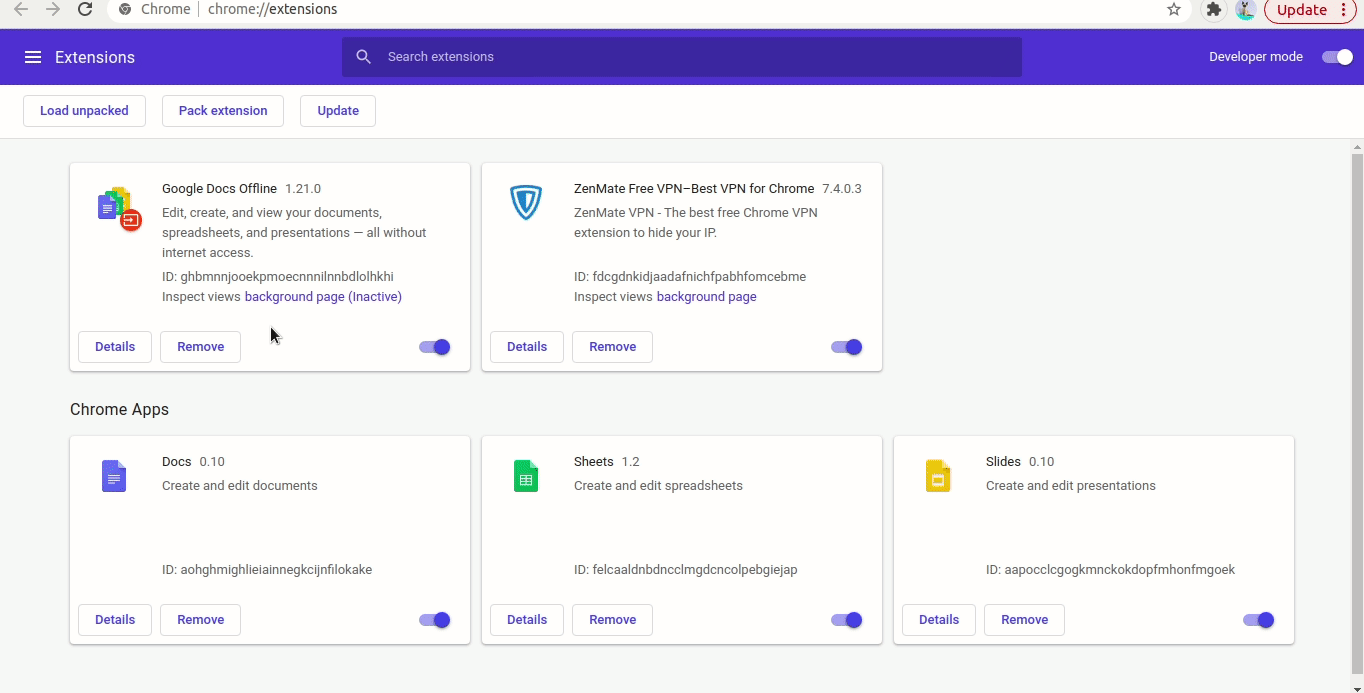
And we will go to Chrome Extension menu and turn on dev mode. Choose load unpacked and enjoy the results!
3. Summary
And through the above basic steps, we can create an extension easily with VueJS. In the scope of the article, I just briefly introduce how an extension works and how to create it, on the part to be more optimized and how we can replace the manual copy of manifest.json files. or file icon .. with a tool that is webpack as well as To apply and learn more deeply, see everyone in the following articles. Thank you everyone for watching until the end of the post. Goodbye and see you again !