Build a React project with Snowpack
- Tram Ho
In the previous article, I introduced you to Snowpack. In this post, we will build React project with snowpack, as well as learn how to use npm package, adding css, build for production and development environment with snowpack. Start
Create a snowpack project
In the previous article about snowpack, I also created a project with snow pack by init by npm and install snowpack. In this article we will use npx’s tools to install the snowpack project more easily and simply.
1 2 | npx create-snowpack-app react-snowpack --template @snowpack/app-template-minimal |
Here @ snowpack / app-template-minimal is a Snowpack app creation template that allows us to set up our Snowpack project simply and quickly.
Then we go to the project directory we just created and start it up:
1 2 | npm run start |
and view the results in the browser
Install react
Install the package
To install React, we use the following command:
1 2 | npm install react react-dom --save |
When working with react the concept of jsx is too familiar with us already. Snowpack has integrated jsx support with files ending in .jsx. We don’t need to configure, or install any plugins to write the react component. Then we go to the project directory to edit the file index.js to index.jsx
Use react
We modify the file contents index.jsx and index.html as follows:
1 2 3 4 5 | <span class="token keyword">import</span> React <span class="token keyword">from</span> <span class="token string">'react'</span><span class="token punctuation">;</span> <span class="token keyword">import</span> ReactDOM <span class="token keyword">from</span> <span class="token string">'react-dom'</span><span class="token punctuation">;</span> ReactDOM<span class="token punctuation">.</span><span class="token function">render</span><span class="token punctuation">(</span><span class="token tag"><span class="token punctuation"><</span>div<span class="token punctuation">></span></span><span class="token plain-text">Hello World! You did it! Welcome to snowpack :D</span><span class="token tag"><span class="token punctuation"></</span>div<span class="token punctuation">></span></span><span class="token punctuation">,</span> document<span class="token punctuation">.</span><span class="token function">getElementById</span><span class="token punctuation">(</span><span class="token string">'root'</span><span class="token punctuation">)</span><span class="token punctuation">)</span><span class="token punctuation">;</span> |
1 2 3 4 5 | ... <span class="token tag"><span class="token punctuation"><</span>h1 <span class="token attr-name">id</span><span class="token attr-value"><span class="token punctuation">=</span><span class="token punctuation">"</span>root<span class="token punctuation">"</span></span><span class="token punctuation">></span></span><span class="token tag"><span class="token punctuation"></</span>h1<span class="token punctuation">></span></span> <span class="token tag"><span class="token punctuation"><</span>script <span class="token attr-name">type</span><span class="token attr-value"><span class="token punctuation">=</span><span class="token punctuation">"</span>module<span class="token punctuation">"</span></span> <span class="token attr-name">src</span><span class="token attr-value"><span class="token punctuation">=</span><span class="token punctuation">"</span>/index.js<span class="token punctuation">"</span></span><span class="token punctuation">></span></span><span class="token tag"><span class="token punctuation"></</span>script<span class="token punctuation">></span></span> ... |
There are many of you will wonder why after fixing index.js to index.jsx but in file index.html
1 2 | <script type="module" src="/index.js"></script> |
remains
We will not edit it again because they will be compiled to js as files .js in the final build for the browser to read.
Then you see the results in the browser
In the previous article, I talked about Use NPM dependencies in snowpack. Then when we are npm run build This will appear in the build directory _snowpack/pkg. In this directory, the corresponding packages will be converted to the corresponding .js files here
Custom directory structure
When working with a project that will have lots of files, in order to easily manage, extend and maintain the project we need to have a standard directory structure or do you want to create a project with an item structure in such a way. By the way, snowpack also assists us in customizing that
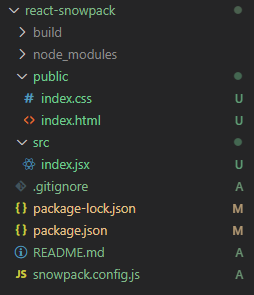
In my project, I will create 2 main folders as follows:
- src: where the react components and their assets will be stored
- public: will leave global files such as index.html, css, images, fonts, …
After editing it will look like this:
When fixing it, our page will get an error because we fixed its structure. To fix this problem we have to configure mount to update our website with the new structure
In the project directory we will have the file snowpack.config.js. We will add to edit the configuration for our project:
1 2 3 4 5 6 7 | <span class="token operator">...</span> mount<span class="token operator">:</span> <span class="token punctuation">{</span> <span class="token keyword">public</span><span class="token operator">:</span> <span class="token string">'/'</span><span class="token punctuation">,</span> src<span class="token operator">:</span> <span class="token string">'/dist'</span> <span class="token punctuation">}</span><span class="token punctuation">,</span> <span class="token operator">...</span> |
Compared to the original directory structure, after following the new structure and we mount will look like this:

mount will allow us to reorganize the project directory. Key (public, src) is the directory name, value ('/', '/dist') is the place we want to do after the build.
So we will have to fix the path of script in the file index.html:
1 2 3 4 | ... <span class="token tag"><span class="token punctuation"><</span>script <span class="token attr-name">type</span><span class="token attr-value"><span class="token punctuation">=</span><span class="token punctuation">"</span>module<span class="token punctuation">"</span></span> <span class="token attr-name">src</span><span class="token attr-value"><span class="token punctuation">=</span><span class="token punctuation">"</span>/dist/index.js<span class="token punctuation">"</span></span><span class="token punctuation">></span></span><span class="token tag"><span class="token punctuation"></</span>script<span class="token punctuation">></span></span> ... |
And our website should be up and running again
Fast fresh
Fast fresh is an advanced feature of Snowpack that allows us to push changes to individual files to update again in the browser without having to refresh the page or remove component state.
When doing React projects, we will often work with state. During project development when we edit code in the project it causes the turn state to be reset. To fix this problem then react fast fresh will help us to show the changes without refreshing our entire page
Here we will install using fast fresh
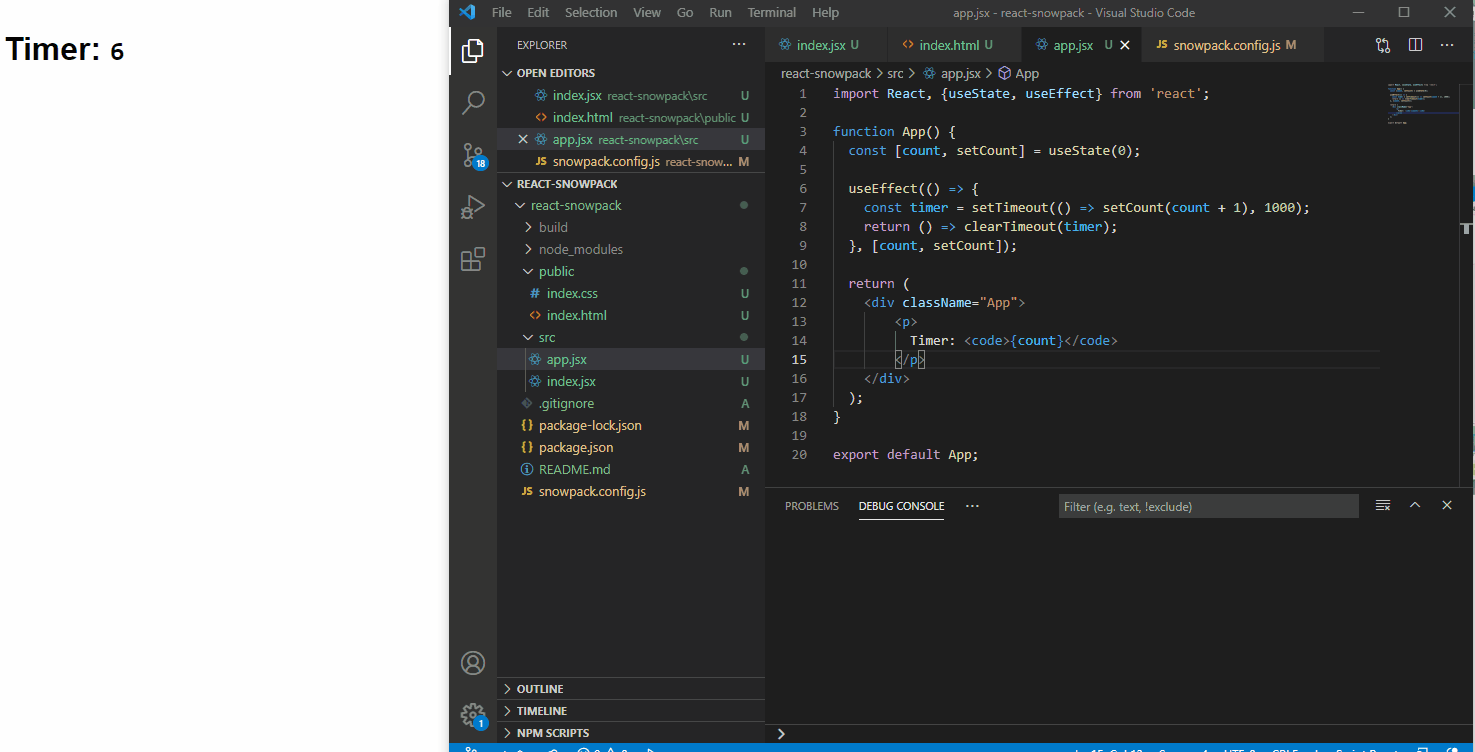
ĐFirst we add the file app.jsx in the directory src and import it index.jsx:
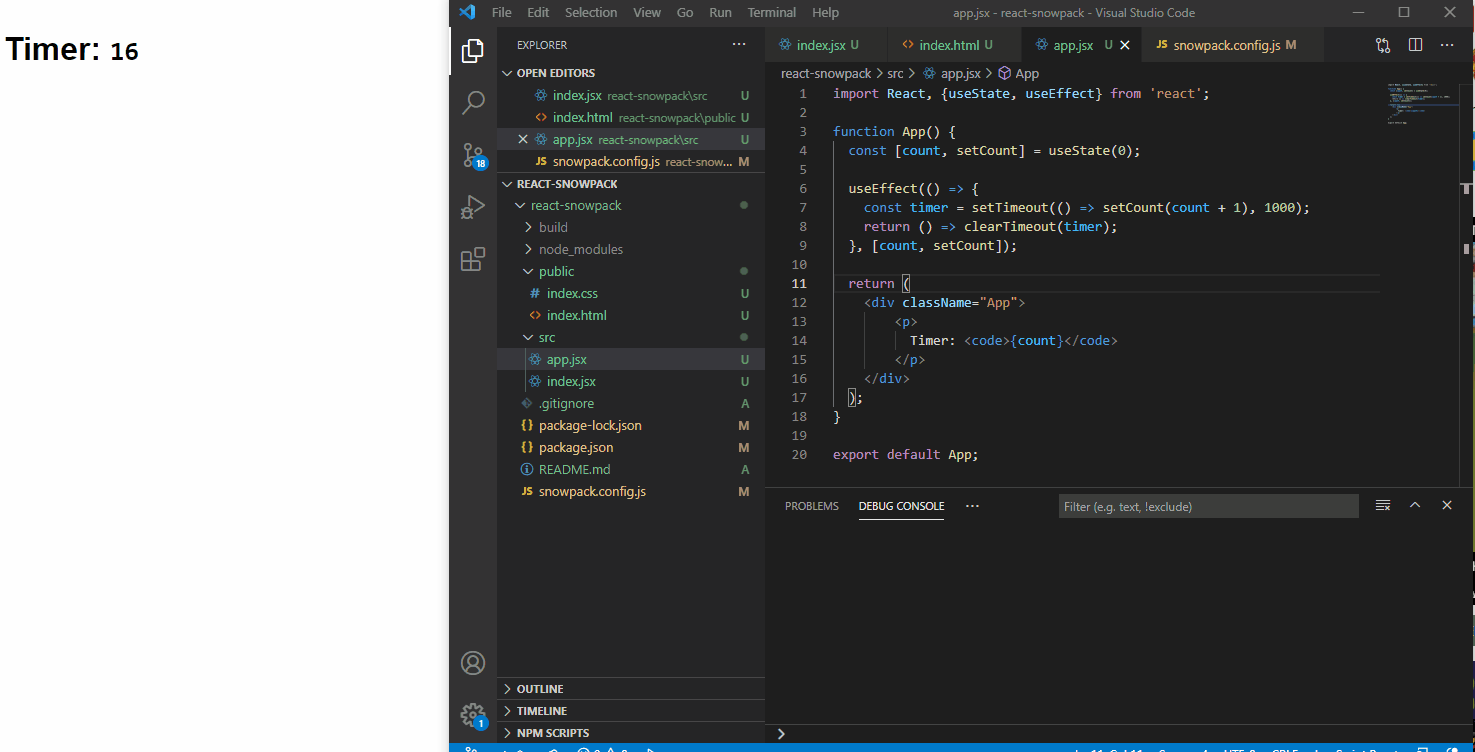
1 2 3 4 5 6 7 8 9 10 11 12 13 14 15 16 17 18 19 20 21 | <span class="token keyword">import</span> React<span class="token punctuation">,</span> <span class="token punctuation">{</span>useState<span class="token punctuation">,</span> useEffect<span class="token punctuation">}</span> <span class="token keyword">from</span> <span class="token string">'react'</span><span class="token punctuation">;</span> <span class="token keyword">function</span> <span class="token function">App</span><span class="token punctuation">(</span><span class="token punctuation">)</span> <span class="token punctuation">{</span> <span class="token keyword">const</span> <span class="token punctuation">[</span>count<span class="token punctuation">,</span> setCount<span class="token punctuation">]</span> <span class="token operator">=</span> <span class="token function">useState</span><span class="token punctuation">(</span><span class="token number">0</span><span class="token punctuation">)</span><span class="token punctuation">;</span> <span class="token function">useEffect</span><span class="token punctuation">(</span><span class="token punctuation">(</span><span class="token punctuation">)</span> <span class="token operator">=></span> <span class="token punctuation">{</span> <span class="token keyword">const</span> timer <span class="token operator">=</span> <span class="token function">setTimeout</span><span class="token punctuation">(</span><span class="token punctuation">(</span><span class="token punctuation">)</span> <span class="token operator">=></span> <span class="token function">setCount</span><span class="token punctuation">(</span>count <span class="token operator">+</span> <span class="token number">1</span><span class="token punctuation">)</span><span class="token punctuation">,</span> <span class="token number">1000</span><span class="token punctuation">)</span><span class="token punctuation">;</span> <span class="token keyword">return</span> <span class="token punctuation">(</span><span class="token punctuation">)</span> <span class="token operator">=></span> <span class="token function">clearTimeout</span><span class="token punctuation">(</span>timer<span class="token punctuation">)</span><span class="token punctuation">;</span> <span class="token punctuation">}</span><span class="token punctuation">,</span> <span class="token punctuation">[</span>count<span class="token punctuation">,</span> setCount<span class="token punctuation">]</span><span class="token punctuation">)</span><span class="token punctuation">;</span> <span class="token keyword">return</span> <span class="token punctuation">(</span> <span class="token operator"><</span>div className<span class="token operator">=</span><span class="token string">"App"</span><span class="token operator">></span> <span class="token operator"><</span>p<span class="token operator">></span> Timer<span class="token operator">:</span> <span class="token operator"><</span>code<span class="token operator">></span><span class="token punctuation">{</span>count<span class="token punctuation">}</span><span class="token operator"><</span><span class="token operator">/</span>code<span class="token operator">></span> <span class="token operator"><</span><span class="token operator">/</span>p<span class="token operator">></span> <span class="token operator"><</span><span class="token operator">/</span>div<span class="token operator">></span> <span class="token punctuation">)</span><span class="token punctuation">;</span> <span class="token punctuation">}</span> <span class="token keyword">export</span> <span class="token keyword">default</span> App<span class="token punctuation">;</span> |
1 2 3 4 5 | <span class="token operator">...</span> <span class="token keyword">import</span> App <span class="token keyword">from</span> <span class="token string">'./app'</span><span class="token punctuation">;</span> ReactDOM<span class="token punctuation">.</span><span class="token function">render</span><span class="token punctuation">(</span><span class="token operator"><</span>App <span class="token operator">/</span><span class="token operator">></span><span class="token punctuation">,</span> document<span class="token punctuation">.</span><span class="token function">getElementById</span><span class="token punctuation">(</span><span class="token string">'root'</span><span class="token punctuation">)</span><span class="token punctuation">)</span><span class="token punctuation">;</span> |
Here I create a timer and display it on the website.
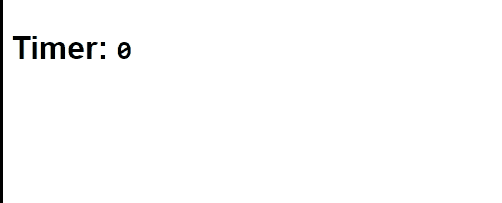
When we edit the code, the web page will refresh and the state will reset like so:
Now we will turn it on Hot Module Replacement(HMR) up. HMR will let them update to the browser without refreshing the entire page.
With React we will turn it on like this:
1 2 3 4 5 6 7 8 | <span class="token operator">...</span> ReactDOM<span class="token punctuation">.</span><span class="token function">render</span><span class="token punctuation">(</span><span class="token tag"><span class="token punctuation"><</span><span class="token class-name">App</span> <span class="token punctuation">/></span></span><span class="token punctuation">,</span> document<span class="token punctuation">.</span><span class="token function">getElementById</span><span class="token punctuation">(</span><span class="token string">'root'</span><span class="token punctuation">)</span><span class="token punctuation">)</span><span class="token punctuation">;</span> <span class="token keyword">if</span> <span class="token punctuation">(</span><span class="token keyword">import</span><span class="token punctuation">.</span>meta<span class="token punctuation">.</span>hot<span class="token punctuation">)</span> <span class="token punctuation">{</span> <span class="token keyword">import</span><span class="token punctuation">.</span>meta<span class="token punctuation">.</span>hot<span class="token punctuation">.</span><span class="token function">accept</span><span class="token punctuation">(</span><span class="token punctuation">)</span><span class="token punctuation">;</span> <span class="token punctuation">}</span> <span class="token operator">...</span> |
After enabling HMR, time, when we change App.jsx, the page will update to show our changes without a full refresh. The speed will be much faster, this will save us more time.
But with my above demo state will still be reset to 0.
We’ll need to turn it on Fast Refresh again. By the way we will be using the plugin provided by snowpack @snowpack/plugin-react-refresh:
1 2 | npm install @snowpack/plugin-react-refresh --save-dev |
After the installation is complete, you add the following line to the file snowpack.config.js:
1 2 3 4 | ... plugins: ['@snowpack/plugin-react-refresh'], ... |
Then we will run snowpack again to use the plugin and check the results:
As you will see our state will not be reset again It is very convenient in cases where we want to debug.
Conclude
In this article, I showed you to setup a simple react project with snowpack. In the next article I will introduce some interesting things with snowpack and compare it with webpack. Thank you for watching the article
- References:
- snowpack.dev