Hi, bài viết hôm nay sẽ hướng dẫn các bạn tạo 1UITableviewcell có thể mở rộng, áp dụng trong trường hợp ẩn/ hiện thông tin. Dựa trên ý tưởng của UIStackview, chúng ta sẽ có thể thiết kế nó 1 cách đơn giản, không cần tạo nhiều constraint
Bước 1: Tạo tableView, thiết kế giao diện
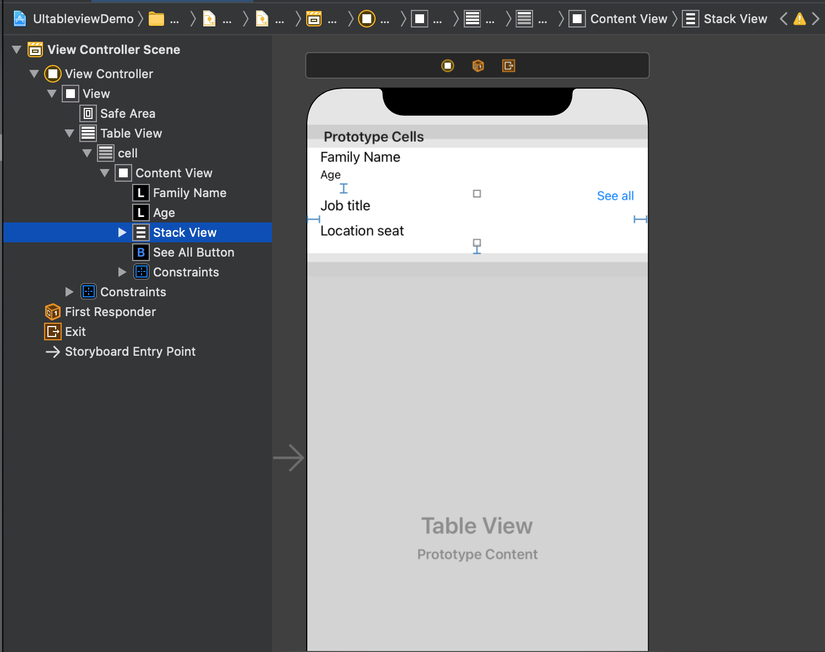
Chúng ta hình dung như sau: Ban đầu cell chỉ có 2 label là Family name và Age, bên góc phải là button SeeAll, khi bấm thì sẽ cho show tiếp thông tin trong 1 cell.
Bước 2: Tạo Logic
Tại file quản lý, hãy tạo ra 1 tabble view gồm có 1 cell như đã thiết kế, ở đây là kéo các outlet
1 2 3 4 5 6 7 8 9 10 11 12 13 14 15 16 17 18 19 20 21 22 23 24 25 26 27 | class ViewController: UIViewController { @IBOutlet weak var tableView: UITableView! override func viewDidLoad() { super.viewDidLoad() // Do any additional setup after loading the view. tableView.dataSource = self tableView.estimatedRowHeight = 100 tableView.rowHeight = UITableView.automaticDimension } @IBAction func seeAllButtonTapped(_ sender: Any) { } } extension ViewController: UITableViewDataSource { func tableView(_ tableView: UITableView, numberOfRowsInSection section: Int) -> Int { 1 } func tableView(_ tableView: UITableView, cellForRowAt indexPath: IndexPath) -> UITableViewCell { let cell = tableView.dequeueReusableCell(withIdentifier: "cell", for: indexPath) return cell } } |
Bước 3: Tạo File Custion Cell

Và gán vào cell đã tạo UI trước đó
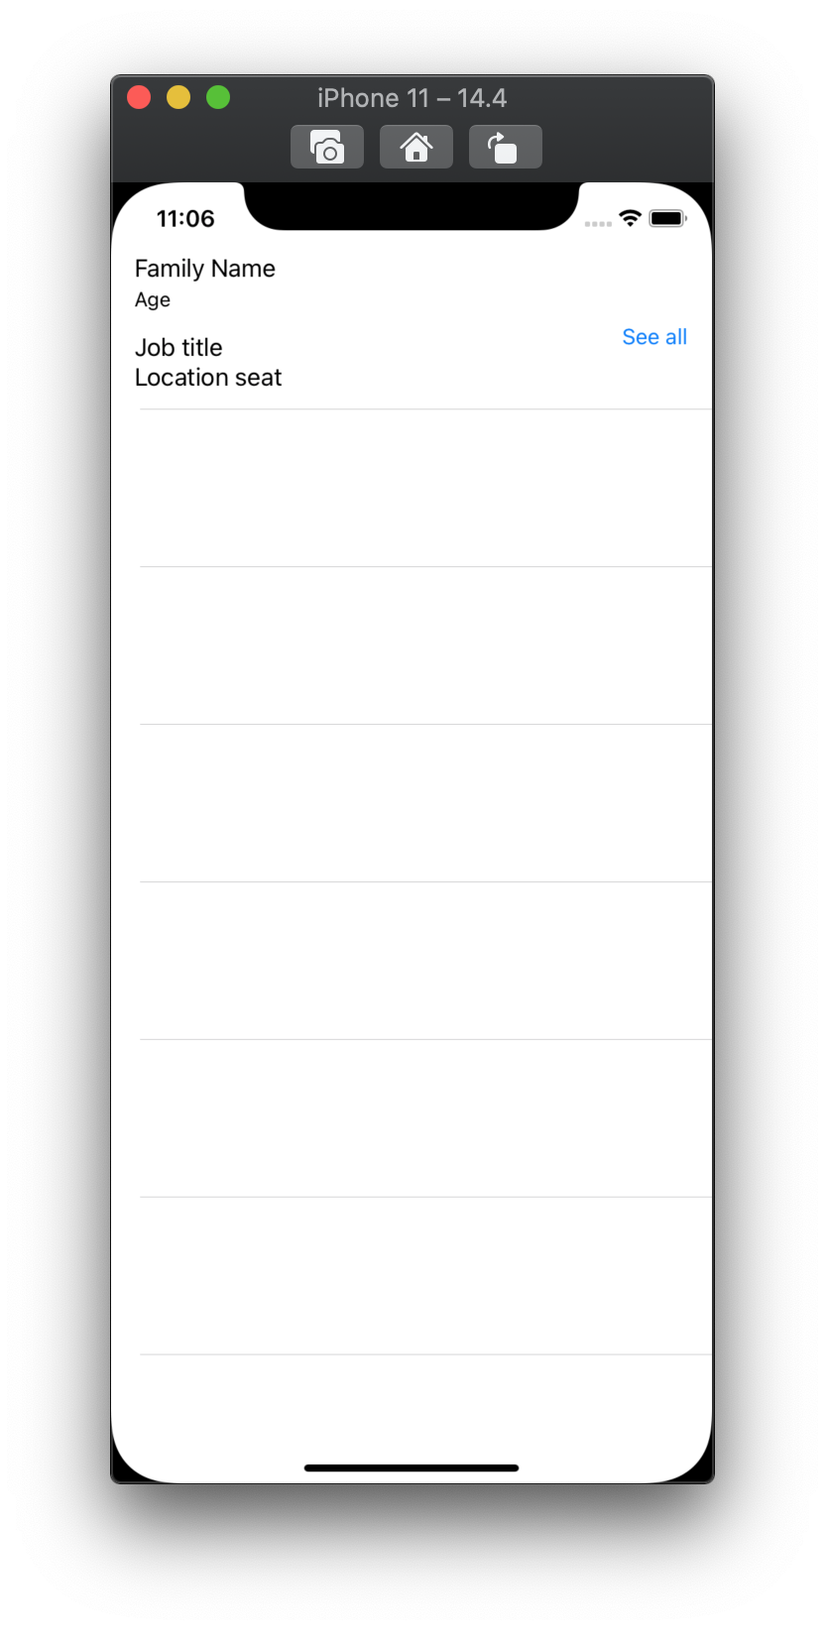
Đến đây, chúng ta build app lên xem đã tạo view thành công chưa
Bước 4: Tạo Logic ẩn hiện
Tạị file custion cell, chúng ta kéo out let khi bấm button see all và xử lý
1 2 3 4 5 6 7 8 9 10 11 12 13 | @IBAction func seeAllTapped(_ sender: Any) { locationLabel.isHidden = !locationLabel.isHidden jobLabel.isHidden = !jobLabel.isHidden if jobLabel.isHidden { seeAllButton.setTitle("See All", for: .normal) } else { seeAllButton.setTitle("Hide", for: .normal) } if let expand = expand { expand() } } |
Chú thích: Closure expand được sử dụng để làm call back, update lại cell khi bấm see all/ hide
Bước 5: Update lại TableView (height)
Ở màn hình chính, chúng ta cần xử lý load lại tableview mỗi khi cập nhật trạng thái
1 2 3 4 5 6 7 8 | func tableView(_ tableView: UITableView, cellForRowAt indexPath: IndexPath) -> UITableViewCell { let cell = tableView.dequeueReusableCell(withIdentifier: "cell", for: indexPath) as! EmployTableViewCell cell.expand = { tableView.reloadData() } return cell } |
Trên đây là 1 ý tưởng để thực hiện dynamic UItableview cell, hi vọng các bạn sẽ áp dụng thành công trong project của mình. Cảm ơn đã đọc bài viết