Introduce
If you are a rails dev you probably need a web host to deploy your application. This is a tutorial on how to use the Passenger phusion to deploy your application. Other passengerser to easily install, configure and maintain it can use nginx or apache. In this tutorial I will use passenger with nginx on ubuntu 14.04.
An alternative method of deploying your Rails application is with this 1-Click Rails Installation using Nginx with Unicorn, an HTTP server that can handle multiple requests simultaneously.
Step 1 Create a droplet
Creating ubuntu 14.04 droplet. There are many versions you can choose with the small web can choose about 512MB capacity. 
And depending on your needs, you can choose either 64bit or 32bit. 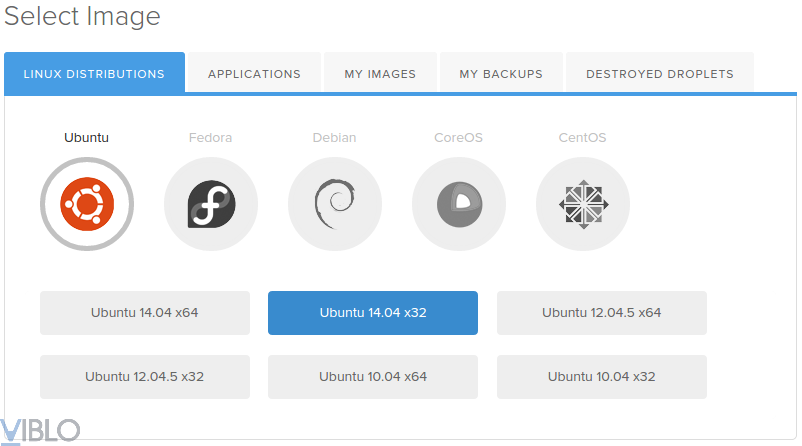
Step 2 Add sudo user
After creating the droplet you need a user to administer and secure the system. Specifically, everyone has more to see in this article. https://www.digitalocean.com/community/tutorials/initial-server-setup-with-ubuntu-14-04
Step 3 install domain
Step setup domain, yes or no this is optional. Because you can access it via IP address.
Step 4 install ruby
Next we will install ruby and the first thing is to update the necessary packages
1 2 | sudo apt <span class="token operator">-</span> get update |
Next, we will install some dependencies. For the most inert operating system.
1 2 | sudo apt-get install build-essential libssl-dev libyaml-dev libreadline-dev openssl curl git-core zlib1g-dev bison libxml2-dev libxslt1-dev libcurl4-openssl-dev nodejs libsqlite3-dev sqlite3 |
Create a temporary folder to store ruby.
1 2 | mkdir ~/ruby |
Move to the newly created folder
1 2 | cd ruby |
Download and extract ruby
1 2 3 | wget http://cache.ruby-lang.org/pub/ruby/2.1/ruby-2.1.3.tar.gz tar -xzf ruby-2.1.3.tar.gz |
Move to the ruby directory which has just been compressed and run the script
1 2 | ./configure |
The above command will run to check the dependencies and create a Makefile to be able to run the compile code and run make to run the Makefile file.
1 2 | make |
Next run
1 2 | sudo make insall |
and check the ruby version
1 2 | ruby -v |
ok ruby has been installed, you can delete the temporary ruby folder.
1 2 3 4 5 6 7 | rm -rf ~/ruby `` ## Bước 5 cài đặt passenger and nginx Thông thường chúng ta sẽ cài đặt passenger thông qua ruby gem nhưng ở đây chúng ta sẽ cài đặt qua APT(Advanced Packaging Tool) nhưng hỗ trỡ cho việc quản trị nâng cấp,.. sau này. Đầy tiên cài đặt PGP key: |
sudo apt-key adv –keyserver keyserver.ubuntu.com –recv-keys 561F9B9CAC40B2F7
1 2 | Tạo 1 APT file |
sudo nano /etc/apt/sources.list.d/passenger.list Add the following line to the passenger.list file
1 2 | deb https://oss-binaries.phusionpassenger.com/apt/passenger trusty main |
Change the book and the owner
1 2 3 | sudo chown root: /etc/apt/sources.list.d/passenger.list sudo chmod 600 /etc/apt/sources.list.d/passenger.list |
Update APT
1 2 | sudo apt-get update |
Finally, install passenger and nginx
1 2 | sudo apt-get install nginx-extras passenger |
This step will overwrite our Ruby version to the older version. To solve this problem, simply delete the incorrect Ruby location and create a new symbolic link to the correct Ruby binary:
1 2 3 | sudo rm /usr/bin/ruby sudo ln -s /usr/local/bin/ruby /usr/bin/ruby |
Final
1 | Trên đây là các bước tạo ubuntu cài đặt passenger và nginx thông qua gói APT của ubuntu ở bài viết sau chúng ta sẽ đi tiếp vào phần cài đặt webserver và deploy ứng dụng. hoặc bạn có thể đi tiếp với bài viết gốc tại đây : [](https://www.digitalocean.com/community/tutorials/how-to-deploy-a-rails-app-with-passenger-and-nginx-on-ubuntu-14-04) |