For us developers, working with Github is a daily task, often having to work with it. Most of us only care about Github’s main functions such as Pull Requests, Issues, or code but we rarely pay attention to other Github functions. In today’s article, I introduce to you the Github Actions and use it to deploy projects to Github Pages. So what is Github Actions? How to use it? Let’s find out together 

What is Github Actions?
- Github Actions allows us to create software development lifecycle
workflowsfor projects directly on our Github repository. - Github Actions helps us automate the software development process where we store code and combine pull requests and issues. We can write individual tasks, called actions, and combine those actions together to create a
workflowat our disposal. Workflow are automated processes that you can set up in your repository to build, test, publish packages, release, or deploy projects on Github. - With Github Actions we can integrate continuous integration (CI) and continuous deployment (CD) directly on our repository.
Use Github Actions deploy the project to Github Pages
In this article, use Github Actions to create a workflow to deploy a static website to Github Pages whenever the master branch changes the code.
Workflow of the project will be saved in the folder .github/workflows/
We create a .yml file in the workflow folder (for example: github-pages.yml) or go to the repository on github go to the Actions tab and click on Set up workflow yourself , with the following file content:
1 2 3 4 5 6 7 8 9 10 11 12 13 14 15 16 17 18 19 | name: CI on: [push] jobs: build: runs-on: ubuntu-latest steps: - uses: actions/ <a class="__cf_email__" href="/cdn-cgi/l/email-protection" data-cfemail="fd9e95989e96928889bd8bcc">[email protected]</a> - name: Run a one-line script run: echo Hello, world! - name: Run a multi-line script run: | echo Add other actions to build, echo test, and deploy your project. |
In this article I deployed the ReactJs project to github pages, we modified the github-pages.yml file as follows:
1 2 3 4 5 6 7 8 9 10 11 12 13 14 15 16 17 18 19 20 21 22 23 24 25 26 27 | name: Deploy react app to GitHub Pages on: push: branches: - master jobs: build: runs-on: ubuntu-latest steps: - name: Checkout uses: actions/ <a class="__cf_email__" href="/cdn-cgi/l/email-protection" data-cfemail="dcbfb4b9bfb7b3a9a89caaed">[email protected]</a> - name: Build run: | npm install npm run-script build - name: Build and Deploy uses: JamesIves/ <a class="__cf_email__" href="/cdn-cgi/l/email-protection" data-cfemail="72151b061a07105f02131517015f1617021e1d0b5f1311061b1d1c3200171e1713011701">[email protected]</a> /v3 with: ACCESS_TOKEN: ${{ secrets.ACCESS_TOKEN }} BASE_BRANCH: master BRANCH: gh-pages FOLDER: build |
A workflow is made up of one or more job . Jobs run in parallel by default. To run job sequentially, you can define dependencies on other jobs by jobs.<job_id>.needs keyword. Each job runs in a new version of the virtual environment specified by runs-on .
Here we use ubuntu-latest
In the steps :
1 2 3 4 5 | - name: Build run: | npm install npm run-script build |
This part I leave the script to compile code before deploying, if for projects that do not need compile code, you can skip this part.
1 2 3 4 5 6 | with: ACCESS_TOKEN: ${{ secrets.ACCESS_TOKEN }} BASE_BRANCH: master # The branch the action should deploy from. BRANCH: gh-pages # The branch the action should deploy to. FOLDER: build # The folder the action should deploy. |
All of these options are environment variables that will be used to deploy onto the active github pages.
ACCESS_TOKEN: ${{ secrets.ACCESS_TOKEN }}: is an access token used to authorize actions to work with yourrepository. We in Profile Settings / Developer settings to create a Personal Access tokens, then go toSettingsand selectSecretsand add new namedACCESS_TOKEN.- BASE_BRANCH: is the branch we use to deploy the project, here I choose is the
masterbranch - BRANCH: is the branch we want to deploy to, here is
gh-pages. And we don’t have to create thegh-pagesbranch first, because this action gives us that branch if that branch doesn’t already exist. - FOLDER: is the directory that we use to deploy. Here is the
buildbecause I’m deployingReactJsapplication to deploy, when the compile code will create abuilddirectory containing the code after the project’s compile.
Custom domain name
If you are using a custom domain name , you will need to prepend a CNAME file at the root of the gh-pages branch with your domain name in it.
With the ReactJs application we can ReactJs custom domain name by going to the package.json file and adding the following line:
1 2 | "homepage": "https://yourusername.github.io/repository-name", |
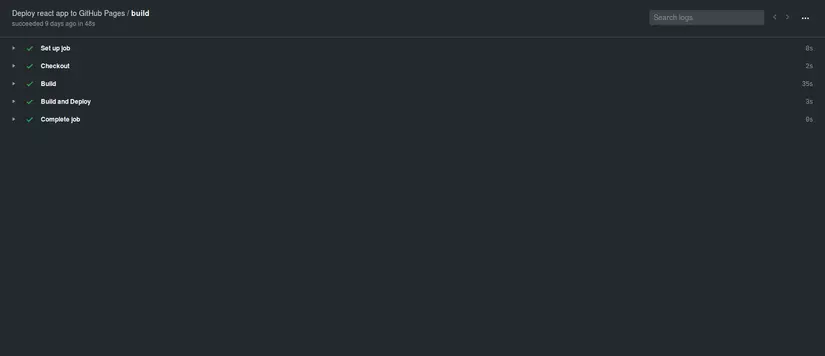
After completing the above steps we can push the changes in our code to the repository and see the activities in the tab Actions
Conclude
In this article, I have introduced you to Github Actions and used it to automatically deploy a ReactJs project to gihub pages . Thank you for following up on my article. 
