WidgetKit is a framework introduced in WWDC 20. Using WidgetKit, developers can create widgets that can be displayed on the home screen.
Widgets written in SwiftUI and widgets are only available for iOS 14 and above. In this article, I will guide you to understand the composition and write a basic widget.
Let’s go …!
Add Target Widget to the project
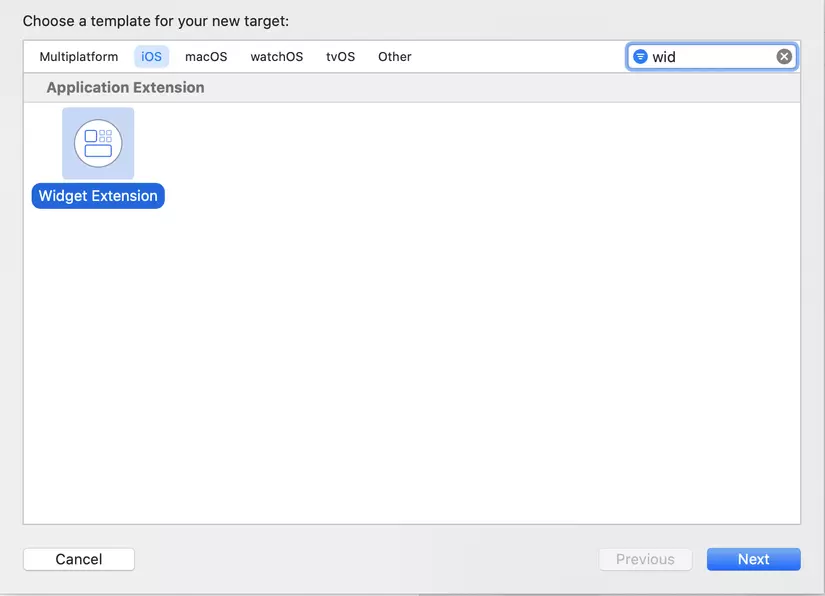
We can add Extension Widget from File menu bar -> New -> Target. Search for Widget Extension -> Next. Now you can name your widget and the setup is ready !.
I will use the example of Apple born to guide you:
Build Widget
Your widget is a Widget class override structure. It contains the basic configuration for your widget:
1 2 3 4 5 6 7 8 9 10 11 12 13 | @main struct DateWidget: Widget { let kind: String = "DateWidget" var body: some WidgetConfiguration { StaticConfiguration(kind: kind, provider: Provider()) { entry in DateWidgetEntryView(entry: entry) } .configurationDisplayName("My Widget") .description("This is an example widget.") } } |
In the code above, a new widget named DateWidget is created. The body contains the widget initialization. A StaticConfiguration includes:
- Kind: unique identifier for widget. You can enter any identifier you want. You need this identifier if you want to refresh your widget from the app.
- Provider: Provider is needed to define the process of refreshing your widget.
- Closure: Closes the content that contains the widget view that needs to be visible to the user (of any size), which is where you draw the view to display on the interface. For example, I have a DateWidgetEntryView as follows:
1 2 3 4 5 6 7 8 | struct DateWidgetEntryView : View { var entry: Provider.Entry var body: some View { Text(entry.date, style: .time) } } |
You can also specify sizes by adding .supportedFamilies([.systemLarge, .systemMedium, .systemSmall])
TimelineEntry
TimelineEntry specifies the widget display date, you can also declare additional attributes to display on the view here.
1 2 3 4 5 | struct SimpleEntry: TimelineEntry { let date: Date // other properties } |
Provider
Placeholder
Next, I implement the placeholder and return a SimpleEntry object with the current date. This tells WidgetKit what to show while the widget is loading.
1 2 3 4 | func placeholder(in context: Context) -> SimpleEntry { SimpleEntry(date: Date()) } |
getTimeLine
1 2 3 4 5 6 7 8 9 10 11 12 13 14 15 | func getTimeline(in context: Context, completion: @escaping (Timeline<Entry>) -> ()) { var entries: [SimpleEntry] = [] // Generate a timeline consisting of five entries an hour apart, starting from the current date. let currentDate = Date() for hourOffset in 0 ..< 5 { let entryDate = Calendar.current.date(byAdding: .hour, value: hourOffset, to: currentDate)! let entry = SimpleEntry(date: entryDate) entries.append(entry) } let timeline = Timeline(entries: entries, policy: .atEnd) completion(timeline) } |
- getTimeline (context: completion :): Provides a Timeline Object with entries for the present time and any future times for widget updates. As in the above example, I provide a TimeLine object whose entry is an array of SimpleEntry that I set up earlier. I built the date for each entry after 1 hour. WidgetKit will then request a refresh using the policy (TimelineReloadPolicy) .atEnd.
There are 3 policy updates available in WidgetKit:
- .atEnd WidgetKit will invoke a new Timeline after the last day in the timeline has passed.
- .after (_) Specifies a future date WidgetKit will request a new Timeline.
- .never relies on the app to manually refresh timeline by calling one of the built-in reload functions. For example
WidgetCenter.shared.reloadAllTimelines ()orWidgetCenter.shared.reloadTimelines(ofKind:)
getSnapshot (context: complete 🙂
1 2 3 4 5 | func getSnapshot(in context: Context, completion: @escaping (SimpleEntry) -> ()) { let entry = SimpleEntry(date: Date()) completion(entry) } |
- getSnapshot (context: complete :): Provides a timeline entry that shows the current state of the widget.
Widget size
You can set the widget’s size by specifying the Environment of the widgetFamily. Then you can check widget size type. The size can be systemSmall, systemMedium or systemLarge.
1 2 3 4 5 6 7 8 9 10 11 12 13 14 15 16 17 | struct DateWidgetEntryView : View { var entry: Provider.Entry @Environment(.widgetFamily) private var family var body: some View { switch family { case .systemSmall: Text(entry.date, style: .time) case .systemMedium: Text(entry.date, style: .time) case .systemLarge: Text(entry.date, style: .time) } } } |
Declare multiple widgets in the application
An application can create many different Widget Extensions, to create many widgets, you need to create a struct conform WidgetBundle. Add the main attribute (in iOS 14 it is UIApplication ) at the beginning of this structure to let WidgetKit know that your Widget Extension supports multiple widgets. For example:
1 2 3 4 5 6 7 8 9 10 | @main struct DateWidgets: WidgetBundle { @WidgetBundleBuilder var body: some Widget { DateWidget() DateWidget2() DateWidget3() } } |
Result
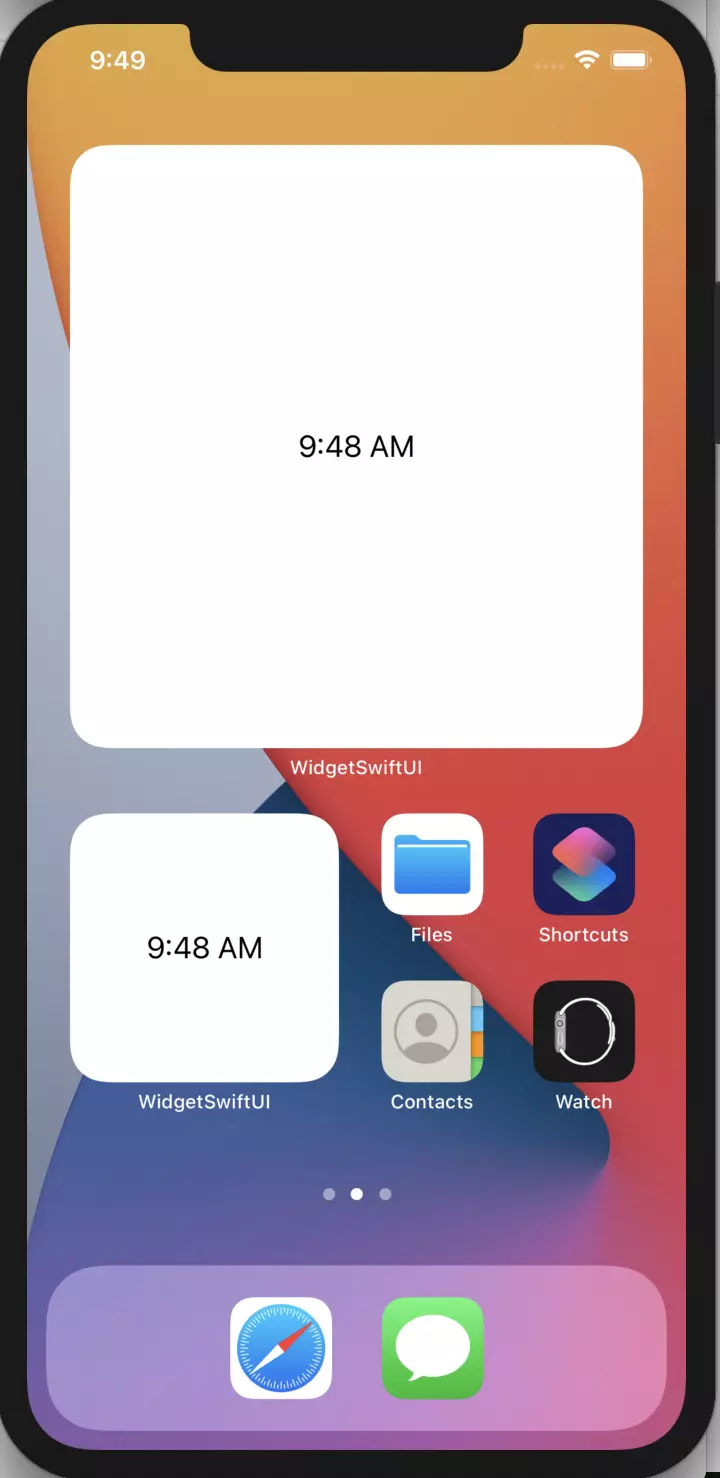
Good luck!!!