I. Introduction
Push notifications allow users to provide useful information from the server to the user’s device. However, we also need to know how to use Push notifications properly to avoid causing inconvenience to users. We use a certain app, too, we feel very annoyed when 12 o’clock at night has a notification to our device. To build a service for Push notifications is very complicated, especially when we do not support back-end for Push notifications, now we have to find out if there are available push notification services. You are familiar with Firebase, OneSignal, etc. But today I will suggest you another pretty good service, Urban Airship. Now let’s see how we can use Urban Airship to push notifications to our app
II. Create project on Dashboad Urban Airship
Step 1: Register, login
Creating an account on Urban Airship is also very simple. Please select the type of account that suits your purpose to register. If you already have an account, please log in to continue using
Step 2: Create a new project
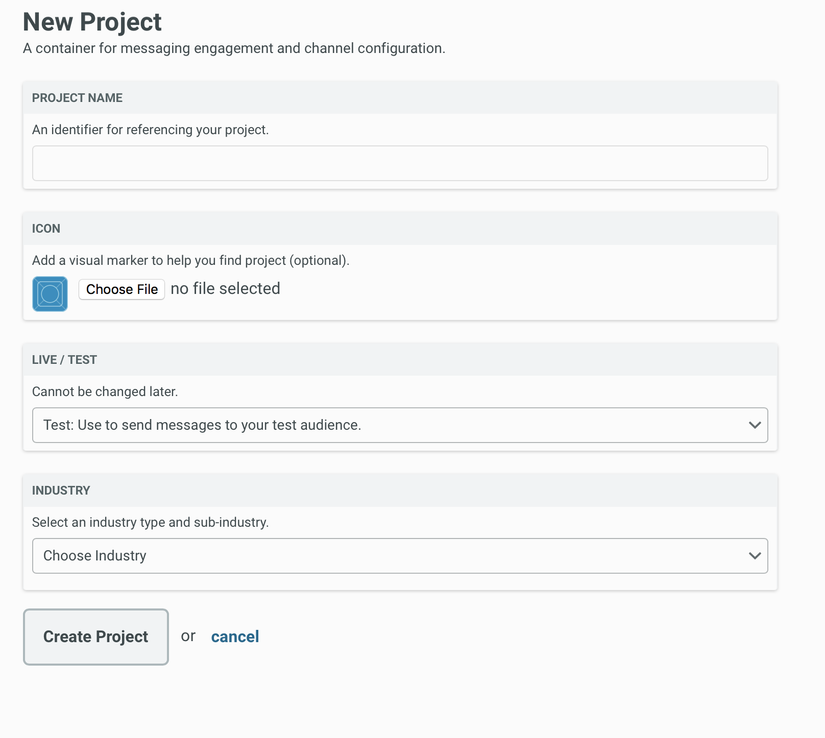
After logging in, click New Project to create a new Enter all necessary information for Project Click Create Project to complete
Step 3: Set Up project
Like other services (Firebase, OneSigna …) we also need to provide a Certificate for Urban Airship.
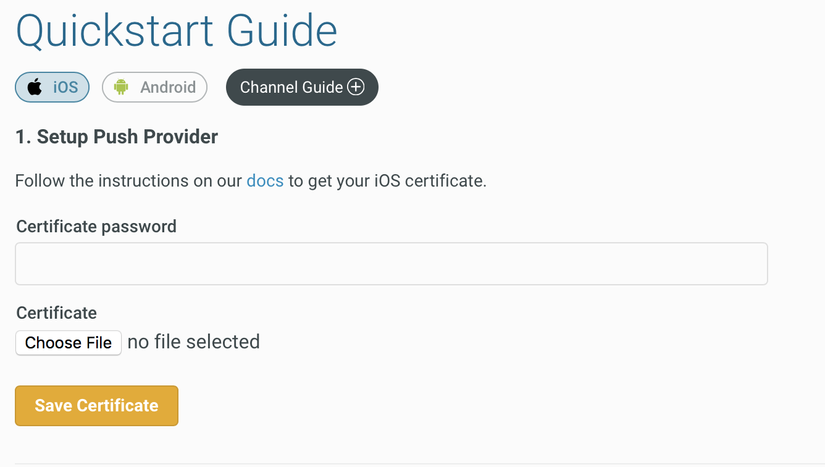
Select the Certificate file corresponding to the application and submit as in the image, then click Save Certificate to complete the set up
So we have our project on the Urban Airship’s Dashboard. Now let’s install Urban Airship for our application.
III. Install
If you use Cocoa Pod, just add the pod file as follows:
1 2 3 4 5 | use_frameworks! target "Your_Application_Name" do pod 'UrbanAirship-iOS-SDK' end |
If you use Carthage:
github "urbanairship/ios-library"
If you a little more manual then like many other SDKs
Download the latest version of Urban Airship IOS SDK Add SDK to your project.
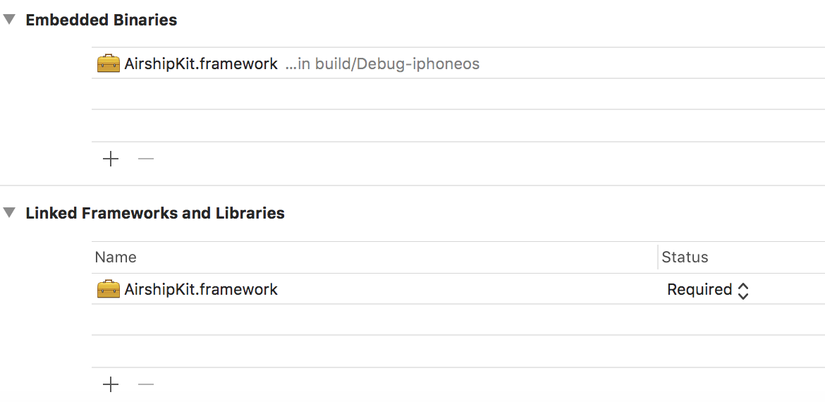
Please note that you must add the AirshipKit.framework file to the Embedded Binaries in the General tab as well.
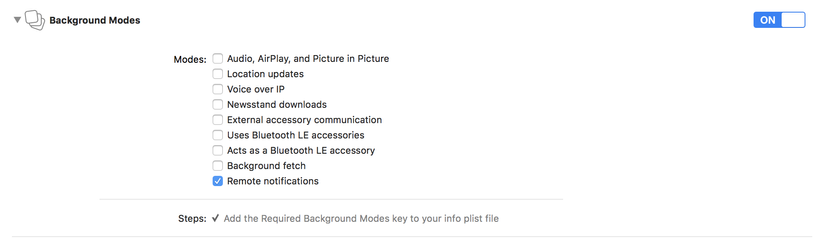
Next, please Enable Push Notification Capability in Xcode

Check Remote notifications in Background modes
IV. Config Urban Airship and Set up Code
Once you have installed Urban Airship IOS SDK you will see the AirshipConfig.plist file. Now there are 4 keys that we need to configure. These are developmentAppKey, development AppSecret, productionAppKey, productionAppSecret. So where do these 4 keys come from?
Now you are back on the Urban Airship’s Dashboard. Select project -> Select Settings -> API andIntegration. Now we can see 2 keys: App Key and App Secret Key.
If you use Certtificate production when you fill these 2 keys into roductionAppKey, productionAppSecret in AirshipConfig.plist and if development do the same thing.
To get Notification from Urban Airship, just add the following code to the didFinishLaunchingWithOptions in the Appdelegate file
1 2 3 4 5 6 7 8 | func application(_ application: UIApplication, didFinishLaunchingWithOptions launchOptions: [UIApplication.LaunchOptionsKey: Any]?) -> Bool { // Override point for customization after application launch. UAirship.takeOff() UAirship.push()?.userPushNotificationsEnabled = true UAirship.push()?.defaultPresentationOptions = [.alert,.badge,.sound] return true } |
So we have completed the setup using Urban Airship Push Notifications.
V. Conclusion
My experience when using Urban Airship is very good. The setup is not too complicated, moreover Urban Airship has a lot of other features to support us in handling Push Notifications. In the following article I will introduce you to those interesting features, hope that it will be helpful for you to handle the “potato” requirements of customers. Reference link: https://medium.com/@aishurao199/urban-airship-push-notification-for-ios-24ee28b5680e Docs Urban Airship: https://docs.airship.com/api/ua/