
So you have a Flutter app and you want to showcase it to everyone? No need to look no further! This tutorial shows how to host your web app on Firebase in just 4 easy steps (2 steps if you have firebase-tools installed and currently have a Firebase project). Assume that you have Flutter installed and can run your Flutter app locally. If you are new to Flutter, check out the getting started guide first .
Prerequisites
If your project was created before the web flutter was enabled, then your project needs a copy of the web directory containing the index.html file. If there is no web directory in your root directory, run the following command to create one:
1 2 | $ flutter create . |
If you create a project after web flutter is enabled, it will automatically generate the web/index.html file for you. Well, now comes the Firebase Storage setup. Note: Steps 1 and 2 can be skipped if you have the Firebase project and firebase tools installed.
Step 1: Create a Firebase project
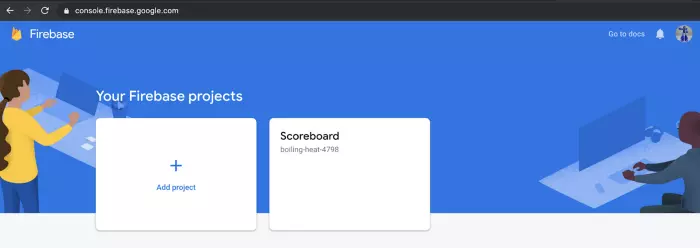
Skip this step if you already have a Firebase project to use. Note: A new project can also be created on the command line from within step 2, but this tutorial will create it in the Firebase console. In a browser, visit Firebase Console .
Click Add project and give your project a name:
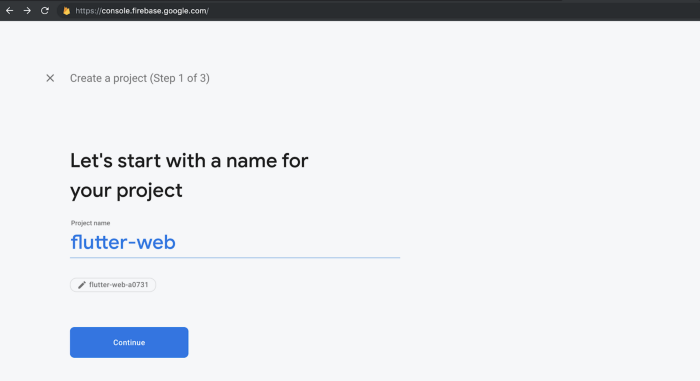
Note: Actual project names may create some extra characters at the end to create uniqueness.
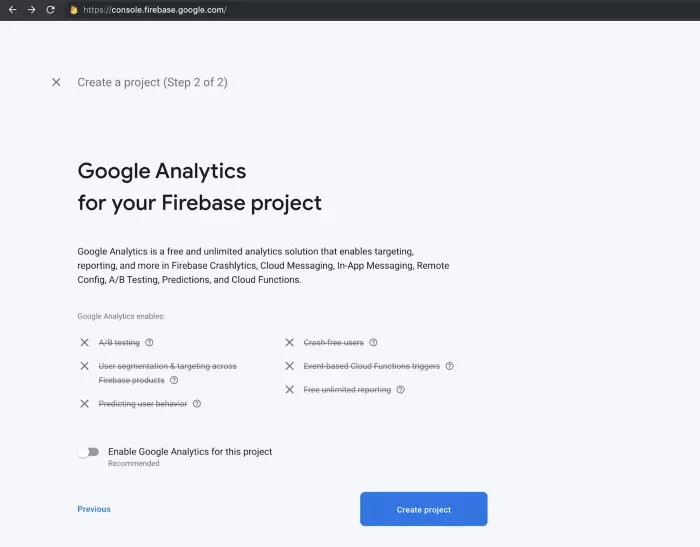
Click Continue . For simplicity, don’t enable Google Analytics for this project, so disable it and click Create project . If you want to use Google Analytics, turn it on and there will be an extra step of choosing or creating a Google Analytics project.
Wait for a few seconds when the project is created, until you see that it is ready and click Continue .
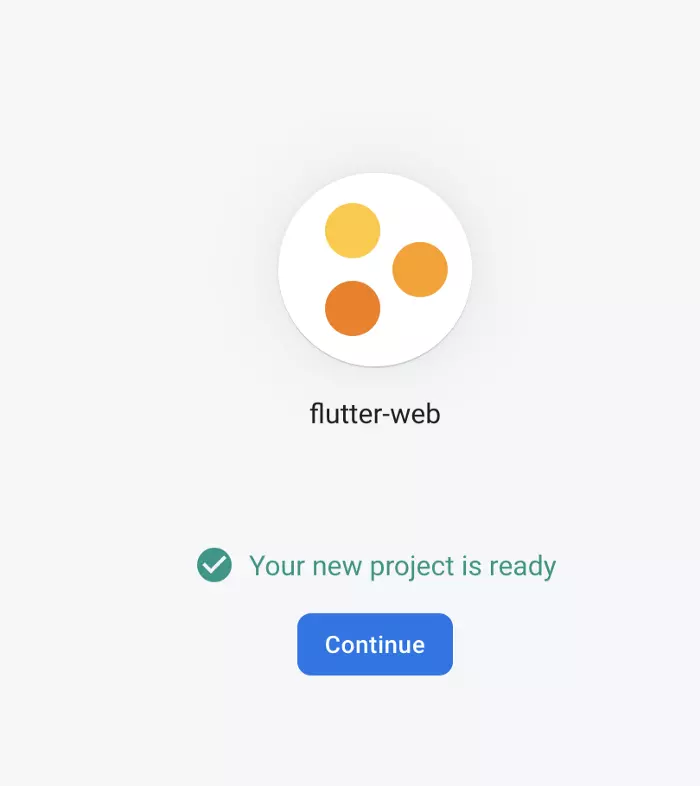
That is step 1!
Step 2: Install the CLI of firebase-tools
Skip this step if you have firebase-tools installed.
If you don’t have npm, you have to install it first.
Note: If you’re not sure if npm is installed on your machine, run $ npm -v and see if it lists the version number. If so, then you’ve got npm . If it says “command not found”, you need to install it.
Installing npm on windows Installing npm on linux Installing npm on mac
Or download it directly from Node.js.
After installing npm , run the following command to install firebase-tools :
1 2 | $ npm install -g firebase-tools |
firebase-tools is now installed!
Step 3: Initialize Firebase storage for your Flutter project
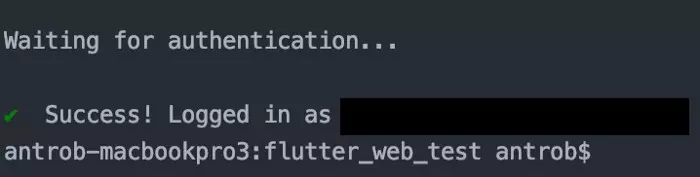
Open a Terminal and navigate to the root directory for your Flutter app and run this command to log in:
1 2 | $ firebase login |
Note: If you’ve already signed in and want to sign in again with another account, first sign out with:
1 2 | $ firebase logout |
Follow command prompt and link in your browser. Accept permissions by clicking OK. When you return to your Terminal, you will see that you are now logged in:
Next, run this command from your Flutter app’s root directory to initialize your Firebase project:
1 2 | $ firebase init |
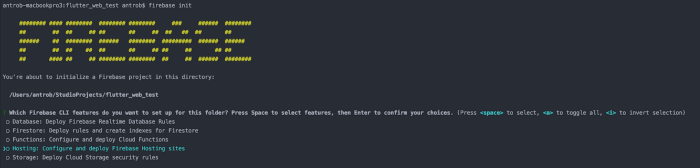
Use the arrow keys to navigate the cursor to Hosting and press the SPACEBAR to select, then press enter. You should now see this screen:
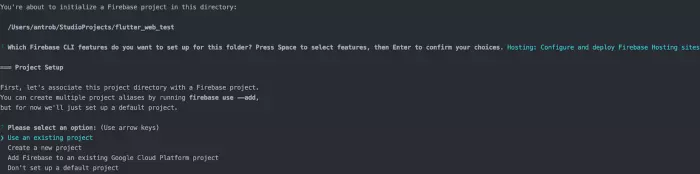
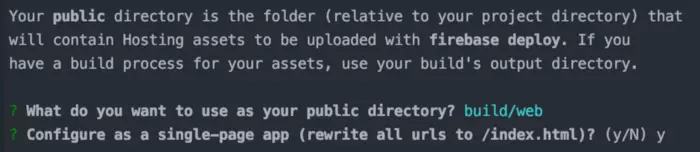
Select Use an existing project by pressing Enter. Use the arrow keys to select the project you did in step 1. Next, type build/web as the public folder and press enter, then type y to select the single page application option:
Note: After this step 2 new files are created ( .firebaserc and firebase.json ) in your root directory. Check and make sure they’re there. If not, check the error in the firebase init step and try again.
Step 4: Build and deploy!
Build your web application:
1 2 | $ flutter build web |
This builds the required files in <root-directory>/build/web . Note: If you see the warning: “Experimental feature web is not supported on stable branches”, make sure you are on at least the developer channel and the web is enabled. For example:
1 2 3 4 5 6 7 8 9 10 | $ flutter channel beta * dev master stable $ ~ $ flutter devices 2 connected devices: Chrome • chrome • web-javascript • Google Chrome 78.0.3904.87 Web Server • web-server • web-javascript • Flutter Tools |
Finally, run:
1 2 | $ firebase deploy |
Archived files are uploaded and stored at your Firebase. You can follow the link in the Terminal to your Flutter web project!
Reference: https://medium.com/flutter/must-try-use-firebase-to-host-your-flutter-app-on-the-web-852ee533a469