When I have the opportunity to interview at some kind of company it is also big, then scanning SonarQube every day was a must. So what is SonarQube ? It is simply a code scanning tool, to find “rotten” code or code that could be subject to serious security laws. Sometimes customers also ask the software team to fix all bugs from SonarQube scan results before signing for acceptance. In this article, I will introduce how to install SonarQube and scan projects written in Java.
Step 1: Install the JDK 11
- Download JDK 11 and install it on C: Java drive

- Open Control Panel , select Advanced System Settings


- Set JAVA_HOME : path to install the JDK

- Set Path: the path that contains the JDK bin directory

Step 2: Download the packages
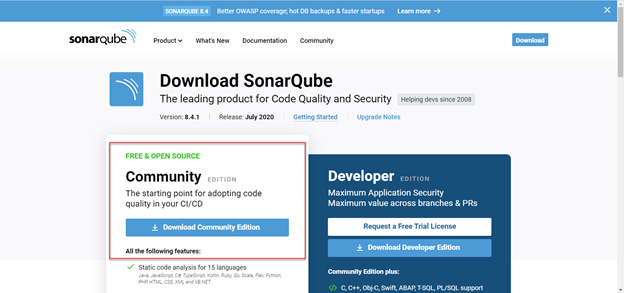
- Download SonarQube (Community version)
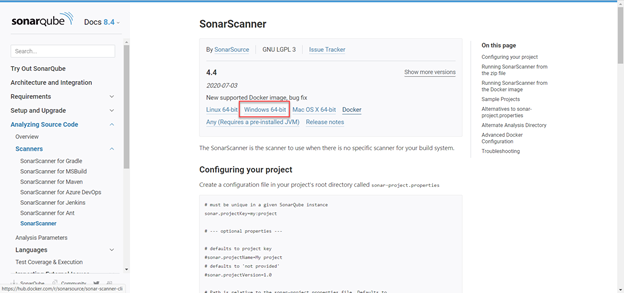
- Download SonarQube-Scanner (Windows version)
You unzip all and rename the directory to sonarqube and sonar-scanner. Copy all of the above folders to the Program Files of drive C.
Step 3: Start server of SonarQube
Open the sonar.properties file at C: Program Files sonarqube conf . Uncomment the command # sonar.search.port = 9001 and change it back to sonar.search.port = 0
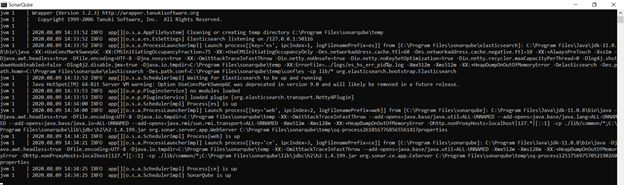
Go to the folder C: Program Files sonarqube bin windows-x86-64 , find and run the StartSonar.bat file to turn on the sonarqube server. After running successfully, the windows will still be left, not turned off. Seeing the words SonarQube is up is successful.
Step 4: Add sonarqube-scanner to Path
Enter Environment Variables similar to step 1. Find the Path section. Add the path containing the bin directory of the sonar-scanner.

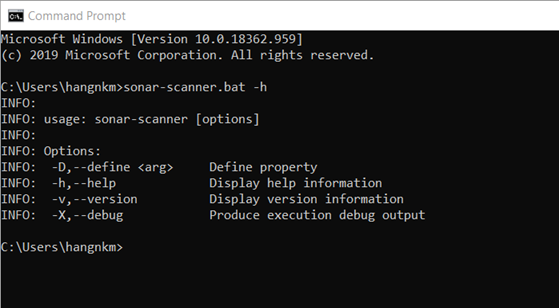
Once done open cmd and type the command sonar-scanner.bat -h . If the output is as follows, it is ok:
Step 5: Find and install the language pack to be tested
Type the address http: // localhost: 9000 / . Login ID / Password with admin / admin . Follow these steps:

If the language pack is still in Install state (green), then install it.
Step 6: Config sonar in the project
I will take the source of the ChitChat project that was introduced in the previous posts as an example. Create a config file named sonar-project.properties and have the following content:
1 2 3 4 5 6 7 8 9 10 11 12 13 14 15 16 | # must be unique in a given SonarQube instance sonar.projectKey=ChitChatAPI # this is the name and version displayed in the SonarQube UI. Was mandatory prior to SonarQube 6.1. sonar.projectName=ChitChatAPI sonar.projectVersion=1.0 # Path is relative to the sonar-project.properties file. Replace “” by “/” on Windows. # This property is optional if sonar.modules is set. sonar.sources=E:/Projects/Pet Projects/java/ChitChatAPI/src/main/java/com # Encoding of the source code. Default is default system encoding #sonar.sourceEncoding=UTF-8 sonar.language=java sonar.java.binaries=target/classes |
Copy this file into the directory containing the source code, here is E: / Projects / Pet Projects / java / ChitChatAPI
Step 7: Scan source
Next, open cmd and cd to the folder in sonar.source (where you copied the sonar-project.properties file earlier). Run the sonar-scanner command to test the program for errors. If there is no error in the running process, we have successfully analyzed the error.

Refresh the page http: // localhost: 9000 / , click Projects, we will see the results report.


On the Project detail page, we can clearly see the Issues classified by Bugs, Vulnerabilities, Security or Code Smells . Click on the number of bugs in each type, Sonar will specify each Issue located in any Class as well as propose solutions to fix.

As the above example, Sonar recommends that I rename the created_on variable to createdOn .
In the process of playing, there are any steps that have not been done yet, do not hesitate to comment below