A container for an alert presentation.
Apple Documentation.
In this tutorial, you will learn about alert in SwiftUI:
- How to create an alert
Prerequisites
To follow along with this tutorial, you’ll need some basic knowledge about:
- Basic with Swift.
- Xcode 11 and above
Alert
Use the flag to determine if the alert is displayed.
1 2 | @State private var alertShown = false |
Here, you will use a button to activate the alert.
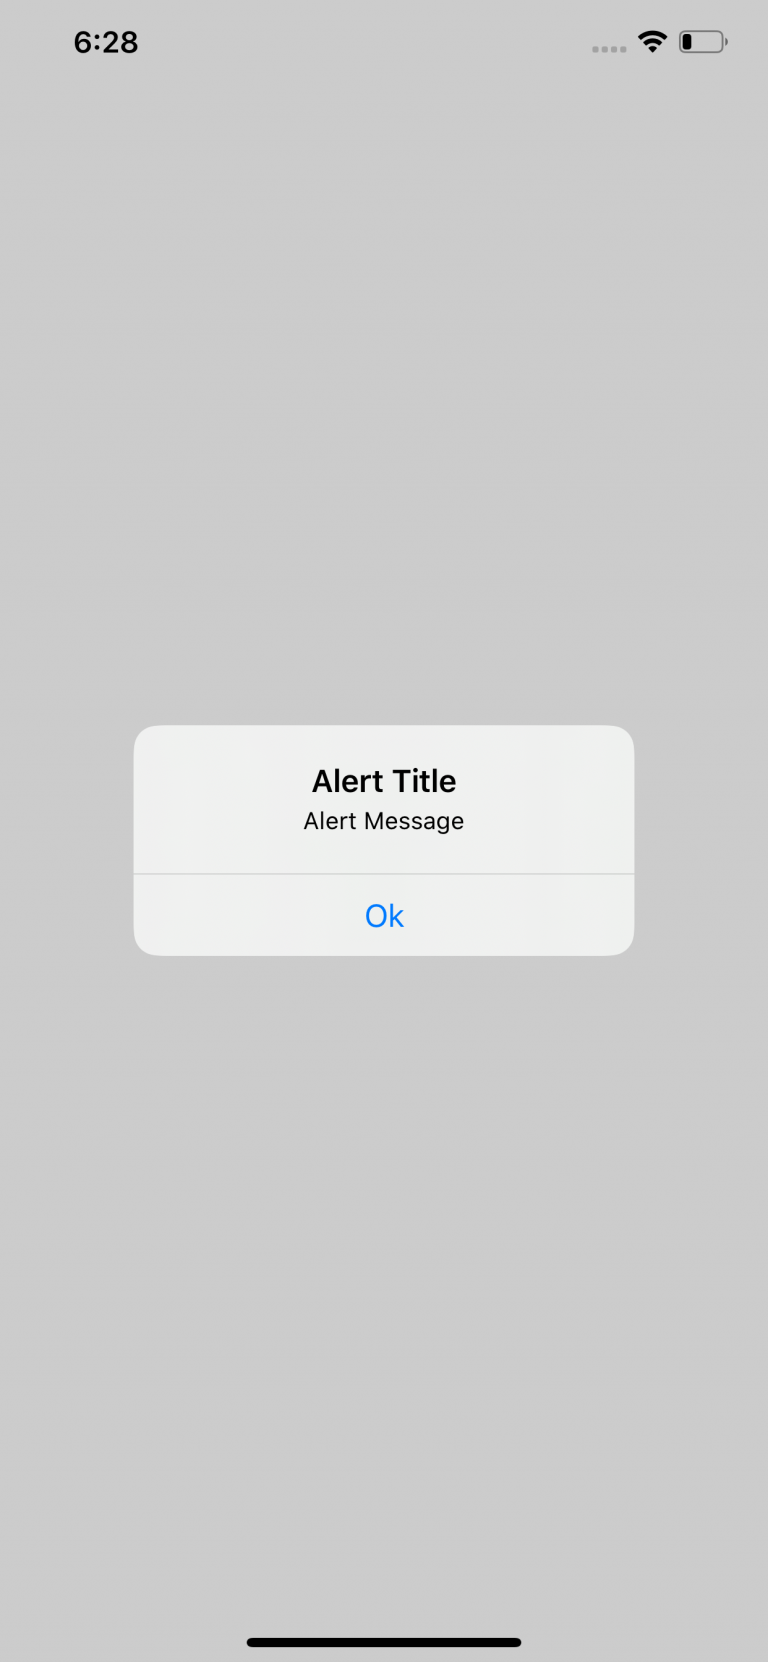
1 2 3 4 5 6 | Button("Show Alert") { self.alertShown = true }.alert(isPresented: $alertShown) { () -> Alert in Alert(title: Text("Alert Title"), message: Text("Alert Message"), dismissButton: .default(Text("Ok"))) } |
With the above code, when the button is clicked, an alert will pop up. You can customize the subject, message and button. Currently, only 1 button is configured.
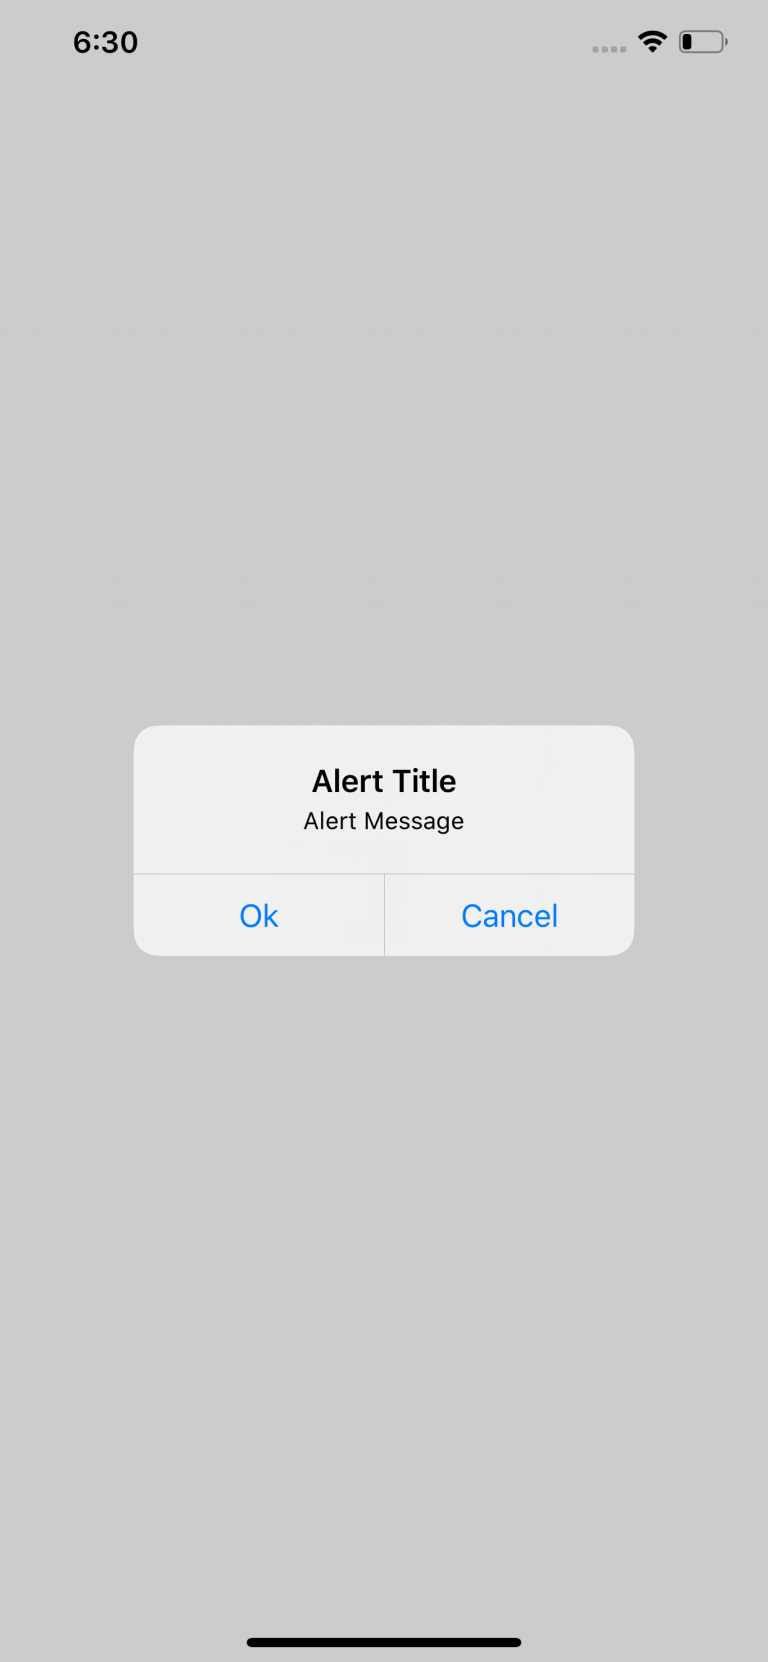
If you need more than one button, you can.
1 2 | Alert(title: Text("Alert Title"), message: Text("Alert Message"), primaryButton: .default(Text("Ok")), secondaryButton: .default(Text("Cancel"))) |
Action Sheet
You will use a flag to determine if the action sheet is displayed or not. You create a bool variable to keep state.
1 2 | @State private var actionSheetShown = false |
Next, create a button below. And when the action sheet is activated, you change the flag’s state to true.
1 2 3 4 | Button("Action Sheet") { self.actionSheetShown = true } |
Next, you create the action sheet as follows:
1 2 3 4 5 6 7 8 9 10 11 12 | .actionSheet(isPresented: $actionSheetShown) { () -> ActionSheet in ActionSheet(title: Text("Menu"), message: Text("Select your options"), buttons: [ .default(Text("Ok"), action: { print("Ok selected") }), .destructive(Text("Cancel"), action: { print("Cancel selected") }) ]) } |
The result will look like this:
Thank you everyone for following up here. Thanks !!