Let’s start:
Open Xcode and create a new WorkSpace. You can’t do this from Xcode’s Welcome screen, but you can use the shortcut ⌃ ⌘ N (control + command + n). Create a new empty folder and call it modules. You can choose a different name, but for this article I will use modules.
Add a new project to this WorkSpace with ⇧ ⌘ N (shift + command + n). In the dialog that opens, select the iOS App template and call it main.
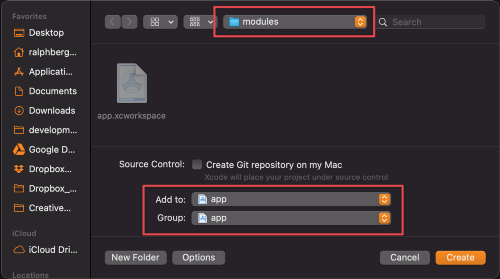
Make sure you create it in the modules folder and also choose to add it to the WorkSpace app and app group. Add another new project, but now select the iOS Framework template and call it core. Create this in the modules folder too and also add it to the app workspace and app group. Add another new project, but for now select the iOS Framework template and call it core. Create this in the modules folder and also add it to your app workspace and app group.
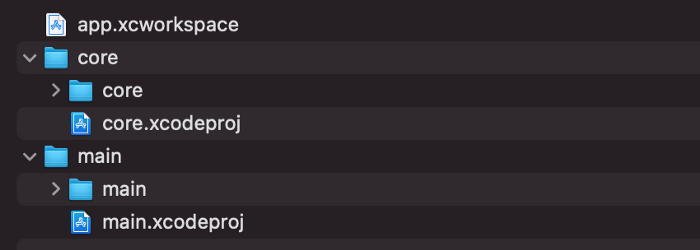
Your directory structure should now look like this:
Link it together
Time to link core project / module to main project.
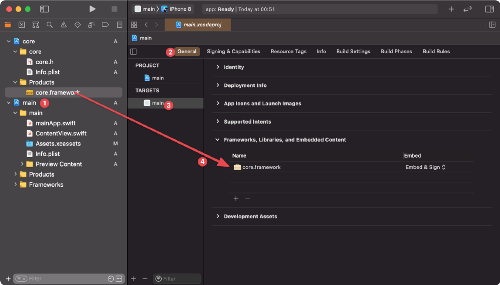
Select the main target of the main project and drag and drop core.framework into the Frameworks, Libraries, and Embedded Content sections.
A simple test
To test it, let’s create a new Swift file (⌘ N) in core project using the following simple method:
1 2 3 4 5 6 | import Foundation public func name() -> String { return "Ralph" } |
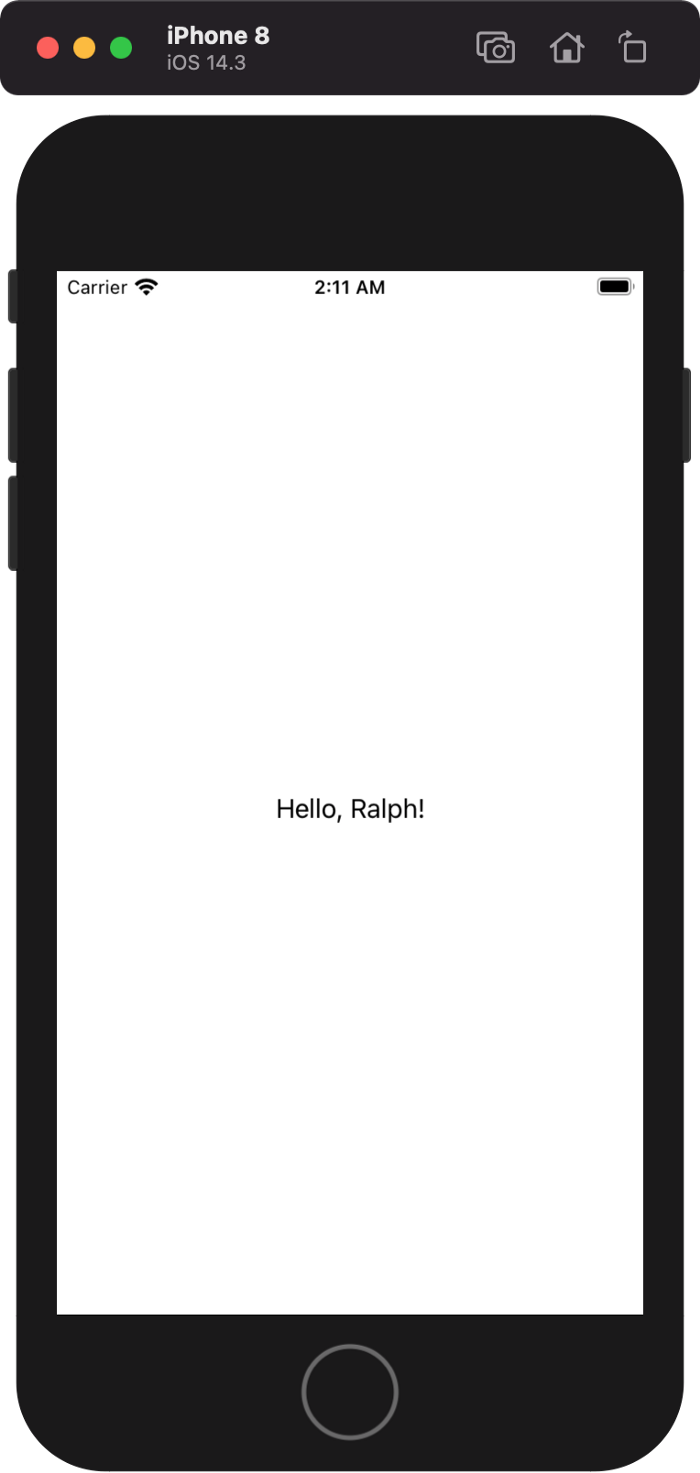
In the main project, change ContentView.swift. Add import core statement and call method name ():
1 2 3 4 5 6 7 8 9 | import SwiftUI import core struct ContentView: View { var body: some View { Text("Hello, (name())!").padding() } } |
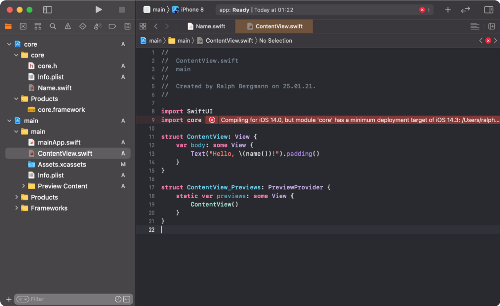
Xcode may display an error related to minimum deployment target. To fix this, change it to 13.0 in both main and core projects.
Add dependencies
Currently, I am using CocoaPods for dependency management because I am not too familiar with Swift Packages. In the modules folder, create a Podfile file with this content and call pod install.
1 2 3 4 5 6 7 8 9 10 11 12 13 14 15 16 17 18 19 20 21 22 23 24 25 | workspace 'app.xcworkspace' platform :ios, '13.0' use_frameworks! def core_pods pod 'SwiftDate', '~> 6.3.1' end def main_pods # add pods for the main target here end target 'core' do project 'core/core.xcodeproj' core_pods end target 'main' do project 'main/main.xcodeproj' core_pods main_pods end |
The pod install command initializes CocoaPods for this workspace (as we haven’t done that so far) and adds the SwiftDate pod as a dependency to the core project.
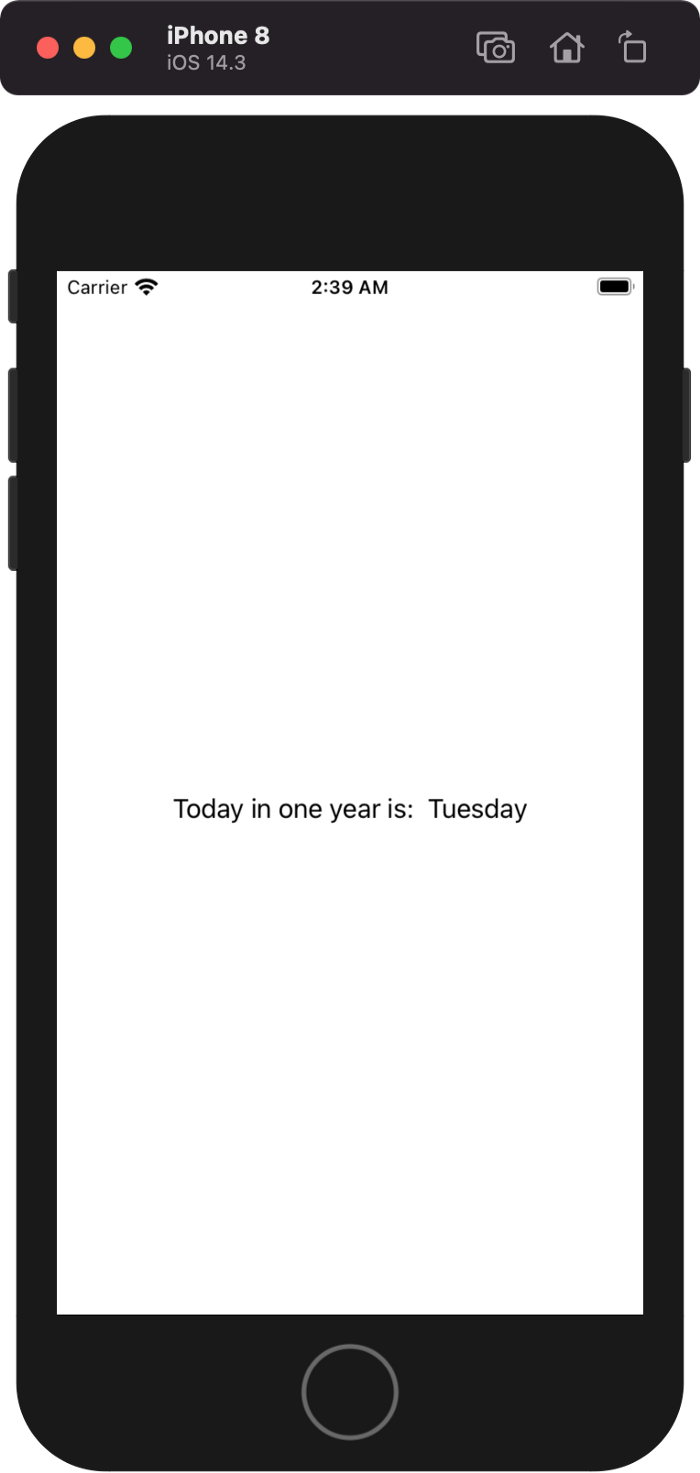
We can now use SwiftDate (I just used this to show how to add a dependency). Change the ContentView.swift and Name.swift files in the core project as follows:
ContentView.Swift
1 2 3 4 5 6 7 8 9 10 11 12 13 14 15 | import SwiftUI import core struct ContentView: View { var body: some View { Text("Today in one year is: (nextYear())").padding() } } struct ContentView_Previews: PreviewProvider { static var previews: some View { ContentView() } } |
Name.Swift
1 2 3 4 5 6 7 8 | import Foundation import SwiftDate public func nextYear() -> String { let nextYear = (Date() + 1.years) return nextYear.weekdayName(.default) } |
Done
The completed project can be found at: https://github.com/the4thfloor/xcode-submodules
Reference source: Sub-modules for Xcode