Installation requirements:
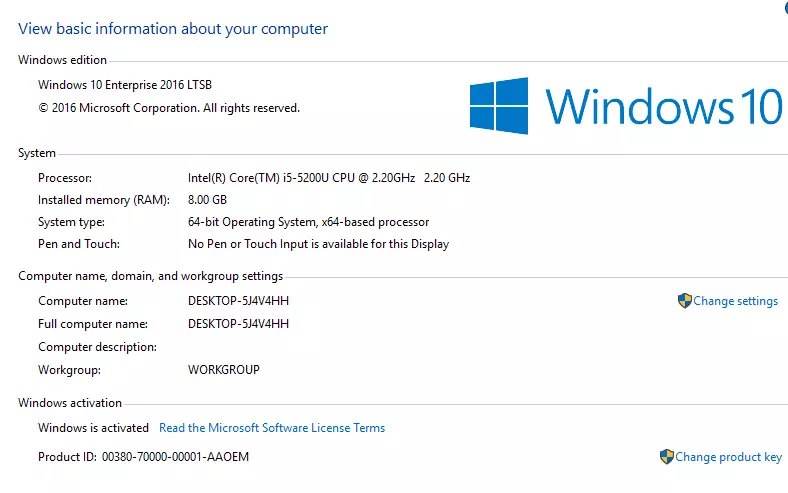
- Windows 10 64 bit to use up the full capacity of RAM
- RAM: From 8GB to 32GB
- Hard drive: SSD
- VMware: On Windows 10 64 bit should use version 15. It is smaller than version 15, can not install on Windows 10 64 bit
The purpose of the installation is to program IOS, not to experience technology
According to the Apple Developer page: “Starting April 2021, all iOS and iPadOS apps posted to the AppStore must be programmed in Xcode 12 and the iOS 14 SDK”.
When installing, please download the MAC OS X emulator installer in VMWare that contains macOS Catalina 10.15.6 which is a new version of Xcode 12 and iOS 14 SDK (Xcode versions depend on Mac OS version. OS X) or download the latest Mac OS X 11 Big Sur announced at WWDC conference on 22/06/2020 and released on 12/11/2020 here . And iOS programming, you should follow the official Apple guide page for developers to keep up with the latest changes from Apple .
After downloading the MAC OS X 10.15 installer in VMWare , follow the steps to install:
STEP 1: Install VMWare WorkStation
If you already have VMWare, you can skip this step. If not, then install the software.
After the installation is complete, enter the key and please turn off the VMWare WorkStation software and then unlock the MacOS emulator function.
STEP 2: Unlock macOS emulator function
Close all virtual machine windows first.
After extracting the Unlock for VMware file, find the file win-install.cmd and run it with admin rights to install it.
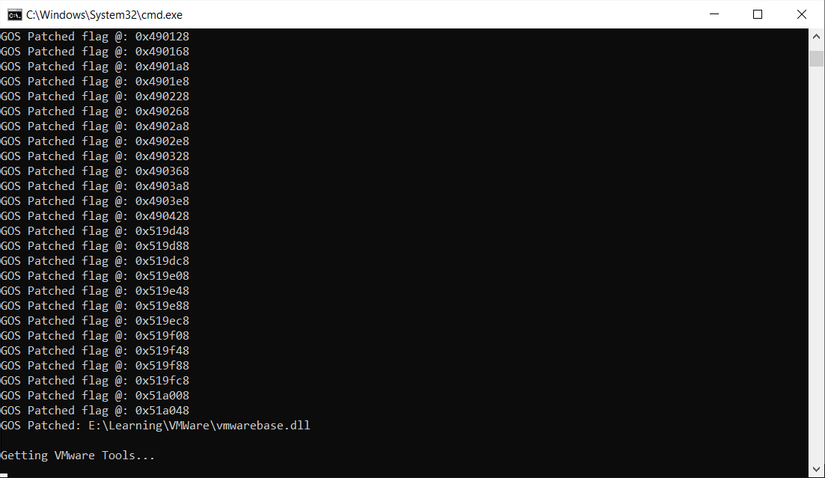
After the above CMD screen disappears, it also means that the installation is complete.
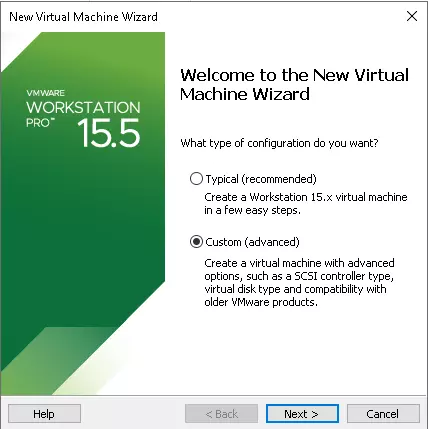
Step 3: Install the MacOS emulator
Note: Hard drive capacity at this time should be from 40GB to 150GB to dedicated to one thing is good iOS programming at present and in the future.
Open VMWare and install it.
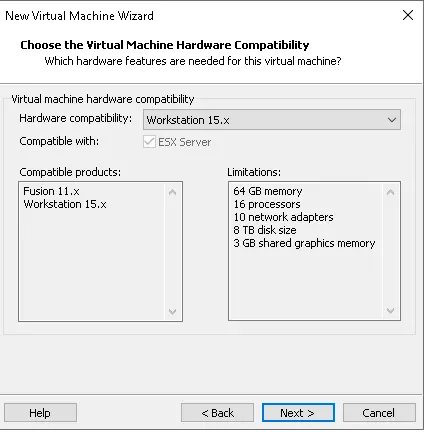
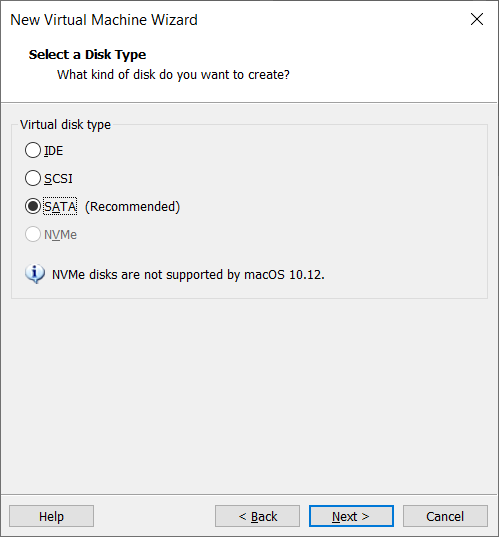
On the VMWare window, choose to create a new virtual machine “Create a new Virtual Machine”.
Then select as shown.
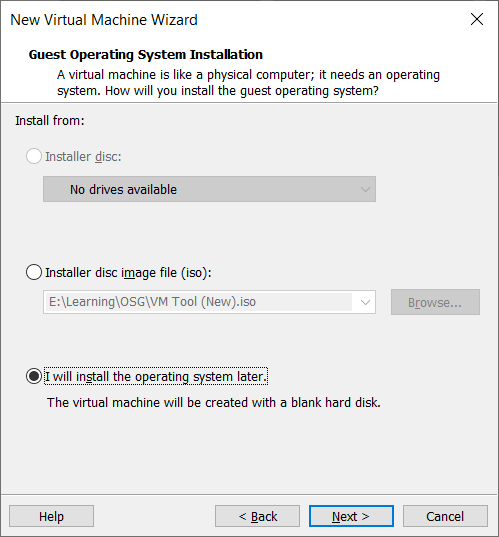
Choose mount ISO file later, because I need to edit a little bit at the end.
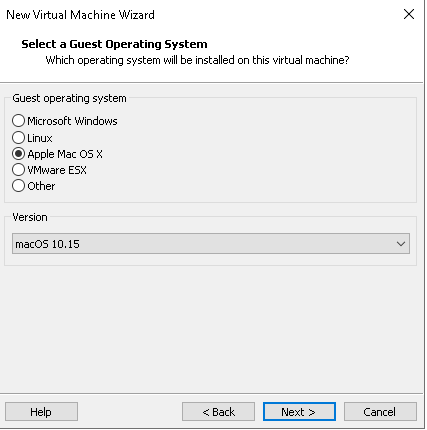
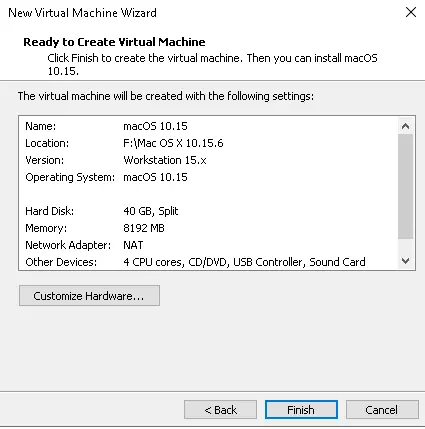
Choose macOS 10.15. The word Apple Mac OS X appears as a result of the Unlock in step 2 .
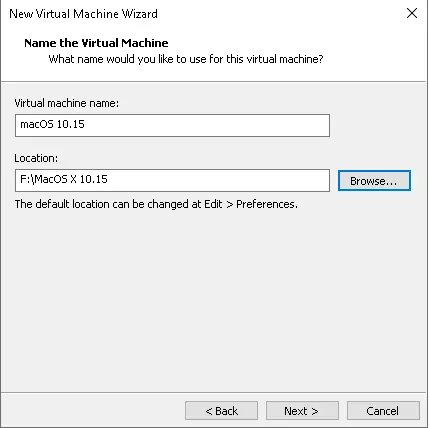
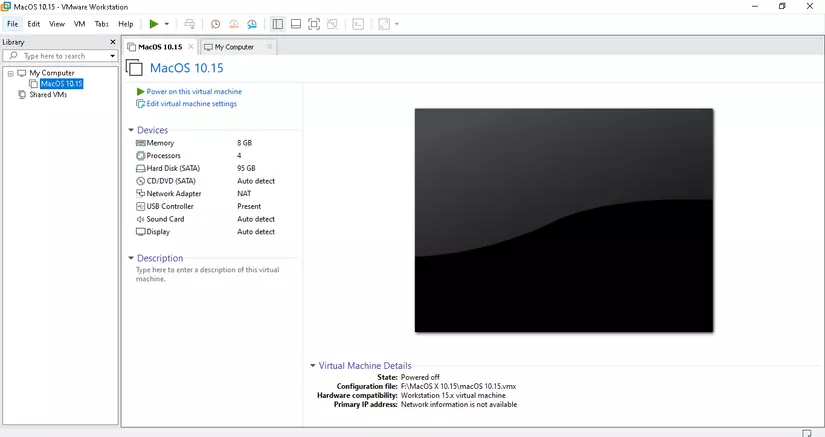
Proceed to name and select the location of the virtual machine.
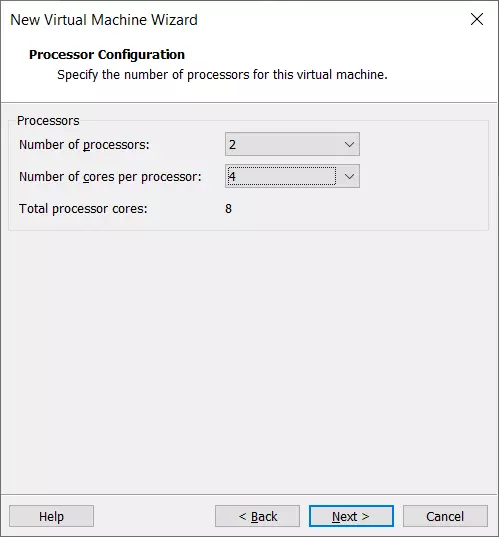
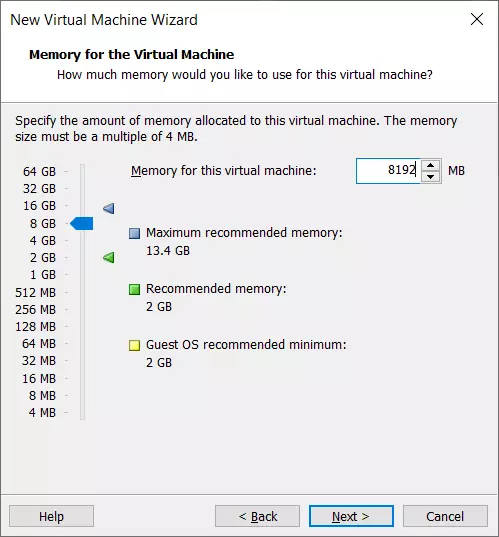
Note: In this step, you should share your hardware for the virtual machine from 50-75% of the real machine for the best experience.
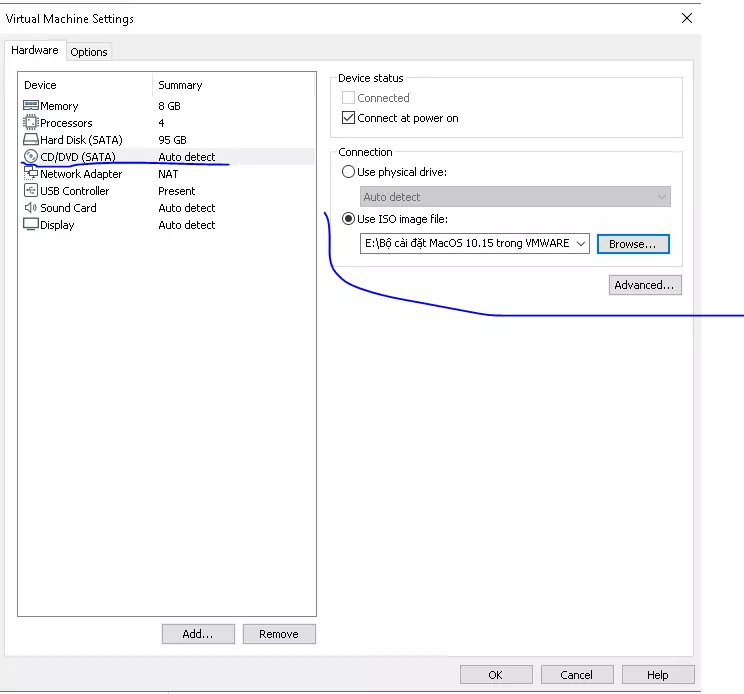
At this point choose Customize Hardware and select ISO on the CD section
Check the computer on the Intel or AMD chip series to add the content to the .vmx file
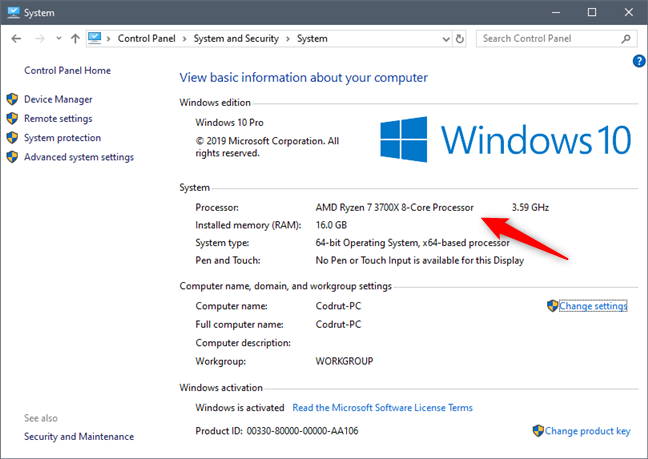
If the computer belongs to the AMD chip line as shown above, go to the initial selected virtual machine installation directory, find the file with the .vmx extension opened with notepad and add the following code to the last line:
1 2 3 4 5 6 7 8 9 10 11 | smc.version = "0" cpuid.0.eax = "0000:0000:0000:0000:0000:0000:0000:1011" cpuid.0.ebx = "0111:0101:0110:1110:0110:0101:0100:0111" cpuid.0.ecx = "0110:1100:0110:0101:0111:0100:0110:1110" cpuid.0.edx = "0100:1001:0110:0101:0110:1110:0110:1001" cpuid.1.eax = "0000:0000:0000:0001:0000:0110:0111:0001" cpuid.1.ebx = "0000:0010:0000:0001:0000:1000:0000:0000" cpuid.1.ecx = "1000:0010:1001:1000:0010:0010:0000:0011" cpuid.1.edx = "0000:1111:1010:1011:1111:1011:1111:1111" featureCompat.enable = "FALSE" |
Then Save and turn off the notepad.
If the computer belongs to the Intel chip series as shown below:
Go to the folder where the virtual machine was initially selected, find the file with the .vmx extension opened with notepad and add the following code to the last line:
smc.version = "0"
Then Save and turn off the notepad.
Note: The step of adding content to the .vmx file is very important. If you do not add the appropriate content to the .vmx file, operating system OS X 10. ?? will be frozen during the installation in VMWare virtual machine.
Return to VMWare and proceed to Power On the virtual machine to install.
Return to VMWare and proceed to Power On the virtual machine to install.
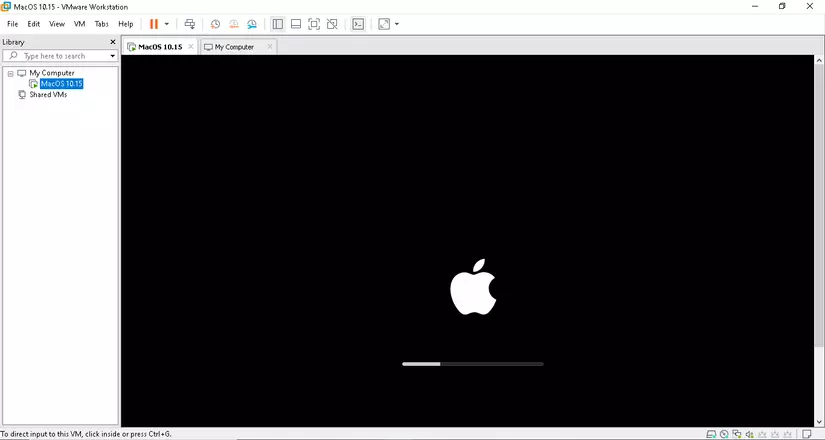
This stage requires great patience. Long time
At this point, drill install quickly, not turn off the engine from the beginning and spend more time on hasty.
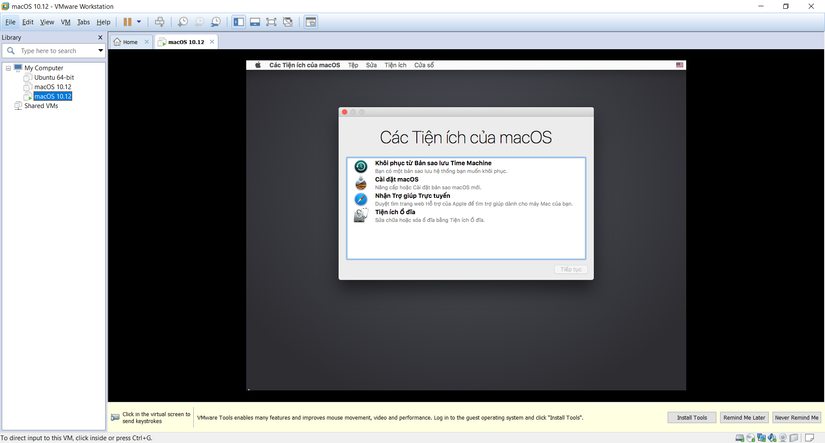
Use “Disk Utility” to proceed with the hard drive partition for Mac.
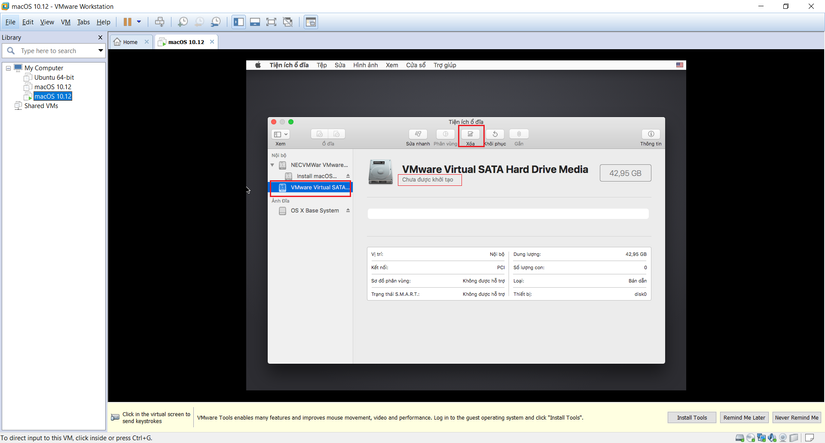
There is a hard drive range of tens of GB has not been initialized, please firmly press the “delete” button.
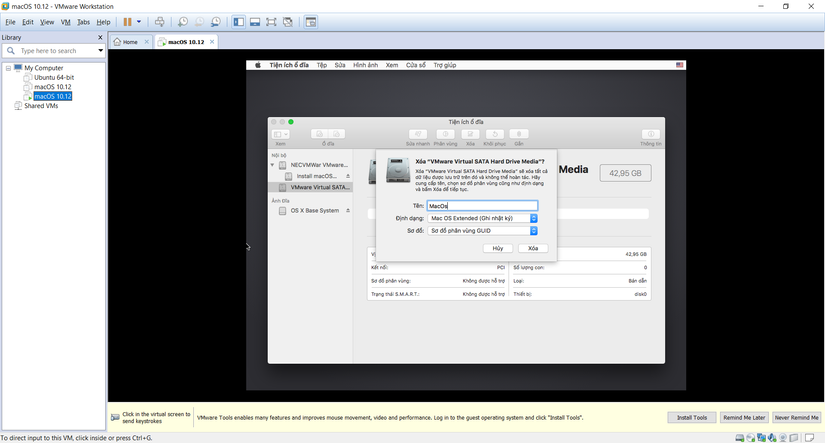
Rename and click delete.
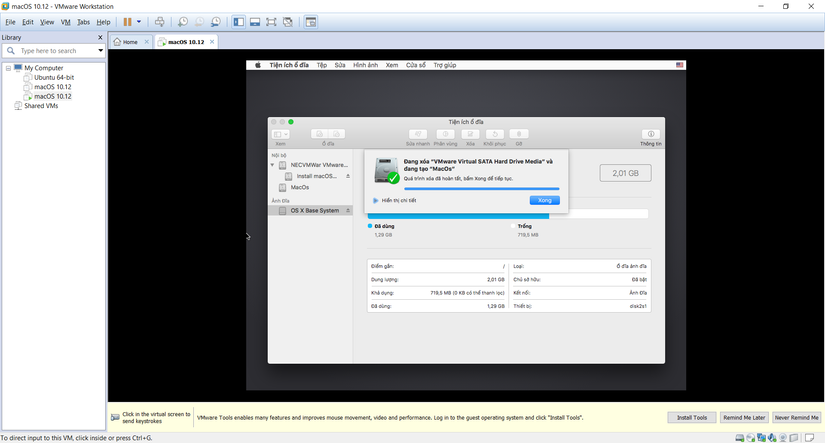
So the partitioning is finished. Then, turn off “Disk Utility” and install.
Select Install Mac OS
Just press “next”, “agree to the terms”, … and select the installation partition.
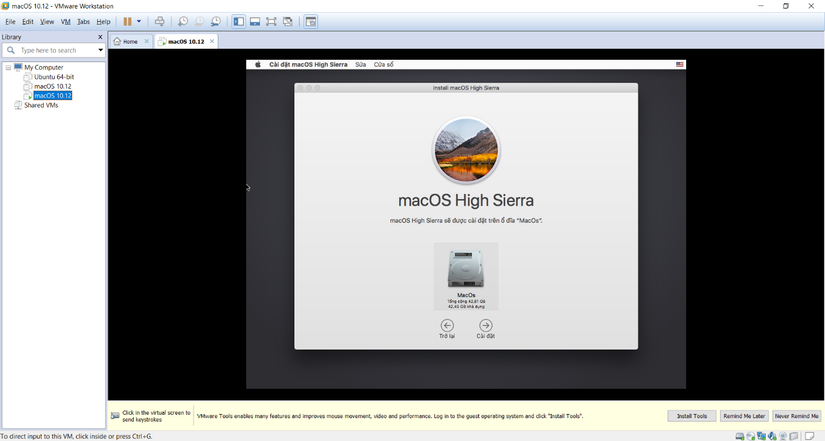
Then wait for the installation.
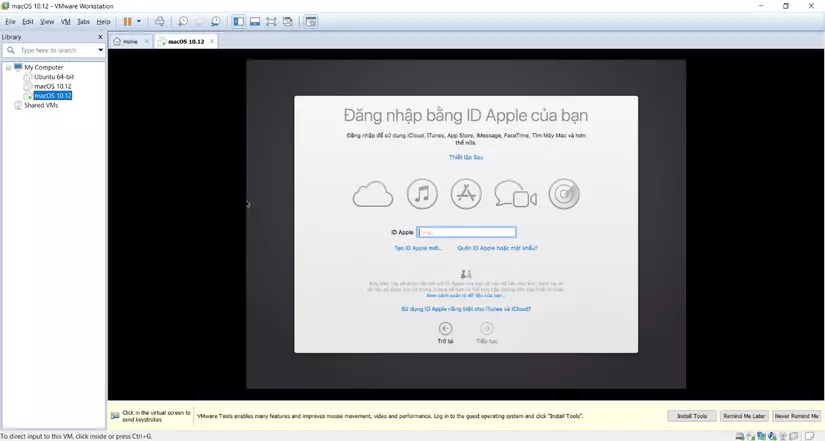
After MacOS is installed, select the keyboard layout, set up Apple ID and then set a password for the device.
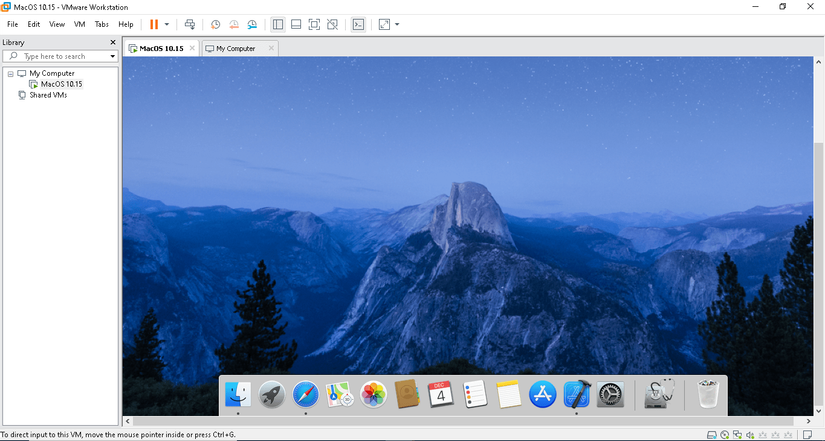
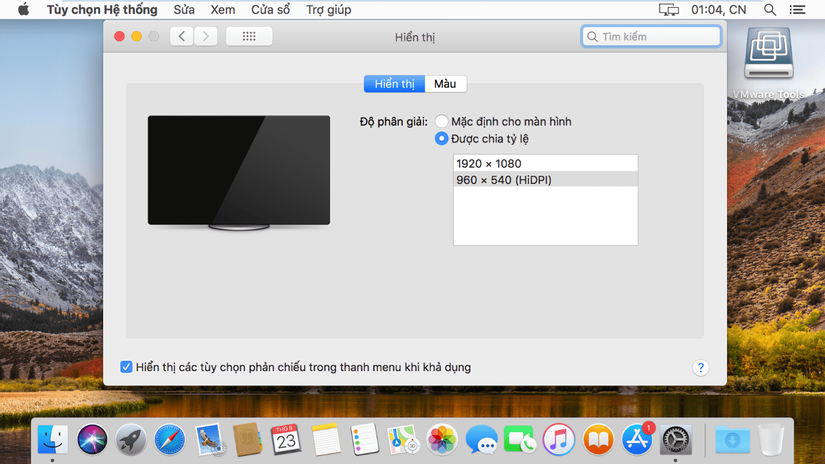
Now you can use MacOs . However, it still has a disadvantage in that it is not possible to expand the screen. And so the experience won’t be perfect. Let’s go to the next step.
STEP 4: Set up full screen functionality for Mac with VMTool
Temporarily Power Off the virtual machine, right-click the virtual machine in the list on the left, and select Setting .
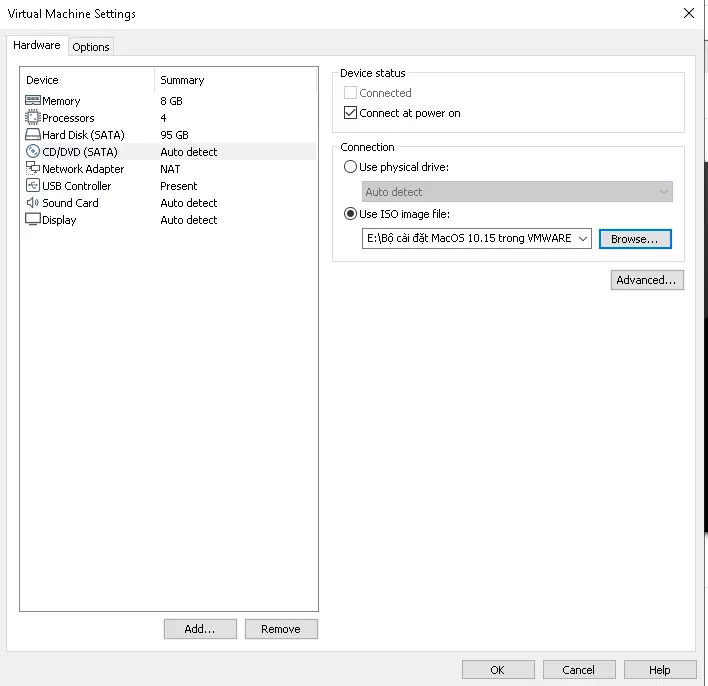
Put the ISO file of VM Tool (New) just downloaded and press OK. Open the virtual machine and continue with the installation.
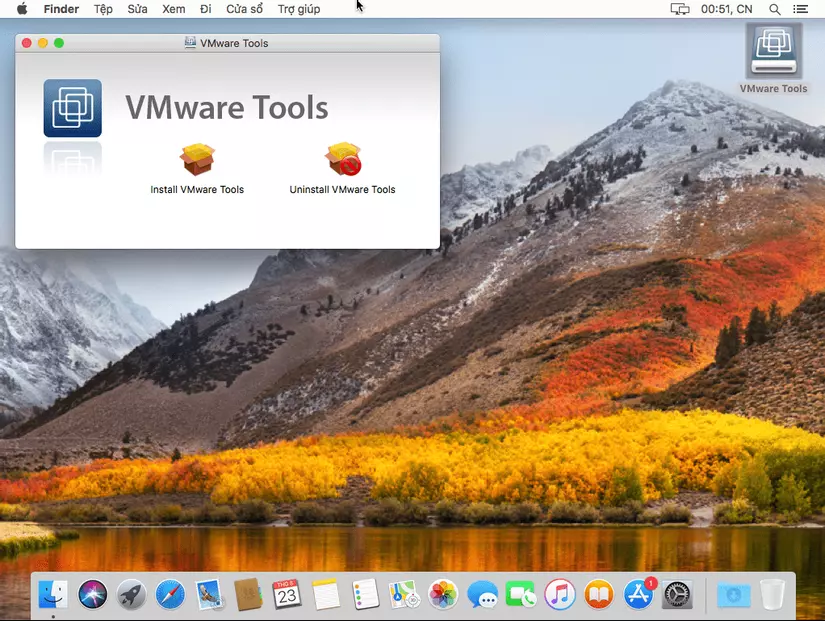
Select Install VMWare Tools , and continue to click next, click the Apple ID password for the installation.
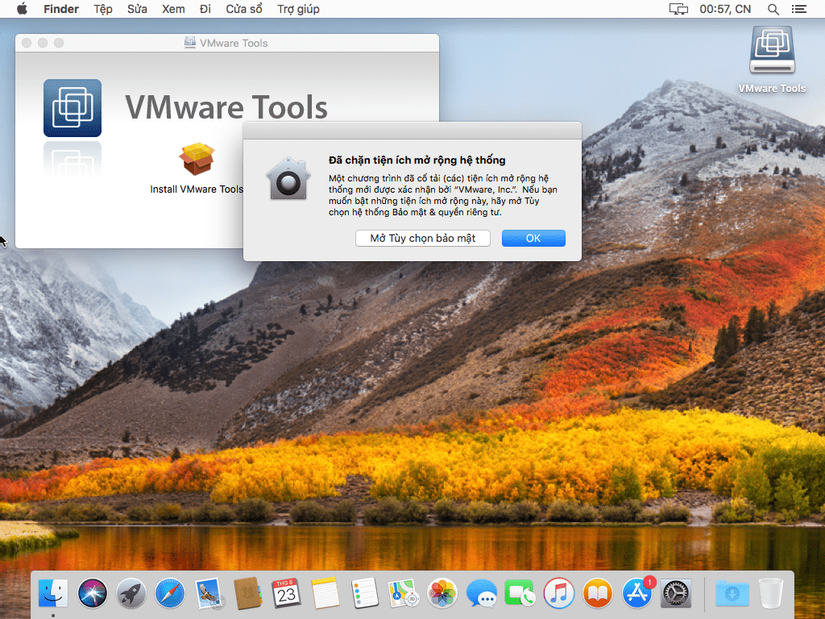
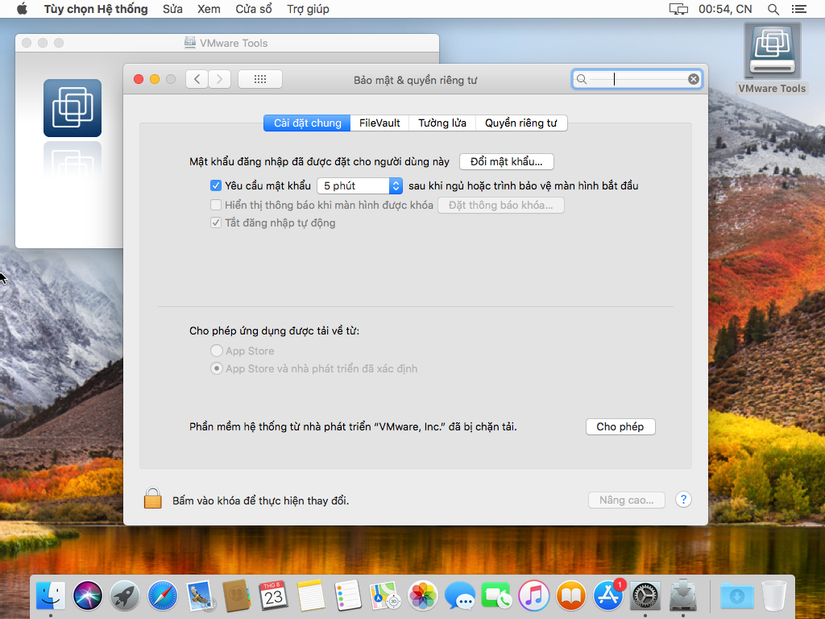
Once notified about security, select Open security options and click Allow
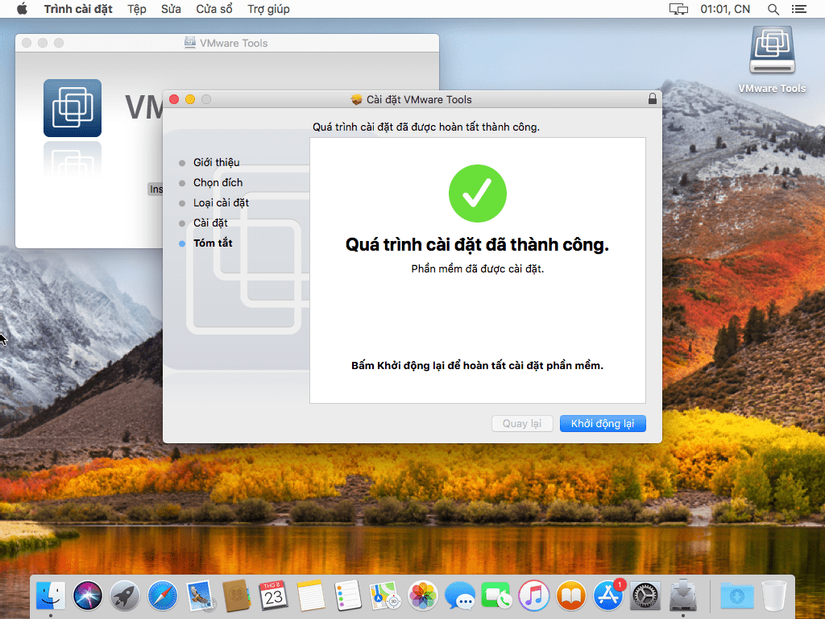
After the installation is complete, proceed to restart the virtual machine by pressing the “reboot” button on the message.
Again, do “allow” again, after this, choose Install VMTool and actually install (the operation will stay the same but this time will take a little longer).
After installation is complete, you can open the screen in full screen on the VMWare toolbar.