Product design is about empathy. Know what users want, what they like, what they don’t like, what makes them disappointed, and learn to understand and express those motivations – here’s what is needed to make something great. great.
And so we invest in going beyond our own operating model around the world. We tailor our experience to different languages. We consider the usability effects of screen readers or other assistive technologies. We continually evaluate our performance against these expectations.
However, there is one important factor that application developers often overlook: the network condition, or more specifically, the latency and bandwidth of the Internet connection.
For something so essential to the user experience, unfortunately most developers implement a special approach to field testing their application under different conditions (if any).
We’ll talk about Network Link Conditioner, a utility that allows macOS and iOS devices to accurately and consistently simulate unfavorable network environments.
Setting
You can find Network Link Conditioner in the package “Additional tools for Xcode”. You can download it from the Downloads for Apple Developers page
Search for “Additional tools” and select the appropriate release.
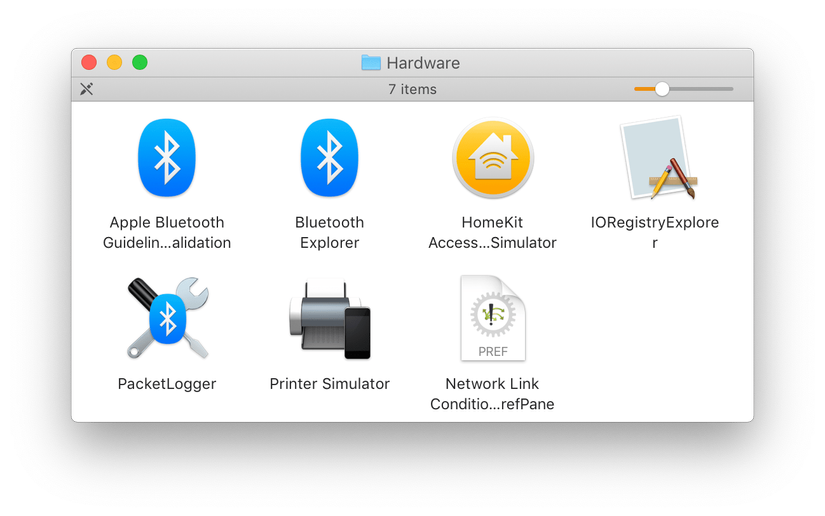
When the download is complete, open DMG, navigate to the folder “Hardware” and double-click “Network Link Condition.prefPane”.
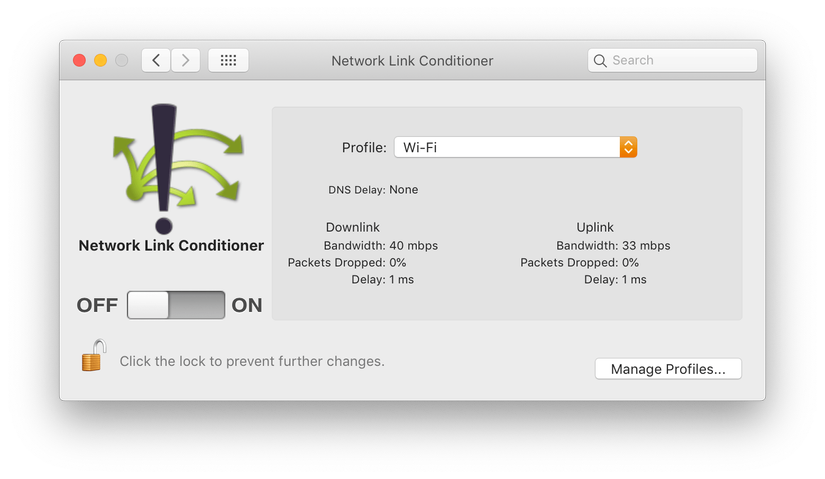
Click on the Network Link Conditioner option at the bottom of System Preferences.
Note:
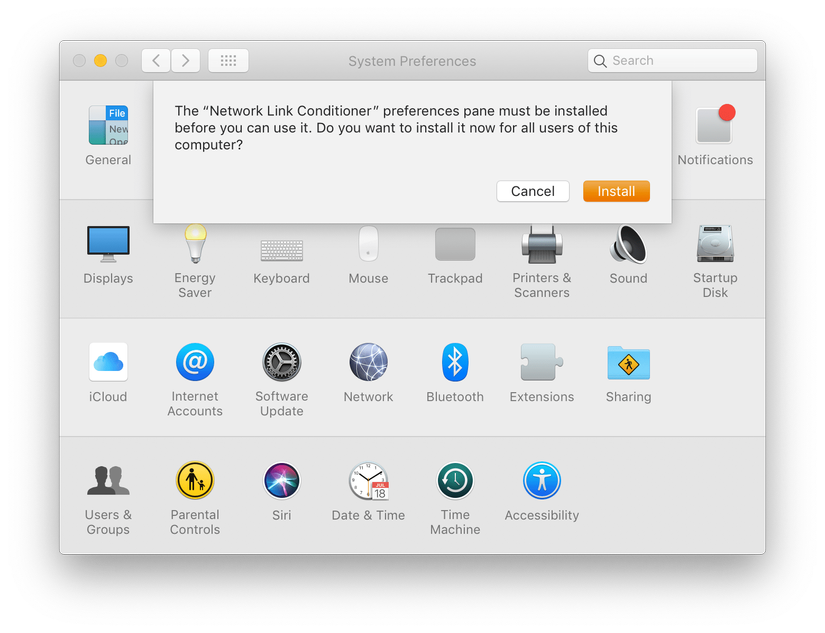
When you first installed Network Link Conditioner on macOS 10.14, everything worked as expected. But if you close and reopen System Preferences, the options pane no longer appears, and trying to reinstall results in the following error message:
As a workaround, you can move the preferences pane from the user’s PreferencePanes directory to the system-level directory by entering the following command in Terminal.app (you will be prompted for your password):
After you have done this, the Network Link Conditioner will appear the next time you open System Preferences.

Control bandwidth, latency and packet loss
Enabling Network Link Conditioner will change the system-wide network environment according to the selected configuration, limiting uplink or download bandwidth, latency, and packet loss rates.
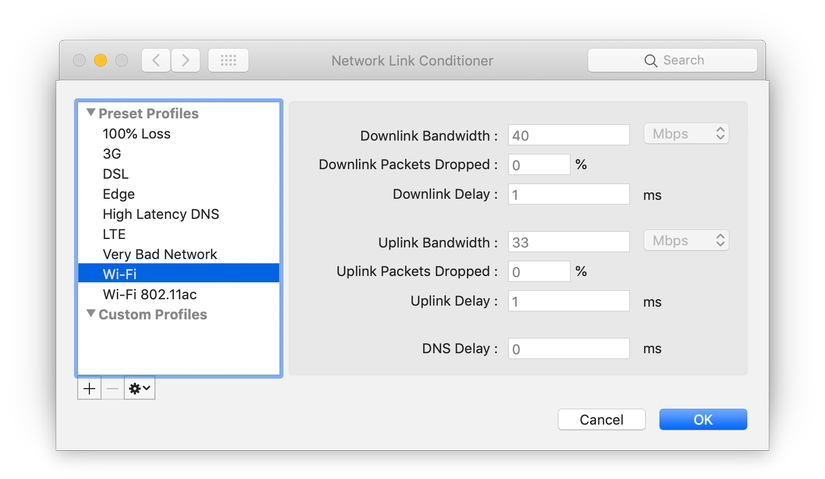
You can choose from one of the following settings:
- 100% Loss
- 3G
- DSL
- EDGE
- High Latency DNS
- LTE
- Very Bad Network
- WIFI
- WiFi 802.11ac … or create your own according to your specific requirements.
Now, try running your application with Network Link Conditioner enabled:
- How does network latency affect your application launch?
- How does bandwidth affect the table view scroll performance?
- Does your application work with 100% lost packages?
Turn on Network Link Conditioner on the iOS device
Although the options pane works fine for development on a simulator, it’s important to test it on a real device. Fortunately, Network Link Conditioner is also available for iOS.
To use Network Link Conditioner on iOS, set up your device for development:
- Connect the iOS device to your Mac
- In Xcode, navigate to Window> Devices & Simulators
- Select your device in the sidebar
- Click on “Use for Development”

You should now have access to the Developer section of the Settings app. You can enable and configure Network Link Conditioner on your iOS device under Settings> Developer> Networking. (Just remember to turn it off after you check out!).