In the previous article, I showed you how to write a rest-server so that users can trade at API, but there is still a problem that users still have to use the command-line to sign and broadcast the transaction. Today, in this final article, I will show you how users can sign and broadcast transactions by API, contributing to making the application flow below for users more transparent.
1. Learn about the tx sign command and how to get user information from the system
Back to the previous article, when a user creates a transaction, that transaction is only in proposal form, the user must sign and broadcast it for it to take effect.
The tx sign statement has the following structure:
1 2 | nscli tx sign unsignedTx.json --from alice --offline --chain-id namechain --sequence 0 --account-number 4 |
See the source of the command here . Pay attention to the following important parameters:
- The parameter immediately behind the
signmust be a file, in this caseusignedTx.json - The parameter after the
--fromflag is either the name or address of the user who created the transaction - The after flag
--sequenceincreases from zero after each person’s transaction whether or not the transaction is successful, the meaning of this parameter is to help the system to arrange the transactions in the correct order, avoiding being double spending. - The parameter immediately after the
--accountn-numberflag is the--accountn-numberof that user in the system
Thus, in order for the user to be able to sign a transaction using the API, the request that the user has to send must have: unsigned transaction, the name or address of that user, sequence, account-number.
The parameters of address, sequence, account-number are parameters that are calculated and given to the user by the system, users cannot know it in advance, so I will first write a route so that users can query get my address through the name, then use the default route http://localhost:1317/auth/accounts/$address to query the sequence parameters, account-number , as well as the token balance of the that user.
Open the file x/nameservice/client/rest/query.go and add the following:
- Import the
os/execpackage at the beginning of the file to be able to execute the command.
1 2 3 4 5 6 | <span class="token keyword">import</span> <span class="token punctuation">(</span> <span class="token operator">...</span> <span class="token string">"os/exec"</span> <span class="token operator">...</span> <span class="token punctuation">)</span> |
- Add the request handler function below
1 2 3 4 5 6 7 8 9 10 11 12 13 14 15 16 17 18 | <span class="token keyword">func</span> <span class="token function">accAddressHandler</span> <span class="token punctuation">(</span> cliCtx context <span class="token punctuation">.</span> CLIContext <span class="token punctuation">)</span> http <span class="token punctuation">.</span> HandlerFunc <span class="token punctuation">{</span> <span class="token keyword">return</span> <span class="token keyword">func</span> <span class="token punctuation">(</span> w http <span class="token punctuation">.</span> ResponseWriter <span class="token punctuation">,</span> r <span class="token operator">*</span> http <span class="token punctuation">.</span> Request <span class="token punctuation">)</span> <span class="token punctuation">{</span> vars <span class="token operator">:=</span> mux <span class="token punctuation">.</span> <span class="token function">Vars</span> <span class="token punctuation">(</span> r <span class="token punctuation">)</span> name <span class="token operator">:=</span> vars <span class="token punctuation">[</span> <span class="token string">"name"</span> <span class="token punctuation">]</span> cmd <span class="token operator">:=</span> exec <span class="token punctuation">.</span> <span class="token function">Command</span> <span class="token punctuation">(</span> <span class="token string">"nscli"</span> <span class="token punctuation">,</span> <span class="token string">"keys"</span> <span class="token punctuation">,</span> <span class="token string">"show"</span> <span class="token punctuation">,</span> name <span class="token punctuation">,</span> <span class="token string">"-a"</span> <span class="token punctuation">)</span> <span class="token comment">// chạy ngầm câu lệnh show key của một name</span> stdout <span class="token punctuation">,</span> err <span class="token operator">:=</span> cmd <span class="token punctuation">.</span> <span class="token function">Output</span> <span class="token punctuation">(</span> <span class="token punctuation">)</span> <span class="token comment">// bắt giá trị trả về</span> <span class="token keyword">if</span> err <span class="token operator">!=</span> <span class="token boolean">nil</span> <span class="token punctuation">{</span> rest <span class="token punctuation">.</span> <span class="token function">WriteErrorResponse</span> <span class="token punctuation">(</span> w <span class="token punctuation">,</span> http <span class="token punctuation">.</span> StatusBadRequest <span class="token punctuation">,</span> err <span class="token punctuation">.</span> <span class="token function">Error</span> <span class="token punctuation">(</span> <span class="token punctuation">)</span> <span class="token punctuation">)</span> <span class="token keyword">return</span> <span class="token punctuation">}</span> address <span class="token operator">:=</span> <span class="token function">string</span> <span class="token punctuation">(</span> stdout <span class="token punctuation">)</span> <span class="token comment">// ép kiểu về string</span> result <span class="token operator">:=</span> strings <span class="token punctuation">.</span> <span class="token function">Trim</span> <span class="token punctuation">(</span> address <span class="token punctuation">,</span> <span class="token string">"n"</span> <span class="token punctuation">)</span> <span class="token comment">// cắt bỏ n</span> rest <span class="token punctuation">.</span> <span class="token function">PostProcessResponse</span> <span class="token punctuation">(</span> w <span class="token punctuation">,</span> cliCtx <span class="token punctuation">,</span> result <span class="token punctuation">)</span> <span class="token comment">// trả về kết quả cho ngươi dùng</span> <span class="token punctuation">}</span> <span class="token punctuation">}</span> |
Add a route to the file x/nameservice/client/rest/rest.go to call the above handler:
1 2 | r <span class="token punctuation">.</span> <span class="token function">HandleFunc</span> <span class="token punctuation">(</span> fmt <span class="token punctuation">.</span> <span class="token function">Sprintf</span> <span class="token punctuation">(</span> <span class="token string">"/%s/names/{name}/address"</span> <span class="token punctuation">,</span> storeName <span class="token punctuation">)</span> <span class="token punctuation">,</span> <span class="token function">accAddressHandler</span> <span class="token punctuation">(</span> cliCtx <span class="token punctuation">)</span> <span class="token punctuation">)</span> <span class="token punctuation">.</span> <span class="token function">Methods</span> <span class="token punctuation">(</span> <span class="token string">"GET"</span> <span class="token punctuation">)</span> |
2. Learn the tx broadcast command
The tx broadcast statement has the following structure:
1 2 | nscli tx broadcast signedTx.json |
You can see the code of the statement here
- The argument immediately following the
broadcastmust be a file in this casesignedTx.json
Combining the two statements, we can visualize the flow of the route we are about to code as follows:
- The user sends a request with the parameters:
usignedTx,sequence,account number - The server writes
unsignedTxto the fileunsignedTx.json - The server implements the
tx signcommand implicitly and writes the result into thesignedTx.jsonfile - The server implements
tx broadcastimplicitly
3. Code
Open the file x/nameserivce/client/rest/tx.go and add the following code:
1 2 3 4 5 6 7 8 9 10 11 12 13 14 15 16 17 18 19 20 21 22 23 24 25 26 27 28 29 30 31 32 33 34 35 36 37 38 39 40 41 42 43 44 45 46 47 48 49 50 51 52 53 54 | <span class="token keyword">type</span> signTxReq <span class="token keyword">struct</span> <span class="token punctuation">{</span> BaseReq rest <span class="token punctuation">.</span> BaseReq <span class="token string">`json:"base_req"`</span> Tx <span class="token builtin">string</span> <span class="token string">`json:"tx"`</span> Sequence <span class="token builtin">string</span> <span class="token string">`json:"sequence"`</span> AccountNumber <span class="token builtin">string</span> <span class="token string">`json:"accountNumber"`</span> <span class="token punctuation">}</span> <span class="token keyword">func</span> <span class="token function">signTxHandler</span> <span class="token punctuation">(</span> cliCtx context <span class="token punctuation">.</span> CLIContext <span class="token punctuation">)</span> http <span class="token punctuation">.</span> HandlerFunc <span class="token punctuation">{</span> <span class="token keyword">return</span> <span class="token keyword">func</span> <span class="token punctuation">(</span> w http <span class="token punctuation">.</span> ResponseWriter <span class="token punctuation">,</span> r <span class="token operator">*</span> http <span class="token punctuation">.</span> Request <span class="token punctuation">)</span> <span class="token punctuation">{</span> <span class="token keyword">var</span> req signTxReq <span class="token keyword">if</span> <span class="token operator">!</span> rest <span class="token punctuation">.</span> <span class="token function">ReadRESTReq</span> <span class="token punctuation">(</span> w <span class="token punctuation">,</span> r <span class="token punctuation">,</span> cliCtx <span class="token punctuation">.</span> Codec <span class="token punctuation">,</span> <span class="token operator">&</span> req <span class="token punctuation">)</span> <span class="token punctuation">{</span> rest <span class="token punctuation">.</span> <span class="token function">WriteErrorResponse</span> <span class="token punctuation">(</span> w <span class="token punctuation">,</span> http <span class="token punctuation">.</span> StatusBadRequest <span class="token punctuation">,</span> <span class="token string">"failed to parse request"</span> <span class="token punctuation">)</span> <span class="token keyword">return</span> <span class="token punctuation">}</span> baseReq <span class="token operator">:=</span> req <span class="token punctuation">.</span> BaseReq <span class="token punctuation">.</span> <span class="token function">Sanitize</span> <span class="token punctuation">(</span> <span class="token punctuation">)</span> <span class="token keyword">if</span> <span class="token operator">!</span> baseReq <span class="token punctuation">.</span> <span class="token function">ValidateBasic</span> <span class="token punctuation">(</span> w <span class="token punctuation">)</span> <span class="token punctuation">{</span> <span class="token keyword">return</span> <span class="token punctuation">}</span> filePath <span class="token operator">:=</span> <span class="token string">"unsignedTx.json"</span> data <span class="token operator">:=</span> <span class="token punctuation">[</span> <span class="token punctuation">]</span> <span class="token function">byte</span> <span class="token punctuation">(</span> req <span class="token punctuation">.</span> Tx <span class="token punctuation">)</span> err <span class="token operator">:=</span> ioutil <span class="token punctuation">.</span> <span class="token function">WriteFile</span> <span class="token punctuation">(</span> filePath <span class="token punctuation">,</span> data <span class="token punctuation">,</span> <span class="token number">0644</span> <span class="token punctuation">)</span> <span class="token comment">// ghi tx mà user gửi lên vào file unsignedTx.json</span> <span class="token keyword">if</span> err <span class="token operator">!=</span> <span class="token boolean">nil</span> <span class="token punctuation">{</span> <span class="token function">panic</span> <span class="token punctuation">(</span> err <span class="token punctuation">)</span> <span class="token punctuation">}</span> cmd <span class="token operator">:=</span> exec <span class="token punctuation">.</span> <span class="token function">Command</span> <span class="token punctuation">(</span> <span class="token string">"nscli"</span> <span class="token punctuation">,</span> <span class="token string">"tx"</span> <span class="token punctuation">,</span> <span class="token string">"sign"</span> <span class="token punctuation">,</span> filePath <span class="token punctuation">,</span> <span class="token string">"--from"</span> <span class="token punctuation">,</span> req <span class="token punctuation">.</span> BaseReq <span class="token punctuation">.</span> From <span class="token punctuation">,</span> <span class="token string">"--offline"</span> <span class="token punctuation">,</span> <span class="token string">"--chain-id"</span> <span class="token punctuation">,</span> req <span class="token punctuation">.</span> BaseReq <span class="token punctuation">.</span> ChainID <span class="token punctuation">,</span> <span class="token string">"--sequence"</span> <span class="token punctuation">,</span> req <span class="token punctuation">.</span> Sequence <span class="token punctuation">,</span> <span class="token string">"--account-number"</span> <span class="token punctuation">,</span> req <span class="token punctuation">.</span> AccountNumber <span class="token punctuation">)</span> <span class="token comment">// thực hiện ký</span> stdout <span class="token punctuation">,</span> err <span class="token operator">:=</span> cmd <span class="token punctuation">.</span> <span class="token function">Output</span> <span class="token punctuation">(</span> <span class="token punctuation">)</span> <span class="token keyword">if</span> err <span class="token operator">!=</span> <span class="token boolean">nil</span> <span class="token punctuation">{</span> rest <span class="token punctuation">.</span> <span class="token function">WriteErrorResponse</span> <span class="token punctuation">(</span> w <span class="token punctuation">,</span> http <span class="token punctuation">.</span> StatusBadRequest <span class="token punctuation">,</span> err <span class="token punctuation">.</span> <span class="token function">Error</span> <span class="token punctuation">(</span> <span class="token punctuation">)</span> <span class="token punctuation">)</span> <span class="token keyword">return</span> <span class="token punctuation">}</span> filePath <span class="token operator">=</span> <span class="token string">"signedTx.json"</span> data <span class="token operator">=</span> <span class="token punctuation">[</span> <span class="token punctuation">]</span> <span class="token function">byte</span> <span class="token punctuation">(</span> <span class="token function">string</span> <span class="token punctuation">(</span> stdout <span class="token punctuation">)</span> <span class="token punctuation">)</span> err <span class="token operator">=</span> ioutil <span class="token punctuation">.</span> <span class="token function">WriteFile</span> <span class="token punctuation">(</span> filePath <span class="token punctuation">,</span> data <span class="token punctuation">,</span> <span class="token number">0644</span> <span class="token punctuation">)</span> <span class="token comment">// ghi giao dịch đã ký vào filed signedTx.json</span> <span class="token keyword">if</span> err <span class="token operator">!=</span> <span class="token boolean">nil</span> <span class="token punctuation">{</span> <span class="token function">panic</span> <span class="token punctuation">(</span> err <span class="token punctuation">)</span> <span class="token punctuation">}</span> cmd <span class="token operator">=</span> exec <span class="token punctuation">.</span> <span class="token function">Command</span> <span class="token punctuation">(</span> <span class="token string">"nscli"</span> <span class="token punctuation">,</span> <span class="token string">"tx"</span> <span class="token punctuation">,</span> <span class="token string">"broadcast"</span> <span class="token punctuation">,</span> filePath <span class="token punctuation">)</span> <span class="token comment">// broadcase giao dịch đã được ký</span> stdout <span class="token punctuation">,</span> err <span class="token operator">=</span> cmd <span class="token punctuation">.</span> <span class="token function">Output</span> <span class="token punctuation">(</span> <span class="token punctuation">)</span> <span class="token keyword">if</span> err <span class="token operator">!=</span> <span class="token boolean">nil</span> <span class="token punctuation">{</span> rest <span class="token punctuation">.</span> <span class="token function">WriteErrorResponse</span> <span class="token punctuation">(</span> w <span class="token punctuation">,</span> http <span class="token punctuation">.</span> StatusBadRequest <span class="token punctuation">,</span> err <span class="token punctuation">.</span> <span class="token function">Error</span> <span class="token punctuation">(</span> <span class="token punctuation">)</span> <span class="token punctuation">)</span> <span class="token keyword">return</span> <span class="token punctuation">}</span> rest <span class="token punctuation">.</span> <span class="token function">PostProcessResponse</span> <span class="token punctuation">(</span> w <span class="token punctuation">,</span> cliCtx <span class="token punctuation">,</span> <span class="token function">string</span> <span class="token punctuation">(</span> stdout <span class="token punctuation">)</span> <span class="token punctuation">)</span> <span class="token punctuation">}</span> <span class="token punctuation">}</span> |
Open the file x/nameservice/client/rest/rest.go and add the following line:
1 2 | r <span class="token punctuation">.</span> <span class="token function">HandleFunc</span> <span class="token punctuation">(</span> fmt <span class="token punctuation">.</span> <span class="token function">Sprintf</span> <span class="token punctuation">(</span> <span class="token string">"/%s/tx/sign"</span> <span class="token punctuation">,</span> storeName <span class="token punctuation">)</span> <span class="token punctuation">,</span> <span class="token function">signTxHandler</span> <span class="token punctuation">(</span> cliCtx <span class="token punctuation">)</span> <span class="token punctuation">)</span> <span class="token punctuation">.</span> <span class="token function">Methods</span> <span class="token punctuation">(</span> <span class="token string">"POST"</span> <span class="token punctuation">)</span> |
4. Test
Make tools again, then init and start chain:
1 2 3 4 | <span class="token function">make</span> <span class="token function">install</span> ./init.sh nsd start |
Open another terminal and start the server:
1 2 | nscli rest-server --chain-id namechain --trust-node |
Open Post Man and test
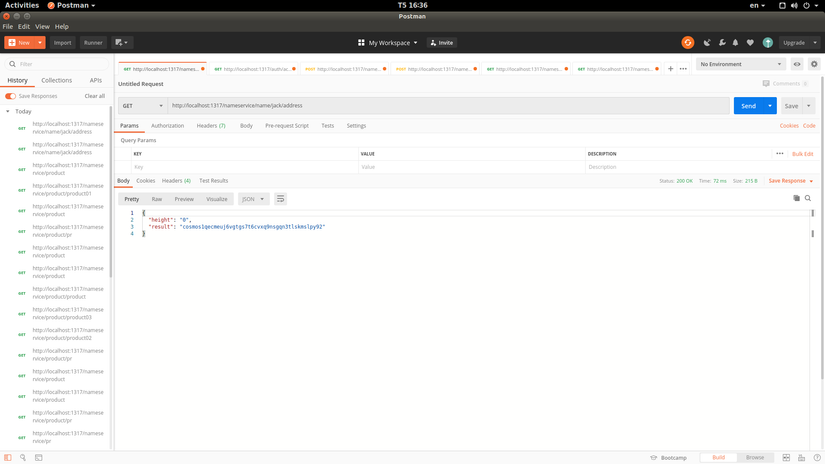
- Query address according to jack’s:

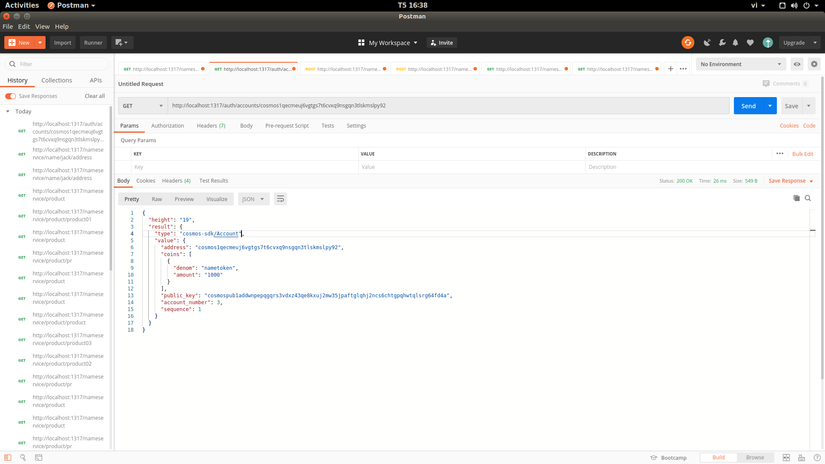
- Query all jack infors:
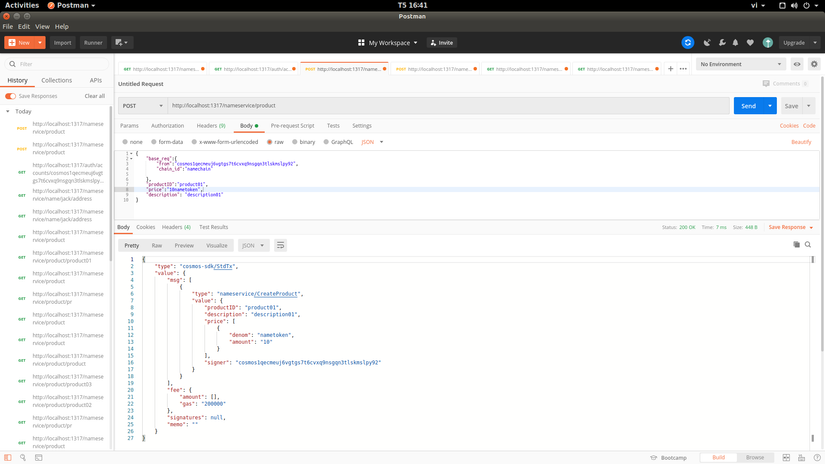
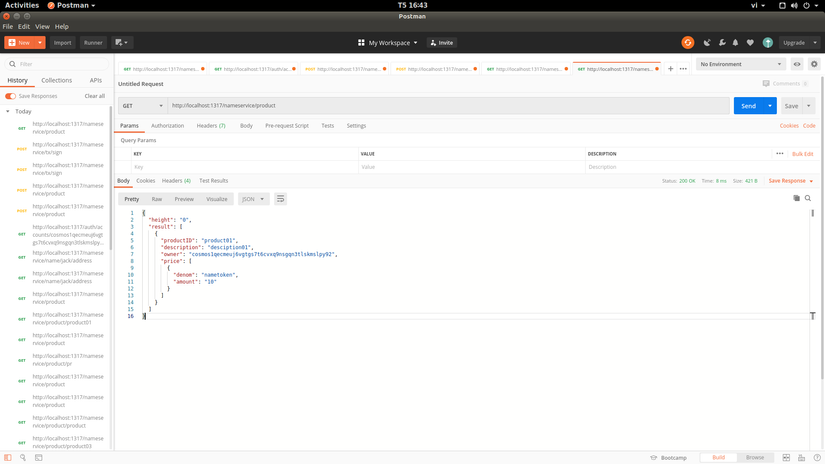
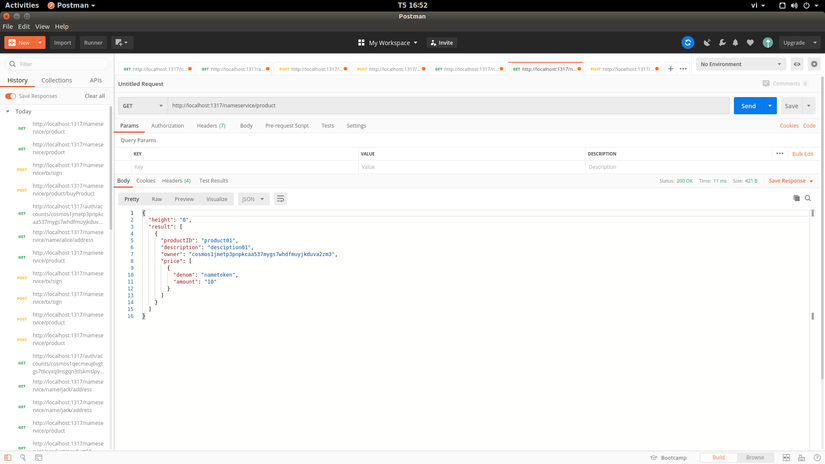
- jack to create the product:
- The transaction log creates the product, noting the return value of the last route into the
txof this request - Query to see the product has been created
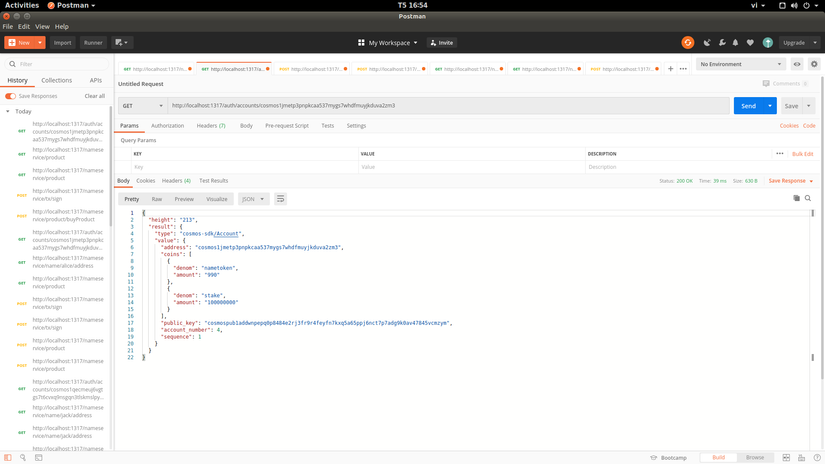
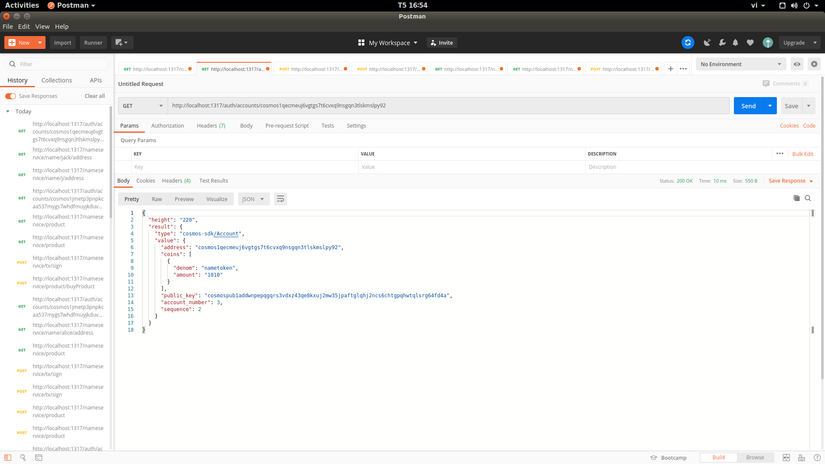
- Query address of alice
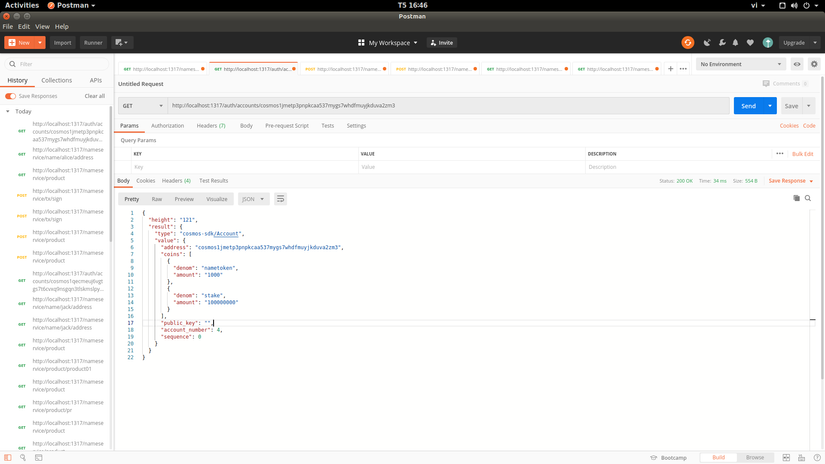
- Query all infice of alice:
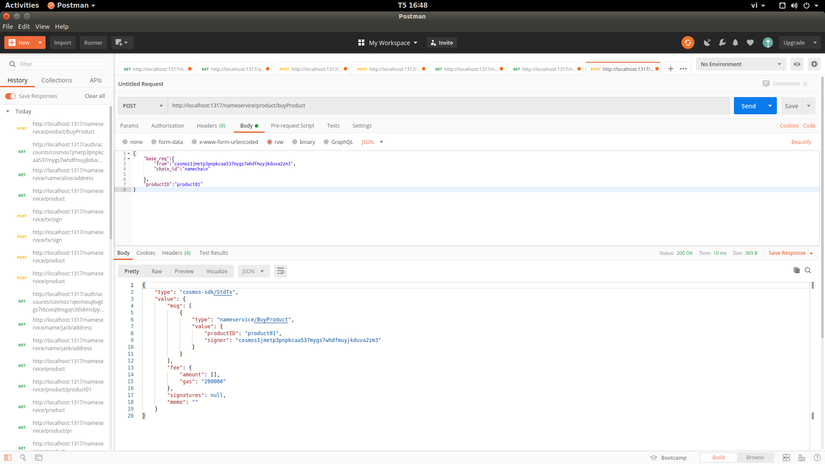
- Alice creates a buy product transaction
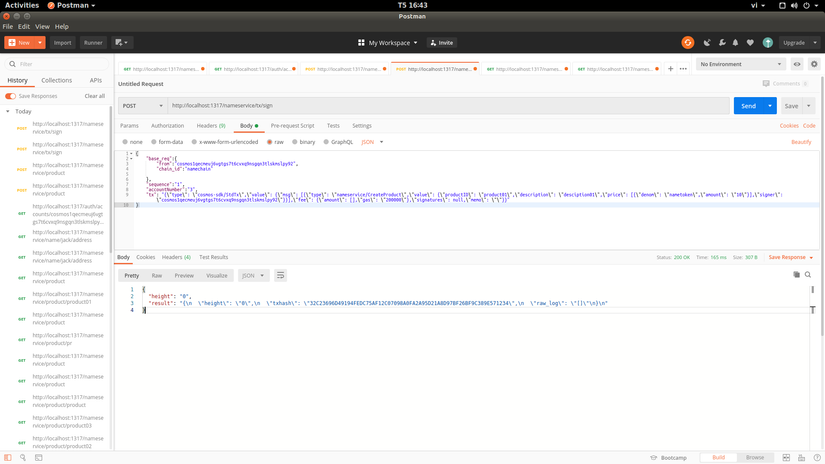
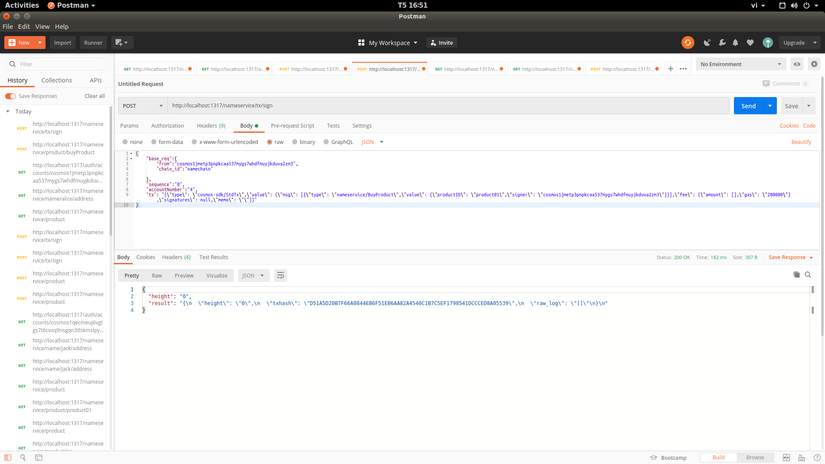
- Alice signs a buy product transaction
- Query the product again to see it passed to the owner
- Query the information of the jack and the alice to see that
10nametokenhas been moved from the alice to the jack

summary
So I have instructed you to complete this series, you have enough to be able to clone a repo model for the series here and customize it as you like.