Preamble
Amazon SES (Amazon Simple Email Service) is an email platform that provides an easy, cost-effective way to send and receive email using your own email address and domain name by settings. Not only that, the factor that makes Amazon SES more and more popular is the simplicity of usage and installation, clear documentation and instructions. Imagine if you wanted to build an email delivery system, you would need to set up email server management, network configuration and IP address … And with Amazon SES all of that was fully supported by Amazon. Enough, your job only needs to be set up according to instructions and usage. This is too convenient, isn’t it?  . Now let’s find out about Amazon SES too.
Install Amazon SES
- Log in to Amazon Service
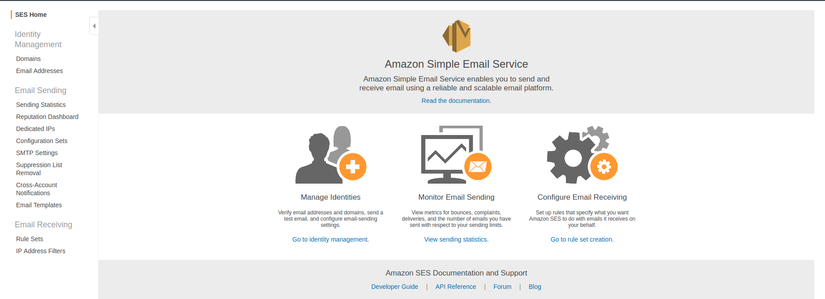
First to get started with Amazon SES, we need to have an amazon account and login to the amazon dashboard. If you do not have an account, you can refer here After you have successfully logged into the amazon SES control panel, you will see a screen like this:
- Validate email
To be able to email. Amazon SES requires you to authenticate the email you use for security purposes. In the SES control panel, under the Identity Managment section you will see 2 items: Domain and Email Address . Click on Email Address and we will see a screen to verify your email
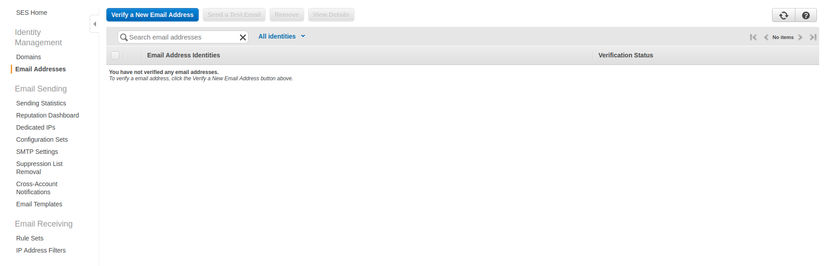
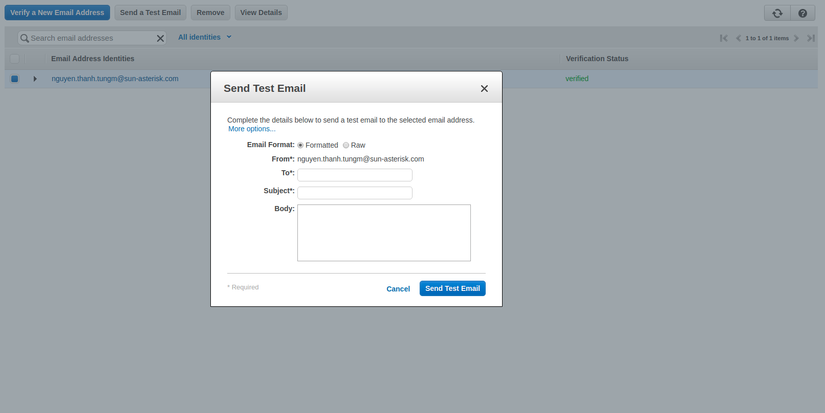
Click Verify a New Email Address , enter your email and proceed with authentication. After you enter the email to authenticate, Amazon will send a message to the email you just entered and your job is to log into the email and click to verify the email. (Very simple, right ) When the email has been verified successfully, on the Email Address control panel will appear email has just authenticated with the status Verified .

Note: If your new amazon account is created then you need to verify the email used to receive mail because your account is a sandbox account. To upgrade your account from a sanbox, you can refer here: https://docs.aws.amazon.com/ses/latest/DeveloperGuide/request-production-access.html
- Check mailing with Amazon SES
After you have completed the mail authentication, you can now check by sending mail test from the account has just been authenticated.
- Set up mail receiving requests
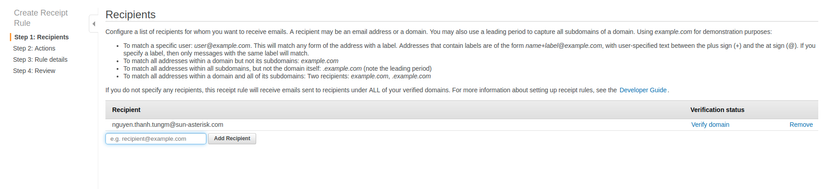
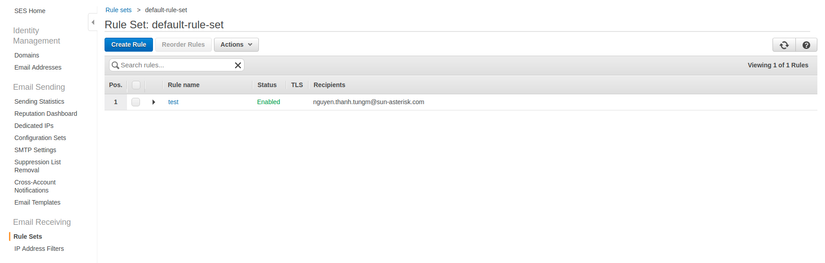
Once you’ve verified your mail, your next step is to set up rule to receive mail. Under Email Receiving, select Rule Sets and we will go into the screen to create the mail receiving rule .

And this is my favorite part of Amazon SES, we can set up receiving mail for specific accounts or under an authenticated domain.
Then, a very important part of the process of receiving mail of Amazon SES is that Amazon will support saving the mail information received by S3, notify users with Amazon SNS (Simple Notification Service), Activate Amazon. Lambda to handle the next action
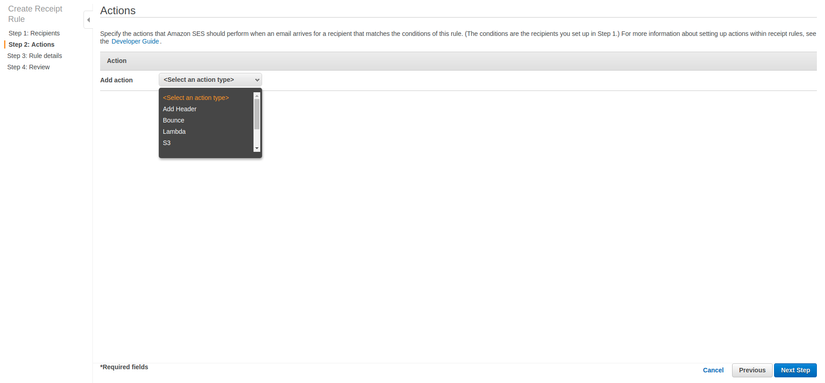
As the title of the article, here I choose to save received mail information into s3
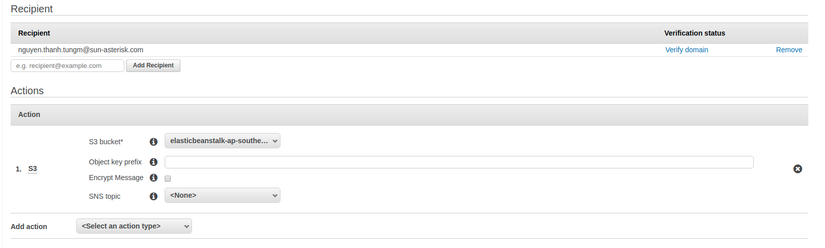
After completing the steps, we will have a rule like this:
So we have completed the setup to receive mail from Amazon SES The next section, I will continue to show you the handling of mail stored in s3.