Introduction

Backpack – Laravel is a collection of packages that allows us to simply and quickly create admin panels for any web application. Backpack has provided us with a visual interface for the admin panel (HTML, CSS, JS); Backpack uses a very eye-catching CoreUI theme, they have a unique design called Backstrap . Moreover, Backpack also fully supports us CRUD tasks, they call them CRUD Panels includes the most basic actions: Create / Read / Update / Delete; so you will be able to shorten the time to complete boring CRUD tasks
If you are still wondering how to design and build an Admin Panel for your website, Backpack is a worthy choice to try. Let me do the following simple demo together!
Practice
1. Init project and install Backpack
I will init the brand new Laravel project and build its own Admin Panel with Backpack.
1 2 3 4 5 6 | composer create-project laravel/laravel backpack-app cd backpack-app composer install |
Next, we need to install backpack / crud with composer:
1 2 3 4 5 6 | composer require backpack/crud:"4.1.*" # bạn cũng có thể cài đặt thêm các công cụ này để trợ giúp trong quá trình phát triển composer require backpack/generators --dev composer require laracasts/generators --dev |
Next, run the install Backpack command for the project:
1 2 | php artisan backpack:install |

Looking at the picture above, we can see that Backpack has done several things like publishing some configs, views, js, css files; create users table; create the CheckIfAdmin middleware.
Now that the Backpack has been installed, let’s use the command php artisan serve and you can access your admin panel at http://127.0.0.1:8000/admin .
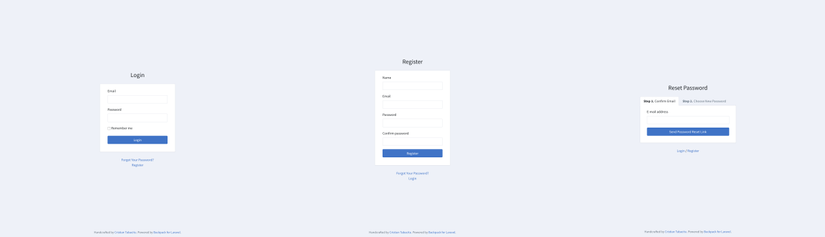
2. Authentication
Backpack comes with a basic authentication system that is separate from Laravel’s. This way we can have different login screens for users and administrators. We can also choose to use only one authentication – either by Laravel or by Backpack .
However, there is a small note here:
- By default, all registered users will be admin and logged in on the admin page. In practice, of course, it is impossible to let this happen. This happens because Backpack defaults to
return truewhen checking User in theCheckIfAdminmiddleware. To resolve this, modify thecheckIfUserIsAdmin($user)to ensure that you are only allowing administrators access to the admin panel. - If your User model has been moved (not
AppUser.php), then you’ll need to changeconfig/backpack/base.phpto use the correct User model using theuser_model_fqnconfig key. Do this if you are using Laravel 8 or later because by default Laravel 8 and above will store the User model in the Models file.
Now I will seed 1 admin account in database/seeds/UsersTableSeeder.php as follows:
1 2 3 4 5 6 7 8 9 10 11 12 13 14 15 | class UsersTableSeeder extends Seeder { public function run() { DB::table('users')->truncate(); DB::table('users')->insert([ 'name' => 'Demo Admin', 'email' => ' <a class="__cf_email__" href="/cdn-cgi/l/email-protection">[email protected]</a> ', 'password' => bcrypt('admin'), 'is_admin' => 1, ]); }nhé } |
Remember to call this Seeder in database/seeds/DatabaseSeeder.php guys, now run php artisan db:seed . (I’ve added the is_admin in create_users_table migration available Laravel to determine whether the user has the admin or not, but as you work, you create a migration New and then perform the update and not the update directly on the migration old offline.
Oke, the account already exists, now log in with that account to see the results:
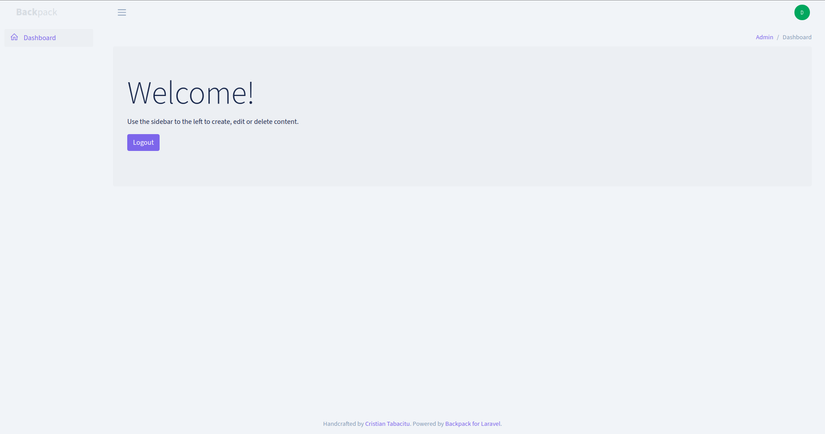
Tada, a few simple steps already have the basic admin panel: v You can customize your admin panel a bit by changing the config/backpack/base.php in config/backpack/base.php . You can change the URL prefix from admin to another URL and a lot of other configs too, please try to open this file and learn them.
3. CRUDs
Creating CRUDs for the admin to manipulate the DB is a minimum requirement for any admin page. With Backpack , this becomes extremely simple. I will perform a simple example of creating a CRUD admin panel for the Tag model:
1 2 3 4 5 6 7 | # STEP 1. create migration php artisan make:migration:schema create_tags_table --model=0 --schema="name:string:unique,slug:string:unique" php artisan migrate # STEP 2. create crud php artisan backpack:crud tag #use singular, not plural |
The code above will generate:
- Corresponding file migration
- Model Tag (
appModelsTag.php) - Request file (
appHttpRequestsTagRequest.php) - Controller file where you can customize CrudPanel’s interface (
appHttpControllersAdminTagCrudController.php) - The route corresponding to the controller above is added in
routes/backpack/custom.php - A Sidebar item in
resources/views/vendor/backpack/base/inc/sidebar_content.blade.php
Try to access http://127.0.0.1:8001/admin/tag see the result:
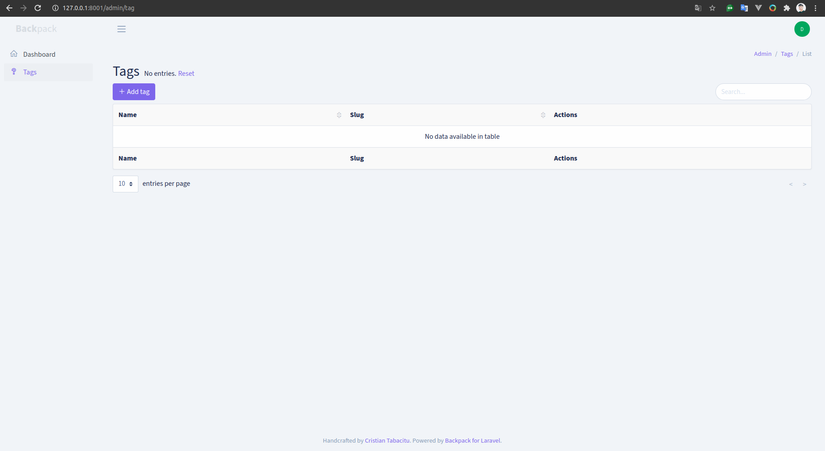
Hey, with just a few lines of code that it creates for us. Tag Page already covers all the basic CRUD tasks. Take a look at the TagCrudController that Backpack created for us to see what it did:
1 2 3 4 5 6 7 8 9 10 11 12 13 14 15 16 17 18 19 20 21 22 23 24 25 26 27 28 29 30 31 32 33 34 35 36 37 38 39 | namespace AppHttpControllersAdmin; use AppHttpRequestsTagRequest; use BackpackCRUDappHttpControllersCrudController; use BackpackCRUDappLibraryCrudPanelCrudPanelFacade as CRUD; class TagCrudController extends CrudController { use BackpackCRUDappHttpControllersOperationsListOperation; use BackpackCRUDappHttpControllersOperationsCreateOperation; use BackpackCRUDappHttpControllersOperationsUpdateOperation; use BackpackCRUDappHttpControllersOperationsDeleteOperation; use BackpackCRUDappHttpControllersOperationsShowOperation; public function setup() { CRUD::setModel(AppModelsTag::class); CRUD::setRoute(config('backpack.base.route_prefix') . '/tag'); CRUD::setEntityNameStrings('tag', 'tags'); } protected function setupListOperation() { CRUD::setFromDb(); // columns } protected function setupCreateOperation() { CRUD::setValidation(TagRequest::class); CRUD::setFromDb(); // fields } protected function setupUpdateOperation() { $this->setupCreateOperation(); } } |
By default, Backpack enables the most basic actions. Try the Add / Edit / Delete actions:
- Create – use Create form
- List – using AJAX DataTables
- Update – use the Update form
- Delete – use the button in the list view
- Show – use the button in the list view
We can see:
- It uses the
TagCrudController extends CrudControllerinheritance, so you can easily revise the tasks by overwrite the corresponding method in theTagCrudController. - The
setup()method will define the tasks in the CRUD panel. - Each operation is setup in the
setupXxxOperation()method. - By default, when Backpack creates a CrudController, it will use the
CRUD::setFromDb(). This method will try to find out what fields you might need in forms create / update and which columns are in your list view, but it only works for simple types of fields. You can choose to continue usingsetFromDb()and add / remove / change fields or deletesetFromDb()and manually define each field and columns. (Remember to configure with your DB in the .env file )
)
 )
)Conclude
Here, I just do the basic CRUD. However, in reality, the DB will not be so simple, will have more relationships and contain more complex fields, but with Backpack, customizing will be very easy and effective. In addition, Backpack has other operations like:
- Clone – you can make a copy of an item;
- Reorder: you can reorder and sort the entries;
- Revise: Enables to store, view and undo changes to entries on Eloquent model.
- BulkDelete – you can delete multiple items at once;
- BulkClone – you can copy multiple items at once;
- …
In short, Backpack is a quite useful choice to build a beautiful and fully featured Admin Panel for your website.
In the next post, I will demo more specifically so you can see the benefits of Backpack. Thank you everyone for following this post !!! (bow)