Reference article from source: https://robotframework.org/robotframework/latest/RobotFrameworkUserGuide.html#demonstrations
1. Introduction to Robot Framework
1.1. What is Robot Framework?
Robot Framework is a test framework that can be extended to be used for acceptance testing (AT) and acceptance test driven development (ATDD) phase and can be used for automatic testing. Robot Framework can be used in distributed, heterogeneous environments where the use of different technologies and interfaces is required. Robot Framework is open source software. The strength of RobotFramework is written on the Python platform and supported by the number of libraries for testers, Robot Framework is easy to use as well as write test scripts and can be run on any different platform without the need test script editing. Using RebotFramework you also need to know a little bit of code.
1.2. Why did we choose Robot Framework?
- Allows for an easy-to-use tabular syntax for consistently creating test cases.
- Provides the ability to create reusable top level keywords from existing keywords.
- Provide easy-to-read reports and logs in HTML format.
- Platform and application independent.
- Provides a simple library API for creating custom test libraries that can be natively implemented in Python or Java.
- Provides command-line interface and XML-based output files for integration into existing building infrastructure (continuous integration systems).
- Provides support for Selenium for web testing, Java GUI testing, running processes, Telnet, SSH, etc.
- Supports creation of data-driven test cases.
- There is built-in support for real variables, especially for testing in different environments.
- Provides tagging to categorize and select test cases to be executed.
- Allows easy integration with source control: test suites are just files and folders that can be versioned with production code.
- Provides setup and breaks down the test-case and test-suite levels.
- The modular architecture supports the creation of tests even for applications with a variety of interfaces.
1.3. High-class architecture
Robot Framework is based on a common stereotype, application and technology independent. It has a premium modular architecture illustrated in the diagram below:
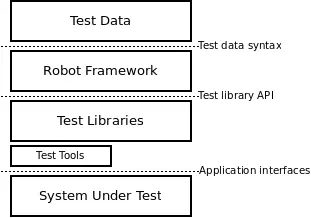
Data test is in simple tabular form, easy to edit. When Robot Framework is started, it processes the data, executes the test cases, and generates logs and reports. The core framework doesn’t know anything about the target being tested, and interaction with it is handled by the libraries. Libraries can use the application interface directly or use lower-level testing tools as drivers.
1.2. Installation Instructions
1.2.1. Software installation prerequisite conditions
- Install Python
- PIP settings
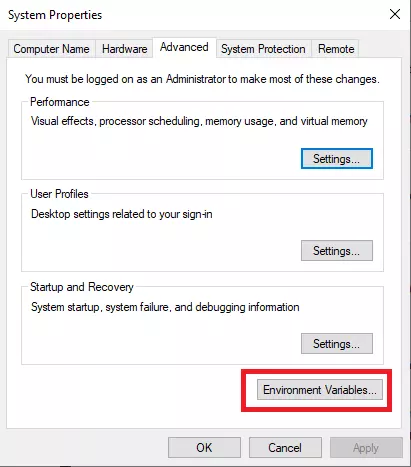
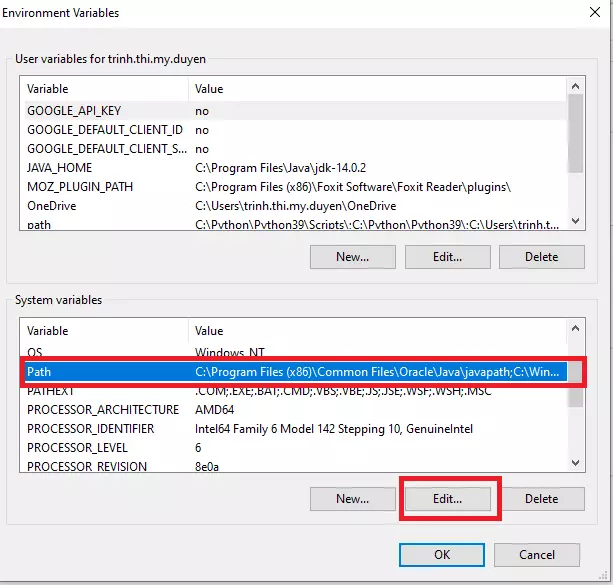
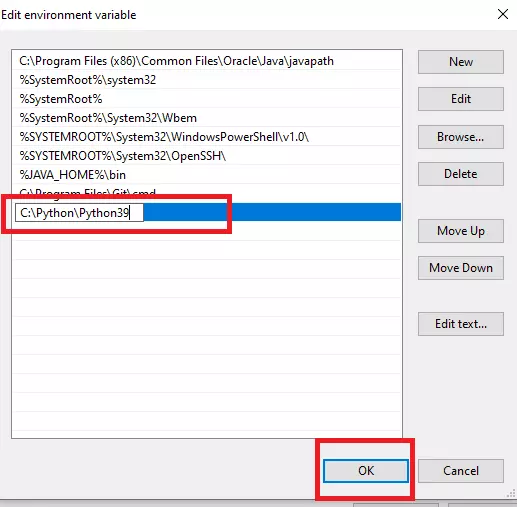
- Configure PATH (Add Python and PIP to PATH)
- Using PIP to install Robot Framework
- Use PIP to install SeleniumLibrary
- Install Pycharm IDE and Intellbot plugin
- Download Selenium Browserdeivers for the browser
1.2.2. Install Python
Below I will instruct to install Python on Win.
Step 1:
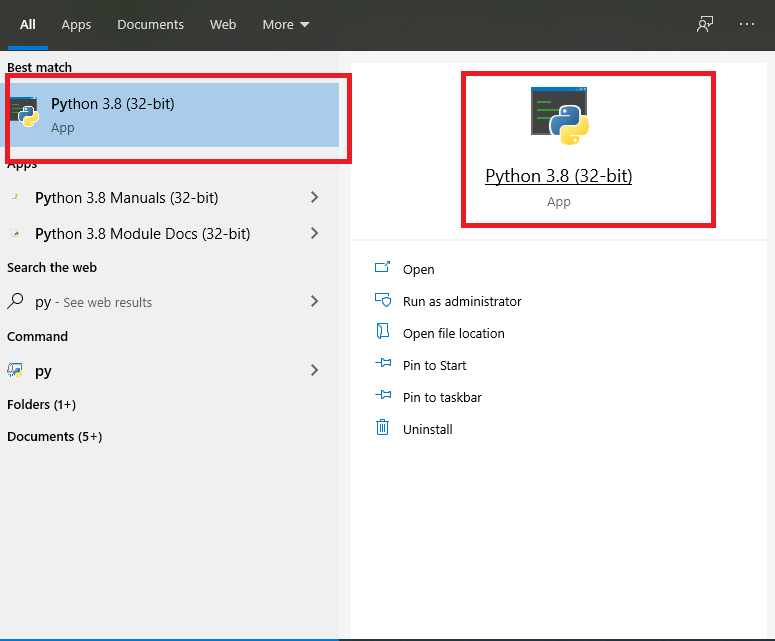
Check if Python is installed on your computer?
- Click the magnifying glass / circle icon next to the Windows icon, or press ⊞ Win + S. If you find Python results, it means your machine is ready to install Python.
Step 2: Uninstall and reinstall
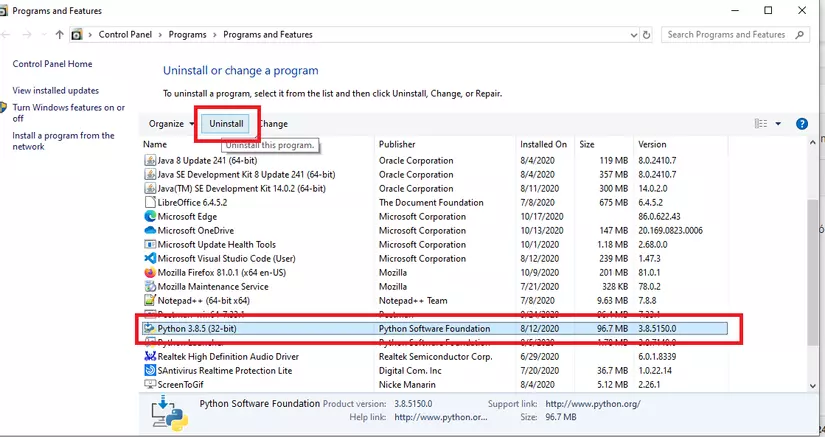

Step 3: Reinstall
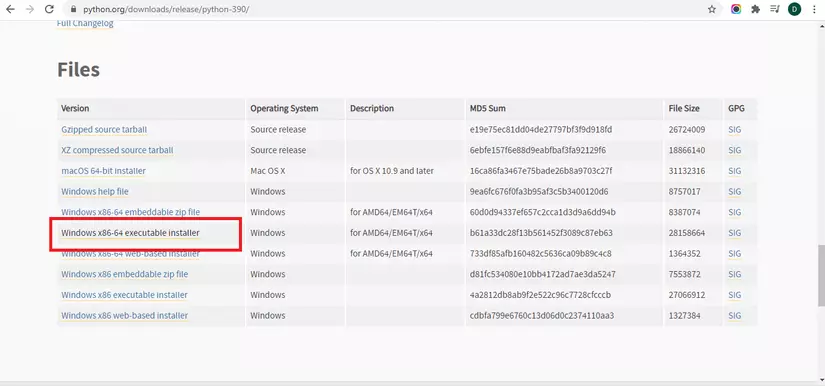
To get started let’s go here to download and install:
https://www.python.org/ Download
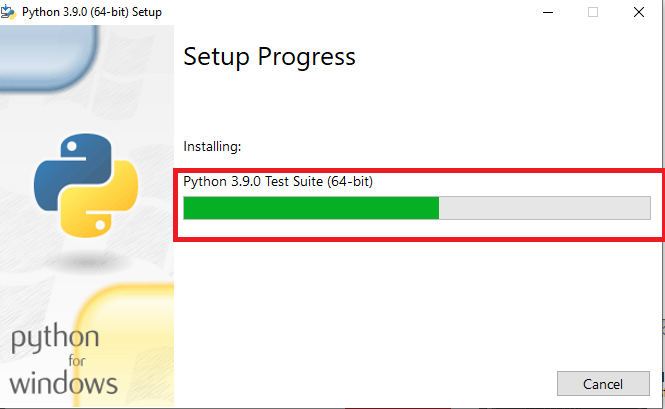
Installation starts
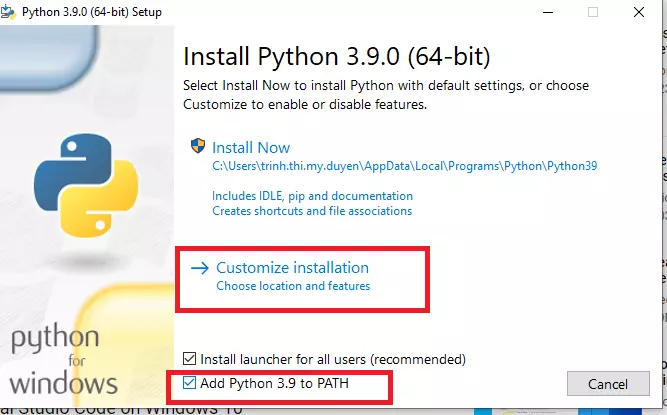
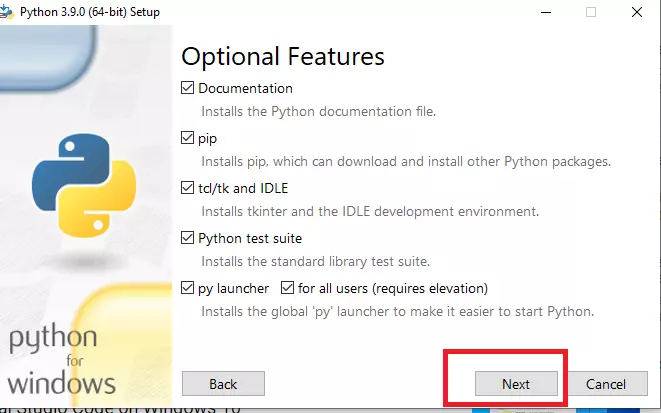
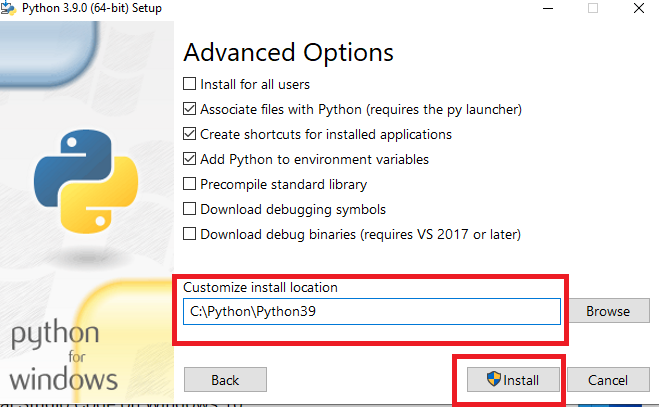
Setup path
Step 4: Check if Python has finished installing
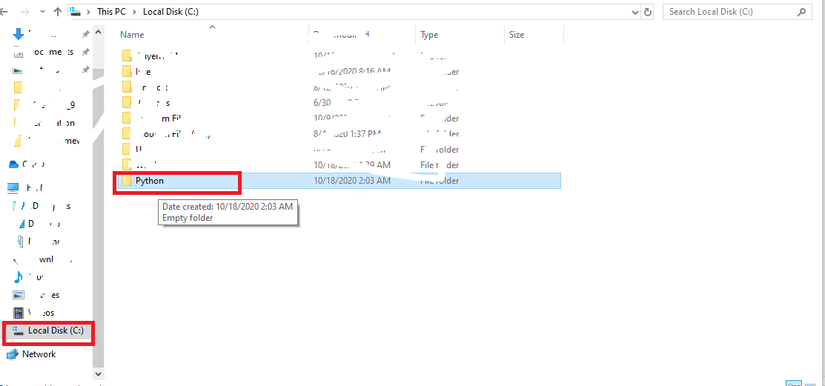
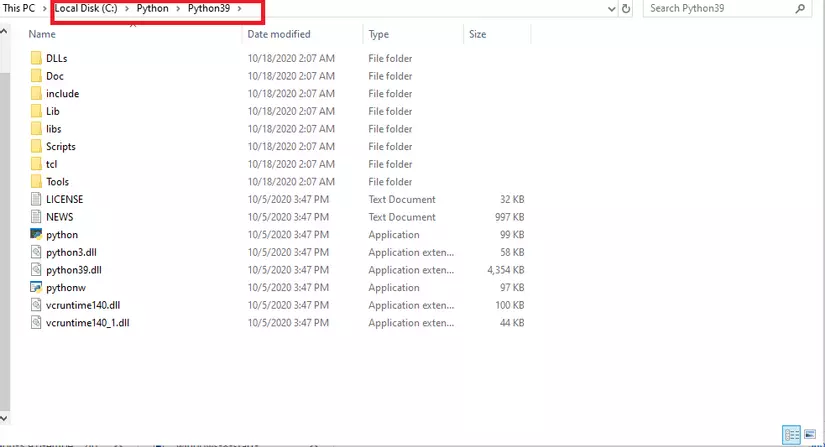
Step 5: Check which directory Python is in
By typing a few of the following commands on the Command:
1.2.3. PIP settings
PIP is a library manager for Python, short for Preferred Installer Program. Here is a command line utility that allows you to install, reinstall or uninstall PyPI packages with one simple and straightforward command line: pip.
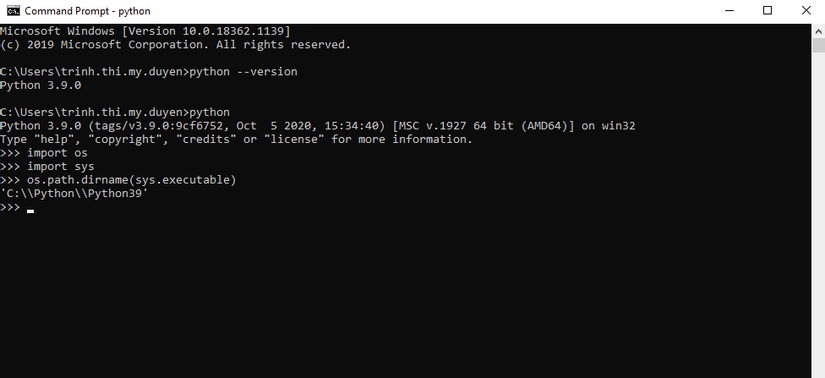
a. Check if Python is properly installed
To use PIP, you have to make sure that your Python is installed correctly on your device.
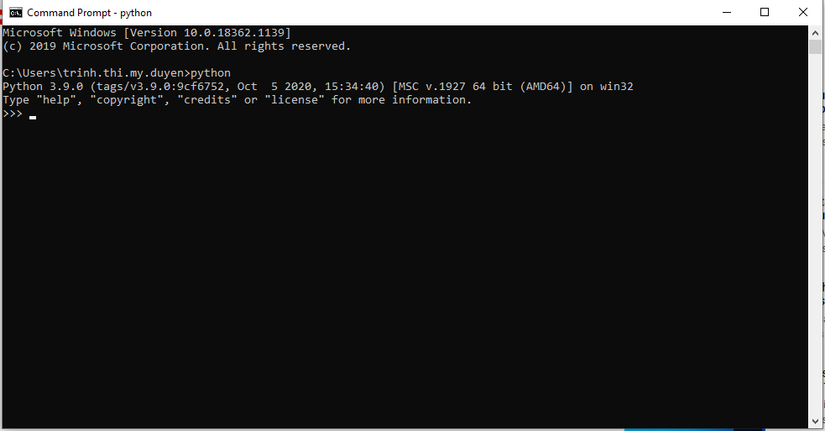
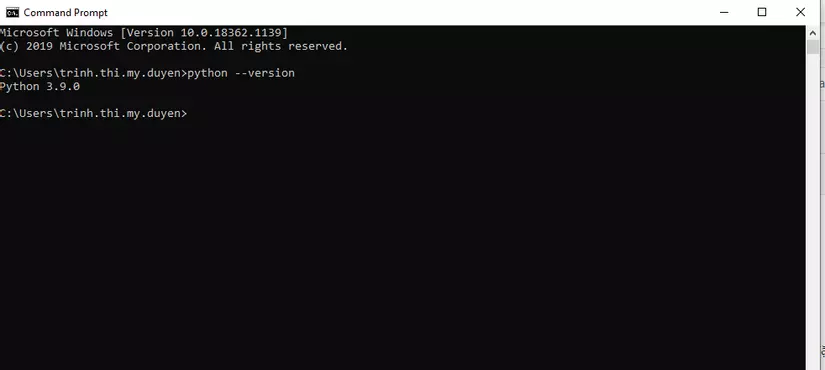
On Win open Command Prompt -> and select Command Prompt -> Then type:
python --version
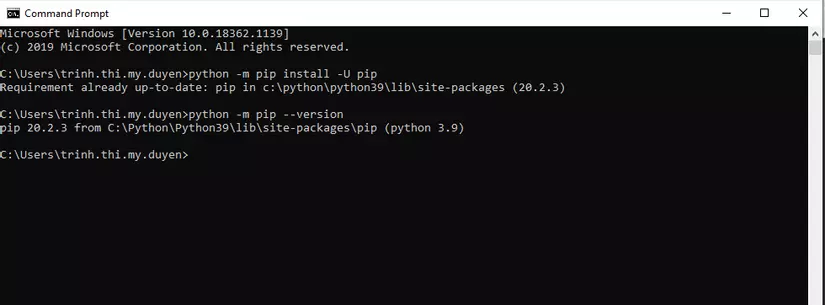
b. PIP settings
By downloading from: https://www.python.org/
And upgrade the PIP by typing the following:
python -m pip install -U pip
c. Check that the PIP is installed
By typing the command on the Command as shown below:
1.2.4. Using PIP to install Robot Framework
Use the following command:
pip install robotframework
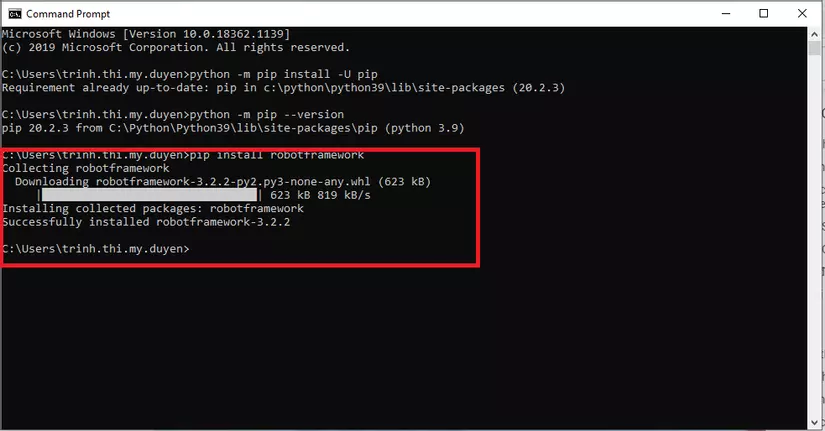
Check if robotframework is installed correctly using the command: pip list

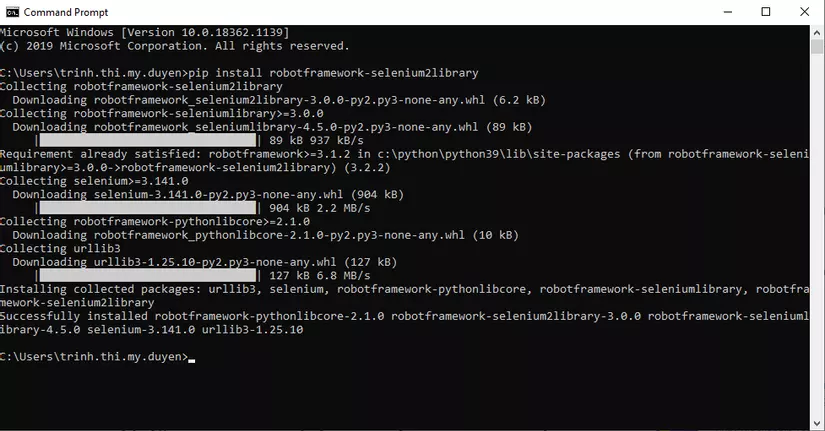
1.2.5. Use PIP to install SeleniumLibrary
At the Command prompt, use the command:
pip install robotframework-selenium2library
After successful installation will have the following message:
1.2.6. Install Pycharm IDE and Intellbot plugin
Pycharm IDE is an integrated development environment to develop applications in the most efficient way, saving time and effort to write code, although to write open source Python we can use the editor. The simplest as NotePad, but let’s use Pycharm IDE to get the optimum effect for autotest.
Now let’s start the installation:
Download the Pycharm IDE from here:
https://www.jetbrains.com/pycharm/download/#section=windows

There are 2 versions of PyCharm:
Professional version: There are all the features from basic to advanced to Python development, but you must purchase a license. We can download the trial version. Community Edition: A copy containing the basic features to be able to develop Python. This version is free to download.
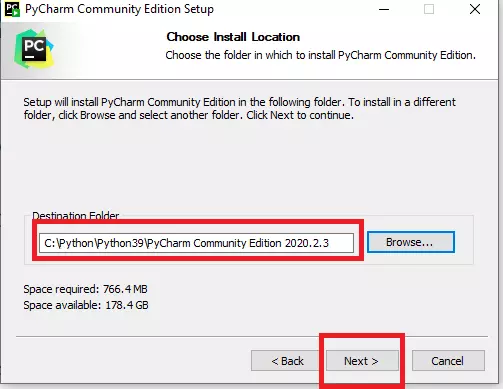
Here is how to install the free version:
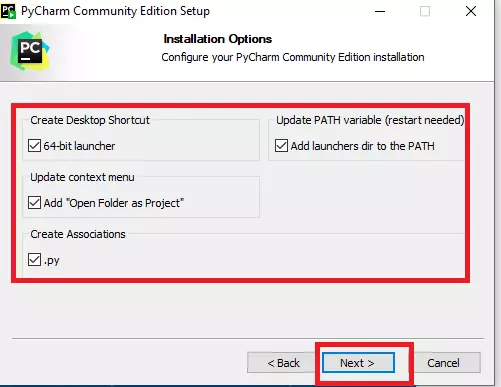
If the machine has not installed Java, we check all the options on this screen.
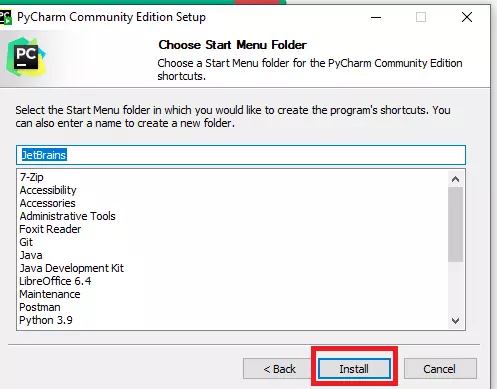
Complete the installation and reboot the machine.

Check that you have installed correctly, then we need to try to see if your python program can run with Pycharm just installed?
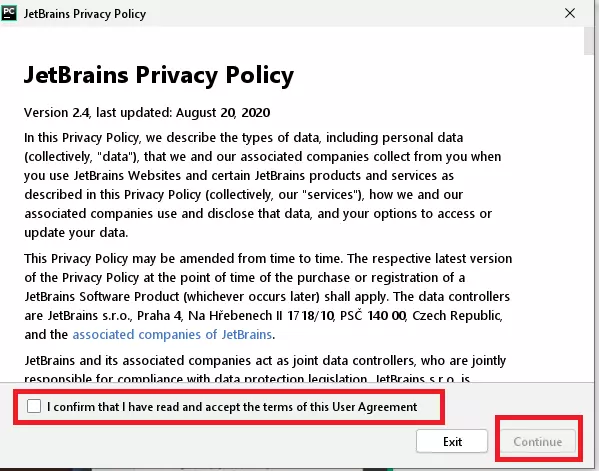
In the security policy section, click confirm and click Continue to continue:
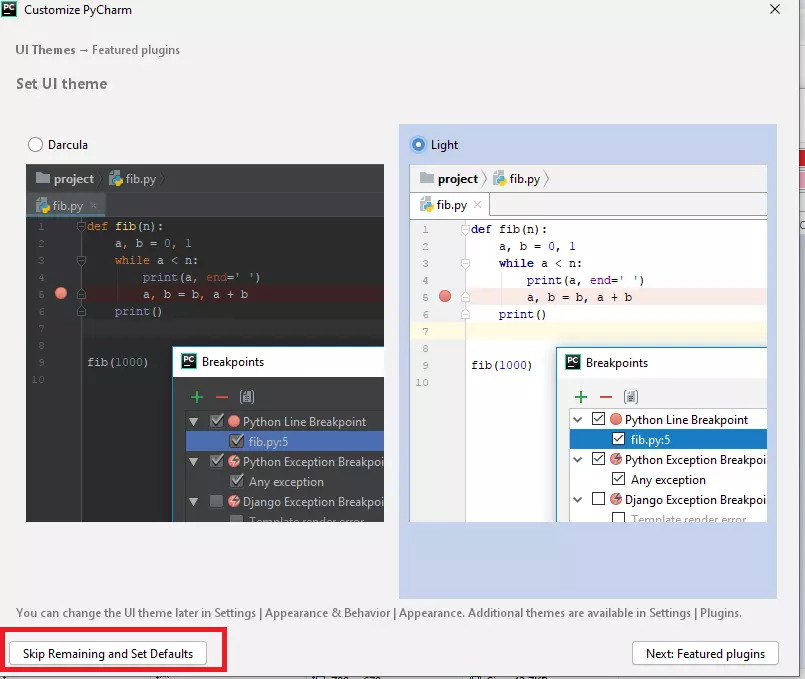
In the PyCharm Customization screen, we choose Skip Remaining and Set Defaults to choose the default settings.
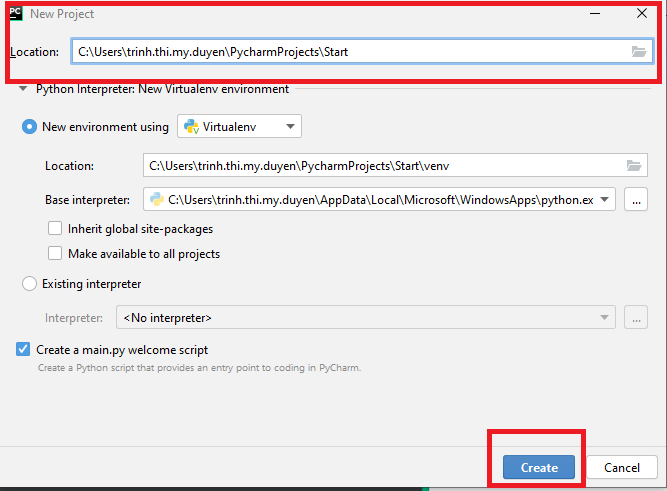
So we have successfully installed PyCharm, we can choose Create New Project to create a new Project -> select the folder containing the newly created Project. Then click Create. After the above process is completed, a new Project will be created in PyCharm
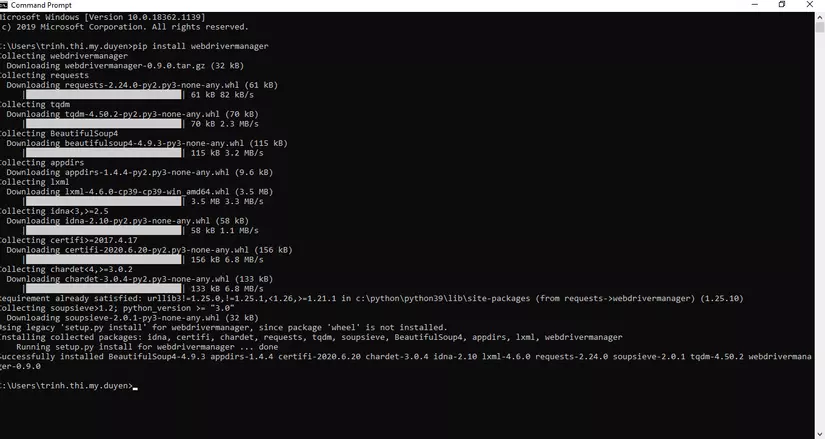
Install webdrivermanager with the command:
pip install webdrivermanager
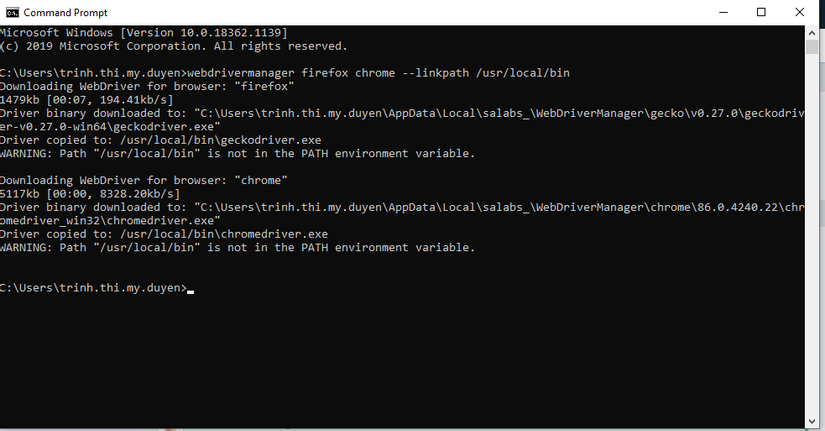
And the command:
webdrivermanager firefox chrome --linkpath /usr/local/bin
CONCLUDE:
So I have introduced and instructed to install the necessary software to be able to start the first demo lessons on Robot Framework. Thank you for reading!