1. General introduction about Charles Proxy:
1.1. What is Charles Proxy?
Charles Proxy is a tool that allows you to see traffic from your browser or mobile app to the internet / server, including requests, responses, and headers.
1.2. Purpose of Charles Proxy:
- Check api when opening the app on which it calls, how many times it calls, what to send to the server.
- Check if duplincate request is made with server-side test.
- Charles can also adjust network speed, enable application testing in the condition of network lag, disconnection.
2. Installing Charles Proxy: To install Charles need:
Step 1: Go to the link https://www.charlesproxy.com and download the installer file to your computer.
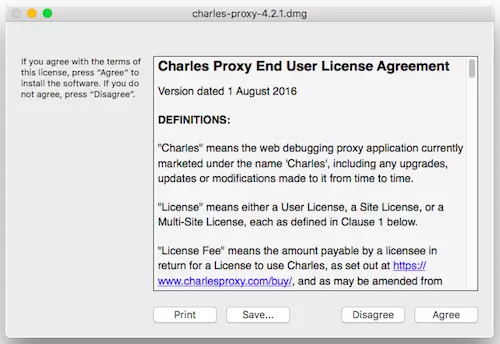
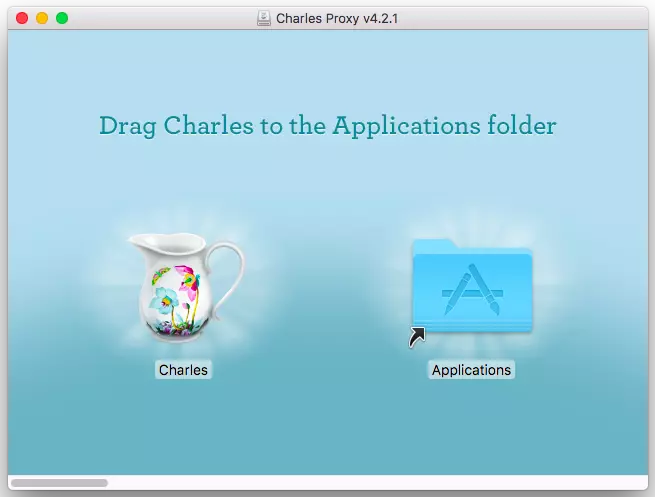
Step 2: Run the downloaded installer, complete as follows:
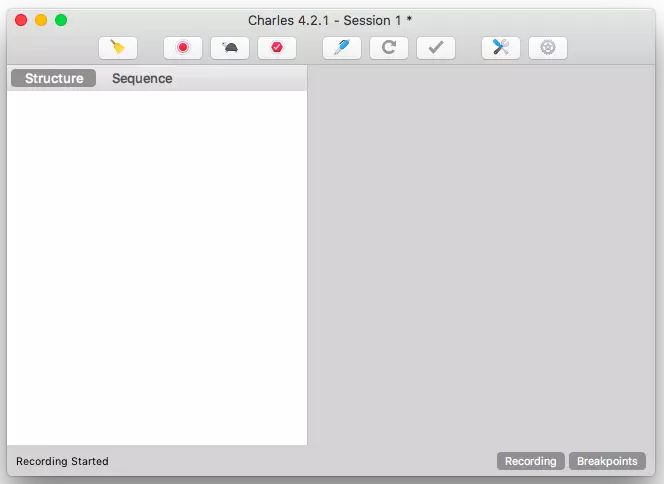
Step 3: Launch Charles:
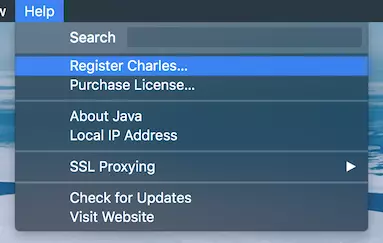
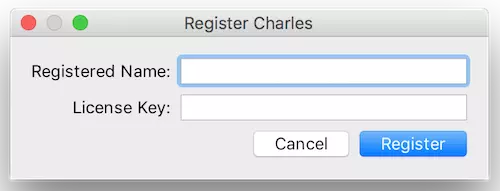
Step 4: Free Charles pack for 30 days, click here to buy license. Then go to Help> Register Charles …> Enter the Register Name and License Key to register and restart Charles again.
1.1. Configure Charles And Environment
The set up Charles and environment are extremely important. If you set up the environment incorrectly or incompletely, it is inevitable that you will not be able to work with it. To help you check that you have set up correctly, here is the checklist of the steps I use:
- Config Proxy
- Turn on macOS Proxy for Charles
- Config proxy for the device
Config Proxy
Proxy is an Internet server that is responsible for relaying information and controlling to create security for Internet access of client computers. When using Charles on a Mac, you need to configure Charles to use macOS Proxy.
Enable macOS Proxy for Charles
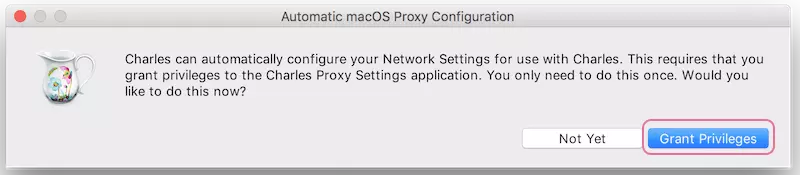
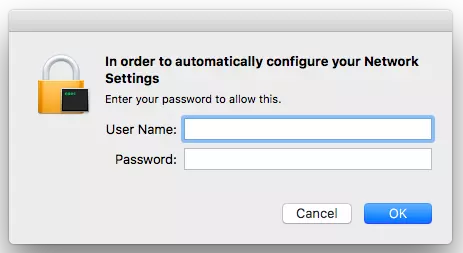
The first time you use Charles, you will be automatically asked for the macOS Proxy permission as follows. Select Grant Privileges and enter the user name and password:
After enabling macOS Proxy for Charles, a tick will appear next to View> macOS Proxy like this:

If the above step select Not yet during Automatic macOS Proxy Configuration, next time you can install through View> Proxy Settings ….
Config proxy for iOS Device
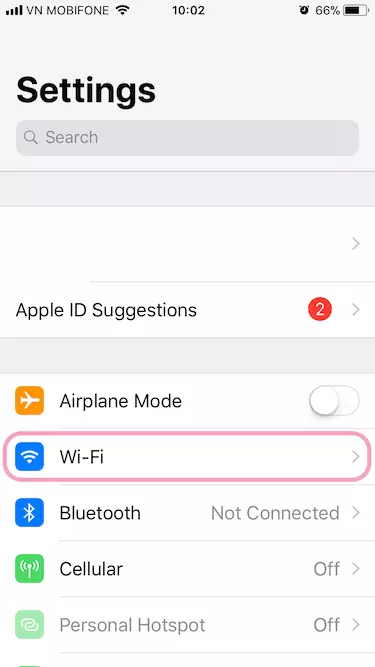
When you choose to debug your app on the real device with Charles, you need to point the device’s HTTP Proxy to the computer you’re using. Note: Your computer and phone must use the same wifi. The device configuration is as follows:
- Go to Settings> Wif i.
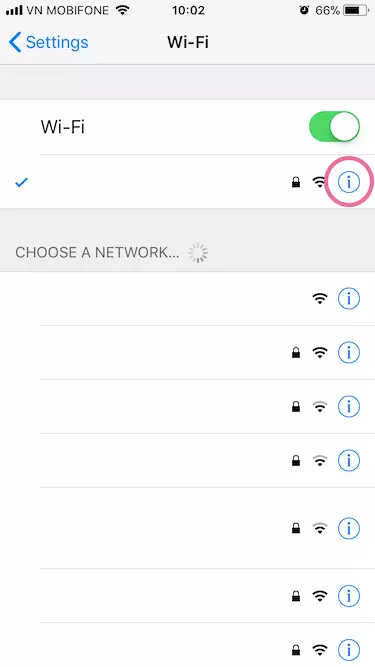
- Select the network to connect to.
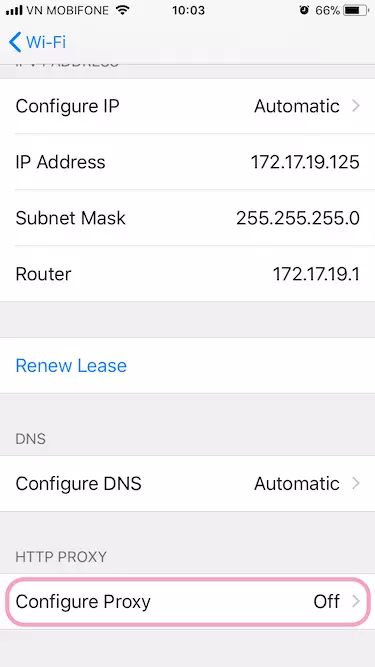
- Select Config Proxy .
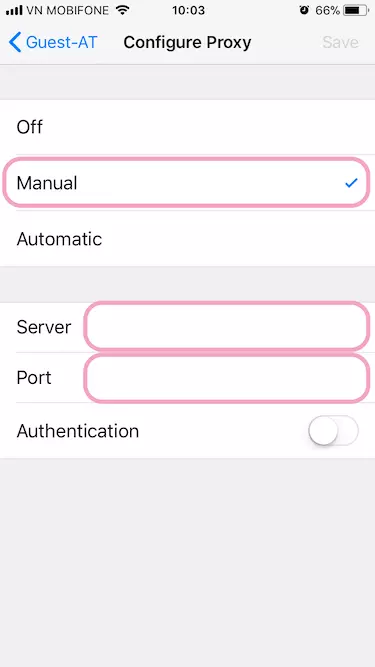
- Select Manual and fill out the form, where:
- Server: The IP address of the computer that is running Charles
- Port: The port that Charles runs (usually 8888)
- Authentication: Off
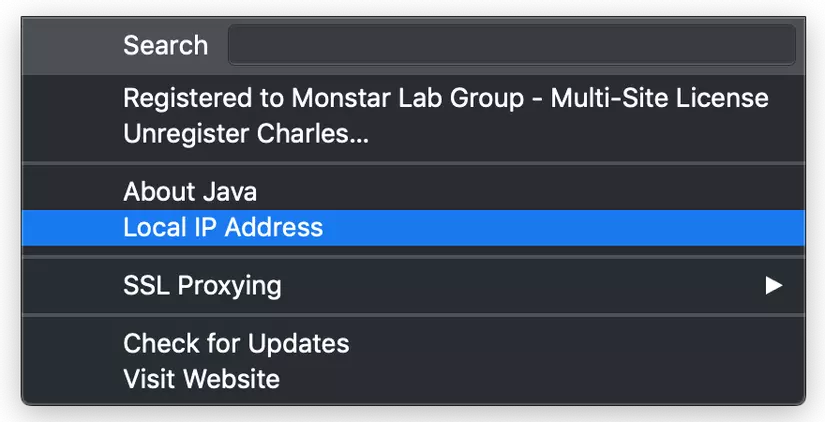
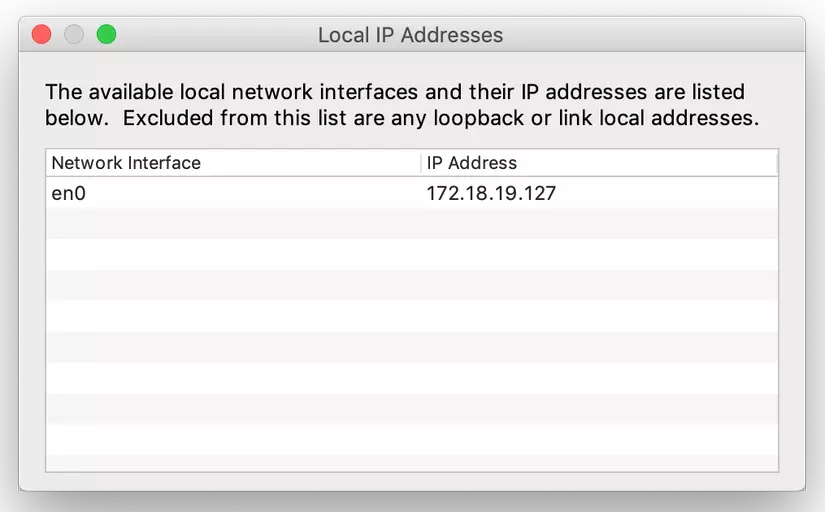
To know the local IP of the computer, go to Help> Local IP Address .
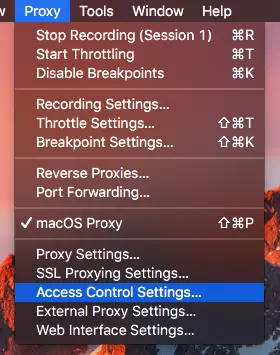
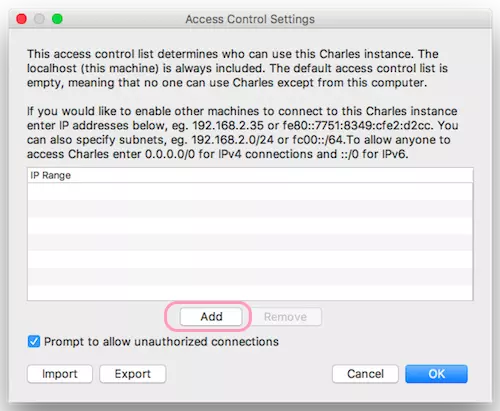
Next, configure access control for mac as follows: Go to Proxy> Access Control Settings … to allow authorized devices to connect with Charles by adding new.
Note: After testing and debugging on the device, remember to reset the device’s wifi, by going to Settings> Wifi, select the wifi to use, select Config Proxy> Off. If not, your phone cannot use wifi.
3. Application Interface 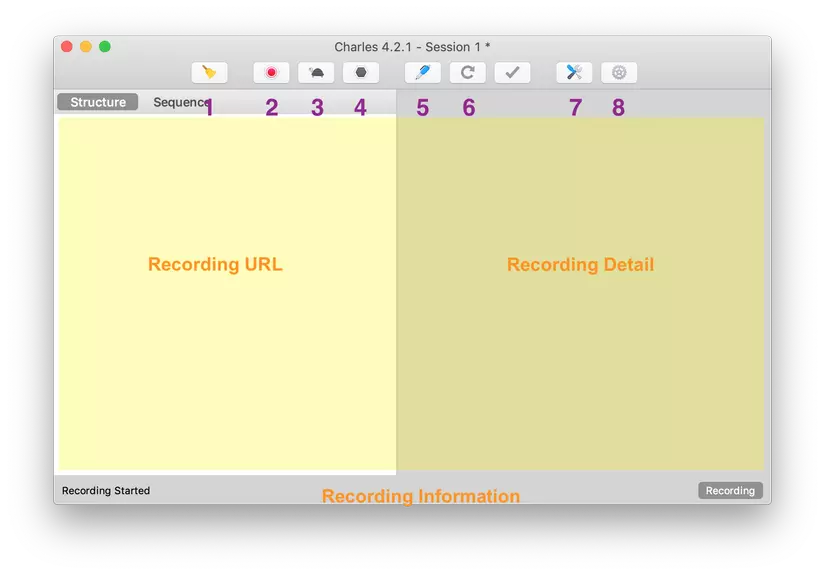
Popular buttons:
- Clear the current session:
- The session contains all the recorded information.
- When the session is full / busy, it is possible to clean the session.
- Start / stop recording:
- Record is the basic function of Charles.
- Request and response are saved to the current session only when the Record function is on. . The request is displayed on the session screen when it is saved. The request can be viewed in two modes: Structure and Sequence.
- Start / stop throttling: Adjust the bandwidth
- Enable / Disable breakpoints: Enable breakpoints to debug request / response
- Compose: Compose a new request
- Repeat: Re-execute the selected request
- Tool: Active / deactive tools such as
- Breakpoint
- No caching
- Settings:
- Recording settings
- Access control settings