How to work with Windows services in C#
- Ngoc Huynh
Take advantage of Windows services to build applications that can execute at predefined intervals of time automatically.
A Windows service is a long-running application that can be started automatically when your system is started. You can pause your service and resume or even restart it if need be. Once you have created a Windows service, you can install it in your system using the InstallUtil.exe command line utility.
Why do we need a Windows service anyway?
You would typically want to use Windows services when you need to build and implement long-running jobs that would be executed at predefined intervals of time. Your Windows service would continue to run in the background while the applications in your system can execute at the same time. Note that a Windows service can continue to execute in the background even if no one has logged into your system.
Implementing a Windows service in C#
To create a Windows service in Visual Studio 2015, follow these steps:
1. Open Visual Studio 2015 IDE
2. Click on File -> New -> Project
3. Select “Windows Service” project template
4. Specify a name for the Windows service
5. Click OK
This will create a new Windows service project in Visual Studio. When working with Windows services, the two main classes you would need are the service and the service installer classes. The service class is the main service file; this would typically contain all that your service is supposed to do. The other class is the service installer that contains the necessary code and metadata needed to setup your service.
Here’s how the source code of the default service (named Service1 and stored in the Service1.cs file) looks like.
using System.ServiceProcess;
namespace IDGWindowsService
{
public partial class Service1 : ServiceBase
{
public Service1()
{
InitializeComponent();
}
protected override void OnStart(string[] args)
{
}
protected override void OnStop()
{
}
}
}
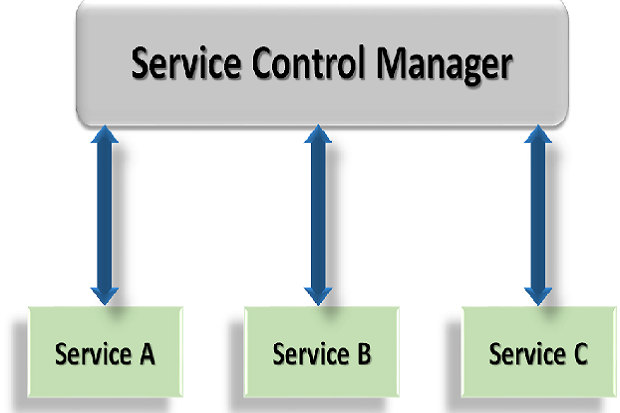
Note that all your Windows services should extend the ServiceBase class. As you can see in the above code listing, there are two important methods in the service class. These include the OnStart and OnStop methods. While the former is fired each time your service is started by the service control manager, the latter is fired each time the service is stopped by the service control manager.
You can then take advantage of the Timer class to specify an operation (in the OnStart() method of your service class) that you would want to execute at specified intervals of time. You can specify the interval and the event handler to be called each time the interval has elapsed. And, you should disable the timer in the OnStop() method, the method that is called each time the Windows service is stopped.
Next, double click on the service file in the solution explorer window, right click and then select “Add Installer” to create the service installer file. Now, select the service installer, right click, and click on “Properties” to open the properties window. You can specify the service name, description, start type, modifiers, etc. for your service from the properties window of the service installer.
The two properties that are of importance are the service name and the start type. While the former refers to the name of the service that would be installed in your system, the second refers to how the service should be started. There are three possible options for the start type of the service — Automatic, Manual, and Disabled. All of these start type options are self — explanatory anyway.
Once done, all you would now need to do is compile the solution to create the executable file for the Windows service you have implemented. Next, you should open the “Developer Command Prompt” of the version of Visual Studio that is installed in your system and then use the command line utility named InstallUtil to install the service.
If the installaton of the service is successful, you would see that the following messages (amongst other messages) would be displayed in the console window, i.e., the Visual Studio Developer Command Prompt.
The Commit phase completed successfully.
The transacted install has completed.
Now, if the start type of your Windows service is set to “Manual”, you should start your service manually. To do this, go to Start -> Run and then type “Services.msc”. When the “Services” window opens, locate your Windows service and start it manually. This is all you need to do to build and execute your Windows service.
Source : http://www.infoworld.com/