In this section I will continue to give some formulas to effect the image with shader. You can read part 1 here
E04: Grayscale
Here are a few other simple examples:
Full Code file .vsh:
1 2 3 4 5 6 7 8 9 10 11 12 13 | attribute vec4 a_position; attribute vec2 a_texCoord; varying vec2 cc_FragTexCoord1; varying vec2 cc_FragTexCoord2; void main() { gl_Position = CC_PMatrix * a_position; cc_FragTexCoord1 = a_texCoord; } |
Full code file .fsh:
1 2 3 4 5 6 7 8 9 10 | varying vec2 cc_FragTexCoord1; void main(){ gl_FragColor = texture2D(CC_Texture0, cc_FragTexCoord1); float gray = (gl_FragColor.r + gl_FragColor.g + gl_FragColor.b)/3.0; gl_FragColor.rgb = vec3(gray); } |
The properties and types of variables I have explained in part 1, you can return to your previous post for reference.
For example, this is merely an additional color mixing formula:
1 2 3 4 5 6 7 8 9 10 11 12 13 14 15 16 17 18 19 20 | Cách chuyển RGB thành màu xám đó là chúng ta sẽ tìm công thức sao cho các giá trị R=G=B Công thức dễ nhớ nhất là ta lấy trung bình cộng cả 3 màu: R' = G' = B' = (R+G+B) / 3 = 0.333R + 0.333G + 0.333B ra đây là hai công thức khác, nó sẽ thêm trọng số vào các màu R/G/B. R' = G' = B' = 0.2126R + 0.7152G + 0.0722B Hoặc R' = G' = B' = 0.299R + 0.587G + 0.114B Vd: Màu RBG chúng ta nhận được là (30,128,255) R' = G' = B' = (R+G+B) / 3 = (30+128+255) / 3 = 138 Sử dụng công thức trung bình cộng chúng ta sẽ được màu xám tương ứng là: (138,138,138) |
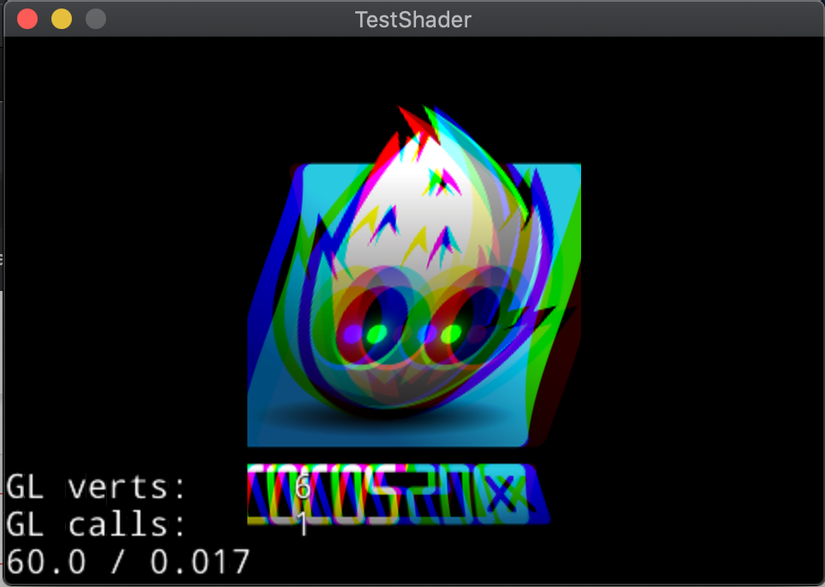
E05: Chromatic
What is the CHROMATIC ABERRATIONS effect – (WHERE ARE THE REVERSE)?
Chromatic Aberration on the lens is a phenomenon where white light after passing through the lens is distorted, turning into a light beam with a distribution of red to purple.
If you read the definition and you understand it, then it’s okay, because me too =))). According to my opinion, this effect is distorted, I often see these effects in horror games.

Full Code file .vsh:
1 2 3 4 5 6 7 8 9 10 11 | attribute vec4 a_position; attribute vec2 a_texCoord; varying vec2 cc_FragTexCoord1; void main() { gl_Position = CC_PMatrix * a_position; cc_FragTexCoord1 = a_texCoord; } |
Full code file .fsh:
1 2 3 4 5 6 7 8 9 10 11 12 13 14 15 16 | varying vec2 cc_FragTexCoord1; void main(){ float t = CC_Time[0]; vec2 uv = cc_FragTexCoord1; float wave = 0.1; // Sample the same texture several times at different locations. vec4 r = texture2D(CC_Texture0, uv + vec2(wave*sin(1.0*t + uv.y*5.0), 0.0)); vec4 g = texture2D(CC_Texture0, uv + vec2(wave*sin(1.3*t + uv.y*5.0), 0.0)); vec4 b = texture2D(CC_Texture0, uv + vec2(wave*sin(1.6*t + uv.y*5.0), 0.0)); // Combine the channels, average the alpha values. gl_FragColor = vec4(r.r, g.g, b.b, (r.a + b.a + g.a)/3.0); } |
Here I will perform 2 steps.
B1 : I will create a distorted image from the old image (can be based on sin , cos , or offset adjustment the image are ok).
Note, if you have not visualized the distorted picture with the above formula, you can adjust the following code: texture2D(CC_Texture0, uv + vec2(wave*sin(1.0*t + uv.y*5.0), 0.0)); ---->> texture2D(CC_Texture0, vec2(wave*sin(1.0*t + uv.y*5.0), 0.0));
B2 : I mixed the original photo and the distorted picture.
B3 : Ta-ta, we got the Chromatic effect, T__T.
The examples I gave here are just basic so not as shown above, to do as above, I need to add 1 more NoiseTexture.
I will guide you to use more textures to create many other effects later, for now, I’m just going to the most basic mixing parts in this article.
Exercises
Testing more ways of distortion.
Try different combinations of color recipes.
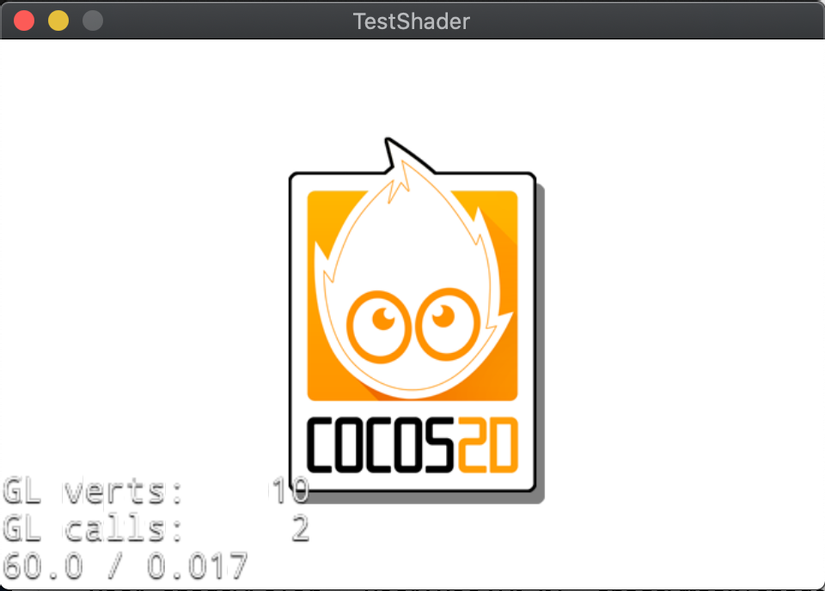
E06: Shadow
Note that you can’t cast a shadow on the outside of the sprite, so make sure it has enough empty area in the image for whatever effect you want to add.
1 2 3 4 5 6 7 8 9 10 11 12 | attribute vec4 a_position; attribute vec2 a_texCoord; varying vec2 cc_FragTexCoord1; void main() { gl_Position = CC_PMatrix * a_position; cc_FragTexCoord1 = a_texCoord; } |
1 2 3 4 5 6 7 8 9 10 11 12 13 14 15 16 17 18 19 | varying vec2 cc_FragTexCoord1; vec4 composite(vec4 over, vec4 under){ return over + (1.0 - over.a)*under; } void main(){ vec4 textureColor = texture2D(CC_Texture0, cc_FragTexCoord1); // Offset of the shadow in texture coordinates. vec2 shadowOffset = vec2(-0.03, -0.03); float shadowMask = texture2D(CC_Texture0, cc_FragTexCoord1 + shadowOffset).a; const float shadowOpacity = 0.5; vec4 shadowColor = vec4(vec3(0.0), shadowMask*shadowOpacity); gl_FragColor = composite(textureColor, shadowColor); } |
Here the shadowOffset variable is used to adjust the deviation of the shadow, you can try changing the value of this variable to test offline. Now I will say the idea of this effect. You notice the following func:
1 2 3 4 | vec4 composite(vec4 over, vec4 under){ return over + (1.0 - over.a)*under; } |
Here I will get 2 param is 2 colors: over is the color of the image and the under is the color of the ball.
- If the image at this location is colored (ie alpha = 1), it will return the color of the current image.
- If the image in this position has no color over = (0, 0, 0, 0) then it will return the color of the shadow (here is under).
Okay, so I’ll summarize the idea of this func as follows:
B1 ) we will rely on the alpha of the image and rely on shadowOffset to create a shadow layer.
B2 ) we will consider: if this position of the image is colored, it will return color.
If this position has no color (alpha = 0) and the area is in a shadow area, then the shadow is returned.
If not in both, returns no color. (because both over and under are 0 colors, the expression over + (1.0 - over.a)*under also returns 0 colors).
Exercises:
Try drawing a layer of color instead of the shadow below.
I would like to pause this section here ,, we’ll return to another effect in the next section