As an Android dev, you are all familiar with some databases that help store data locally like SQLite or Zoom . In this article, I will introduce a pretty good database for developing applications that you want to store data online, which is MongoDB. With MongoDB Atlas, all with just a few clicks in the browser, you can create a database of your own and run on the cloud. By using it, you can build Android and iOS applications that can effectively serve millions of users. However, you still need a secondary server that can act as an intermediary between users’ devices and your database. You will need it to enforce security policies, add an level of abstraction to your CRUD activities, schedule tasks for a lot of other important tasks. MongoDB Stitch is a powerful server platform that can meet all your back-end requirements. In addition to providing control over your database access, it also provides a JavaScript-based computing environment that you can use to perform many server-side operations. In this tutorial, I will show you how to use it in Android apps.
Request
- Atlas MongoDB account
- The latest version of Android Studio
- Device or simulator running Android 5.0 or higher
1. Create an Atlas MongoDB Cluster
MongoDB Stitch needs to be used with an Atlas MongoDB Cluster. You can use an existing cluster, or create a new one.
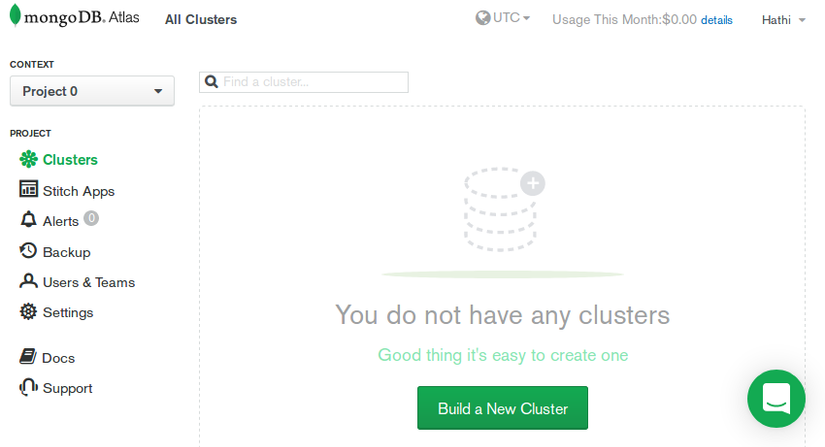
To create a new cluster, simply log in to your MongoDB Atlas account and click the Build a New Cluster button.
In the next screen, ask you to provide configuration details about your new cluster, select any cloud provider, free M0 cluster supply area, and click the Create Cluster button. 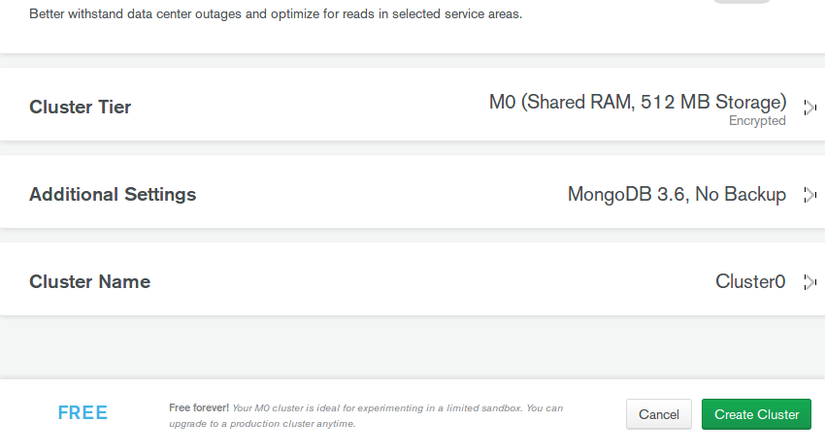
After a few minutes, you will have a brand new free cluster of Cluster0.
2. Create a MongoDB Stitch application
To link the Stitch application to your cluster, click the Link Application link . On the next page that opens, click the Create New Application button.
You can now enter the desired name for your new Stitch application. Then select the MongoDB cluster you want to link and click the Create button. 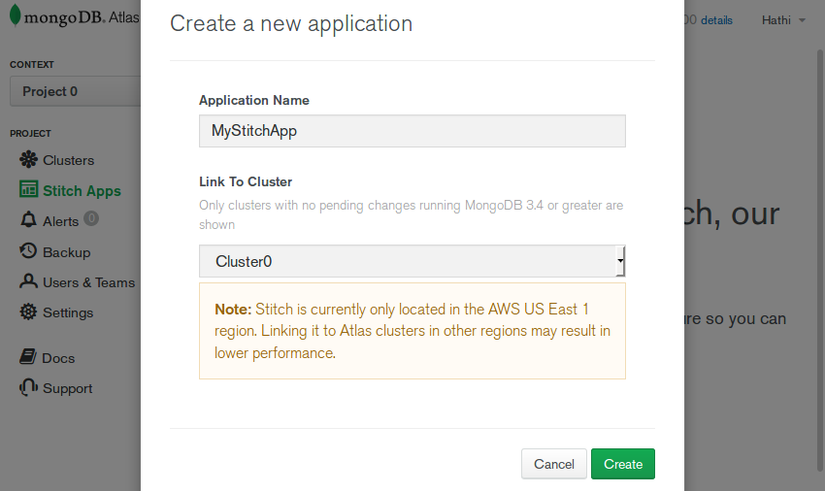
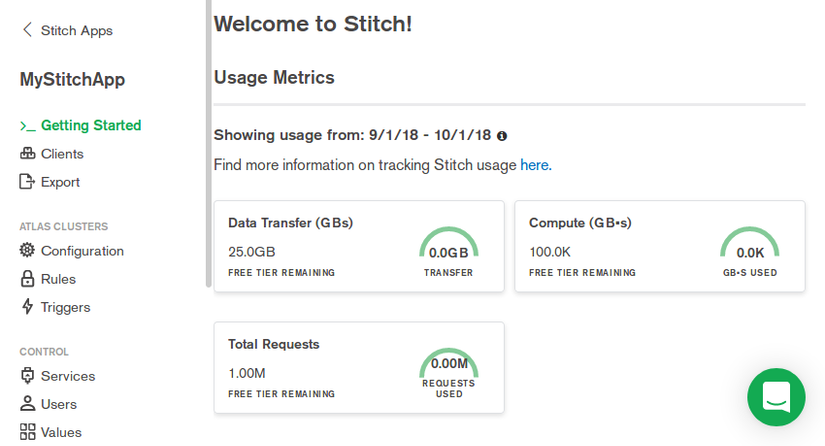
Your application is now ready to use. Let’s go to the next step!
Each application will have a unique ID, you need this id to use in your android app. You can see the application’s id by going to the Clients section and opening the Java tab (Android)
3. User configuration and rules
By using MongoDB Stitch, you can securely interact with your Atlas MongoDB cluster. This is possible because your connection string does not contain the server address, username and password of the database in your code.
Authenticated end users of your Stitch application will automatically access your database. However, using one or more rules, you can control exactly which documents and fields they can view or modify.
To authenticate your users, Stitch provides several authentication mechanisms, including anonymous authentication, email / password authentication and authentication using popular link identification providers. In this tutorial, we will use anonymous authentication. To set it up, go to the Clients section and open the Providers tab
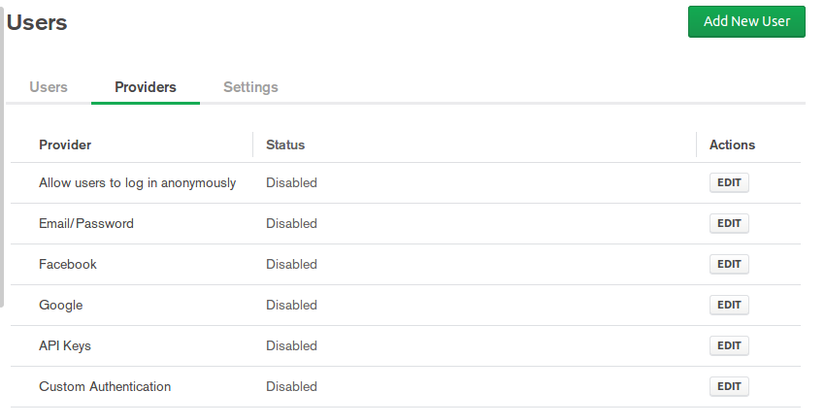
Next, select the ** Allow users to log in anonymously ** option, enable the option and press the Save button.
Let’s say we want to allow our anonymous users to work only with documents they own. To create such a rule, go to the Rules section.
Because the rules are applied to collections, click the Add Collection button to create a new collection now. In the form that appears, name it and specify the database that contains it. After you do so, select Users can only read and write their own data . 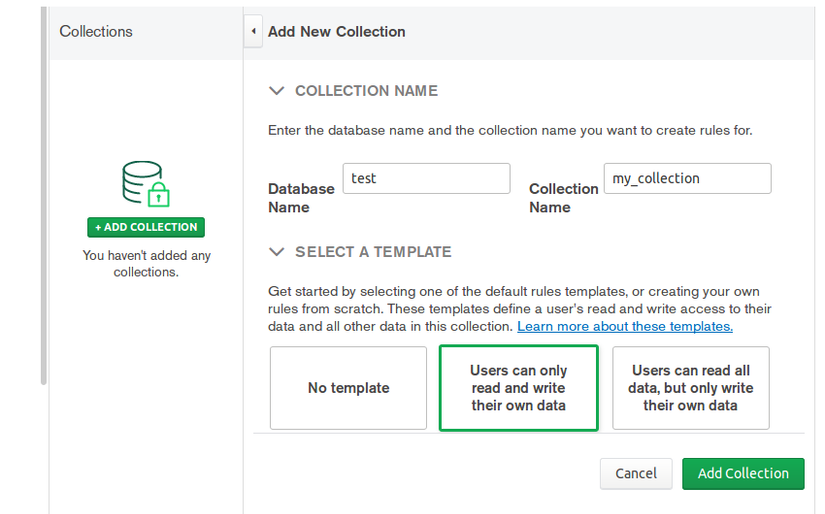
When selecting a template, you will be prompted to specify the name of the field in your document, in which you will store the user’s auto-generated Stitch authentication ID. Stitch will use this field while deciding whether the document belongs to the user or not. Call it user_id and submit the form.
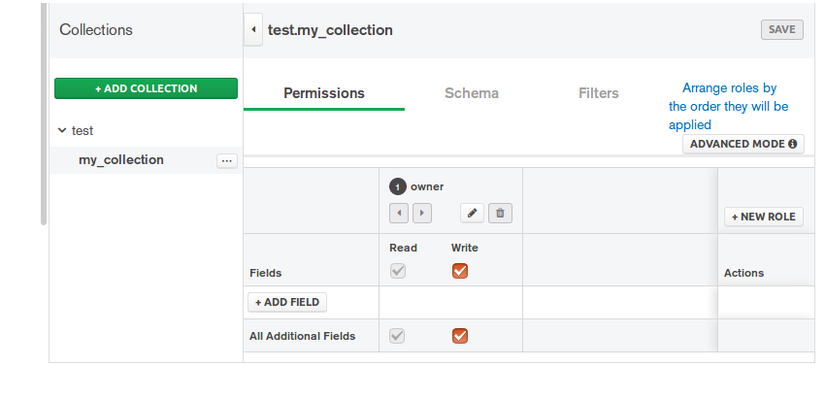
On the next page, you can now confirm that only the owner of the documents in your collection can read and write.
4. Create a project
First we need to add the library to use Stick
1 2 | implementation 'org.mongodb:stitch-android-sdk:4.0.5' |
Additionally, you must use the ID of the Stitch application in your project. So, go to the file res / value / String.xml and add it as string <string name="my_app_id">mystitchapp-qwern</string>
5. Establish a connection
With an instance of the StitchAppClient class, you can easily use all the features that the Stitch platform provides. To initialize the StitchAppClient initialization, you must call the initizeDefaultAppClient () and pass your Stitch application ID to it.
When ready, you can call the getDefaultAppClient () to get a reference to the client.
1 2 3 4 5 6 | Stitch.initializeDefaultAppClient( resources.getString(R.string.my_app_id) ) val stitchAppClient = Stitch.getDefaultAppClient() |
Until your users log into the Stitch application, you will not be able to perform any read and write actions on your MongoDB Atlas cluster. Therefore, you must now log in the user by calling the ** loginWithCredential () ** method **. Also, since you have chosen anonymous authentication as the authentication mechanism in Stitch’s web control panel, make sure you pass an instance of the AnonymousCredential class.
1 2 3 4 5 | stitchAppClient.auth.loginWithCredential(AnonymousCredential()) .addOnSuccessListener { // More code here } |
After running the app, go to the Stitch web panel and open the Clients section, you should be able to see that a new item has been added to the user list. 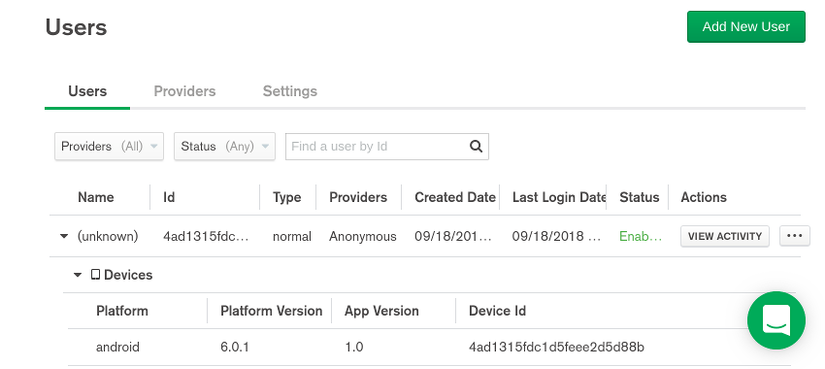
6. Insert document
After successful authentication, you can go ahead and get a version of the RemoteMongoClient class to start interacting with your MongoDB Atlas cluster. To do so, you can call the getServiceClient () and specify that the name of the service you want is ” mongodb-atlas “. Here’s how:
1 2 3 4 5 | val mongoClient = stitchAppClient.getServiceClient( RemoteMongoClient.factory, "mongodb-atlas" ) |
Remember, thanks to the rule you created earlier, your users can only read and write operations on their own data. Moreover, your users are limited to working only with the databases and collections that you mentioned in the Stitch web dashboard.
To get a reference to the database, call the getDatabase () and pass the name of the database. Similarly, to get a reference to the collection, call the getCollection () , which returns a RemoteMongoCollection object.
1 2 3 | val myCollection = mongoClient.getDatabase("test") .getCollection("my_collection") |
You can then add any data you want, for example, if I want to add the time when the user starts creating the database, I can do the following:
1 2 3 | val myFirstDocument = Document() myFirstDocument["time"] = Date().time |
To listen to whether adding data is successful, you can listen to the following event:
1 2 3 4 5 | myCollection.insertOne(myFirstDocument) .addOnSuccessListener { Log.d("STITCH", "One document inserted") } |
7. Run the query
By calling the find () RemoteMongoCollection of your RemoteMongoCollection object, you can create a query. (You can learn more about find () and other query operations in the MongoDB Java driver documentation.) The method returns a RemoteFindIterable object, on which you can call additional methods like sort () and limit () to manage the results of the query. For example, the following code creates a query to find the last five documents created by the user:
1 2 3 4 | val query = myCollection.find() .sort( Document("time", -1) ) .limit(5) |
For the time being, to simplify things, use TextView to display the results of the query. So, add the following code to the layout XML file of your operation:
1 2 3 4 5 6 | <TextView android:layout_width="match_parent" android:layout_height="wrap_content" android:id="@+id/viewer" /> |
And finally, we need to display the data on the screen:
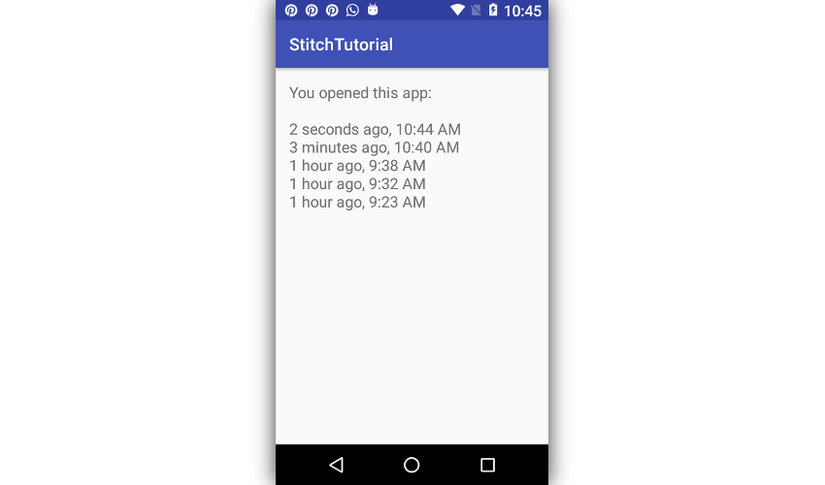
1 2 3 4 5 6 7 8 9 10 11 12 13 14 15 16 17 | val output = StringBuilder("You opened this app: nn") // Loop through the results result.forEach { output.append( DateUtils.getRelativeDateTimeString( <a class="__cf_email__" href="/cdn-cgi/l/email-protection">[email protected]</a> , it["time"] as Long, // Get value of 'time' field DateUtils.SECOND_IN_MILLIS, DateUtils.WEEK_IN_MILLIS, 0 ) ).append("n") } // Update the TextView |
Results obtained after running the app
8. Summary
Reference: https://code.tutsplus.com/tutorials/how-to-use-mongodb-stitch-in-android-apps–cms-31877