With gradients you will be able to create more color and beauty.
A color gradient represented as an array of color stops, each having a parametric location value.
Apple Documentation.
In this tutorial, you will learn how to implement different gradients in SwiftUI:
- How to use Angular Gradient.
- How to use Linear Gradient.
- How to use a Radial Gradient.
Prerequisites
To follow along with this tutorial, you’ll need some basic knowledge about:
- Basic with Swift.
- Xcode 11 and above
Angular Gradient
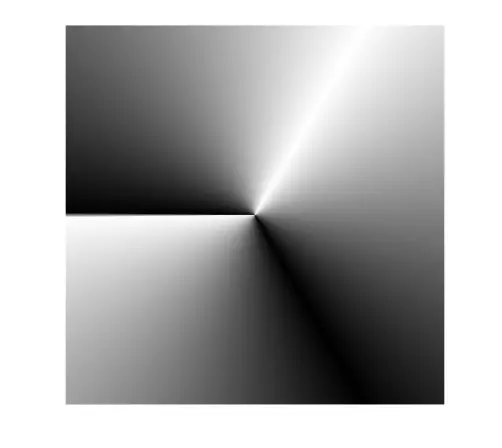
With the Angular Gradient, you set the center of the circle and the gradient will start from the parameters you set and fill the color clockwise.
1 2 3 4 5 6 7 8 9 10 11 12 | let angularGradient = AngularGradient(gradient: Gradient(colors: [.black, .white, .black, .white]), center: .center, angle: .degrees(180)) var body: some View { VStack { Rectangle() .fill(angularGradient) .frame(width: 200, height: 200) } .padding() } |
Currently, the gradient starts to fill at 180 degrees and moves clockwise.
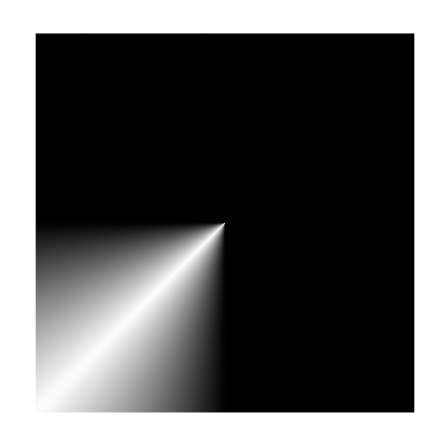
You can even adjust the start and end angles of the gradient. You will set the starting angle to 90 and the end angle to 180.
1 2 | let angularGradient = AngularGradient(gradient: Gradient(colors: [.black, .white, .black]), center: .center, startAngle: .degrees(90), endAngle: .degrees(180)) |
If the center of the eye aches a little, you can move it back.
1 2 | let angularGradient = AngularGradient(gradient: Gradient(colors: [.black, .white, .black, .white]), center: .bottomTrailing, angle: .degrees(0)) |
Linear Gradient
Linear gradients are the most commonly used gradients and have starting and ending points.
Apple has done very well in the previous determination UnitPoint using .leading , .trailing , .top , .topLeading , etc. All you have to know is that it starts and ends somewhere.
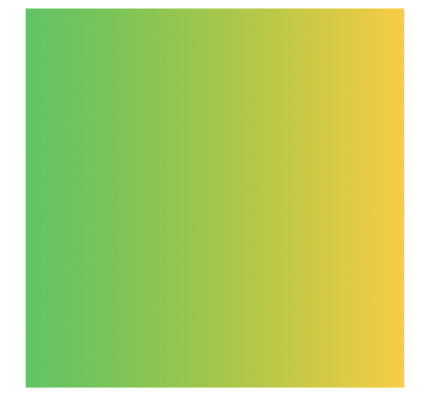
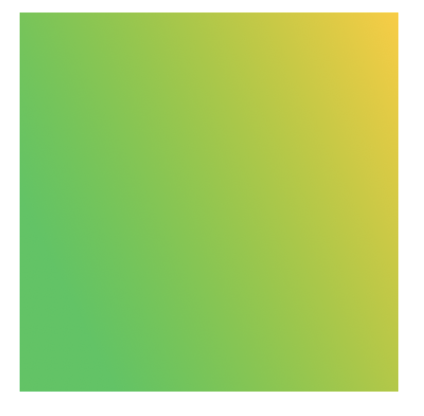
From left to right:
1 2 | let linearGradient = LinearGradient(gradient: Gradient(colors: [.green, .yellow]), startPoint: .leading, endPoint: .trailing) |
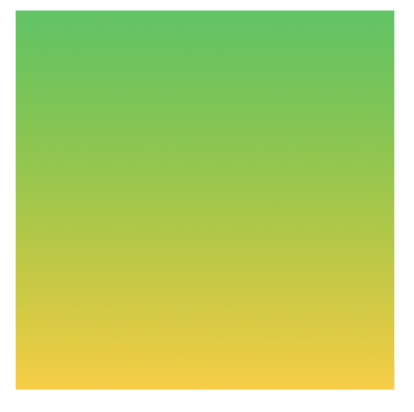
Up to down:
1 2 | let linearGradient = LinearGradient(gradient: Gradient(colors: [.green, .yellow]), startPoint: .top, endPoint: .bottom) |
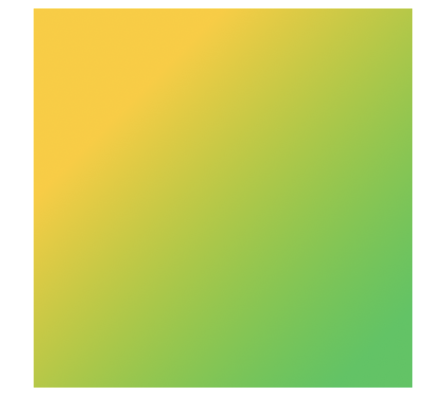
From left to top right:
1 2 | let linearGradient = LinearGradient(gradient: Gradient(colors: [.green, .yellow]), startPoint: .leading, endPoint: .topTrailing) |
In case you need a custom direction, you can even define your own Unit Points.
1 2 | let linearGradient = LinearGradient(gradient: Gradient(colors: [.green, .yellow]), startPoint: UnitPoint(x: 0.9, y: 0.9), endPoint: UnitPoint(x: 0.25, y: 0.25)) |
Radial Gradient
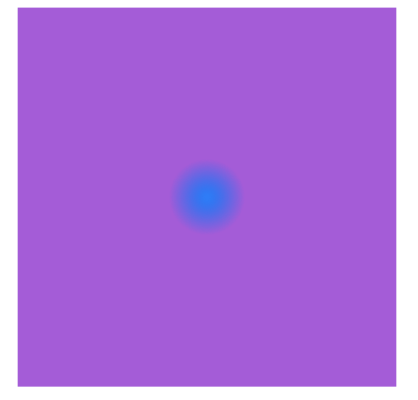
A Radial Gradient behaves like a Linear Gradient, except for the starting and ending points. With a Radial Gradient you specify the starting and ending radius, then the gradient will fill the circle and move out gradually.
1 2 | let radialGradient = RadialGradient(gradient: Gradient(colors: [.blue, .purple]), center: .center, startRadius: 1, endRadius: 20) |
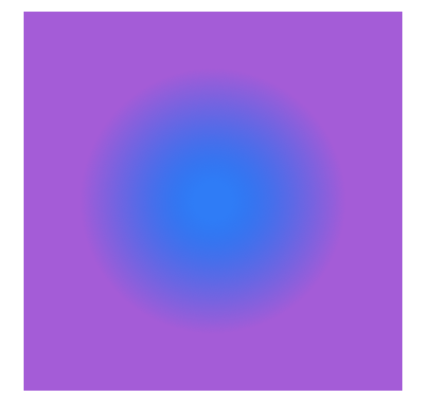
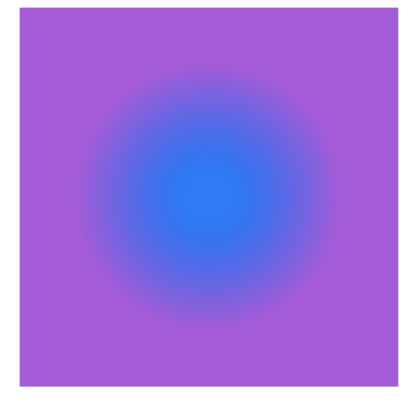
To make it clearer, you just need to set the radius higher.
1 2 | let radialGradient = RadialGradient(gradient: Gradient(colors: [.blue, .purple]), center: .center, startRadius: 10, endRadius: 70) |
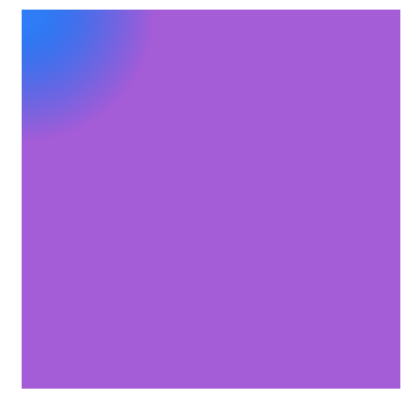
If you don’t like drawing at the center. You can define the starting point. You use .topLeading and it will appear at the top left.
1 2 | let radialGradient = RadialGradient(gradient: Gradient(colors: [.blue, .purple]), center: .topLeading, startRadius: 10, endRadius: 70) |
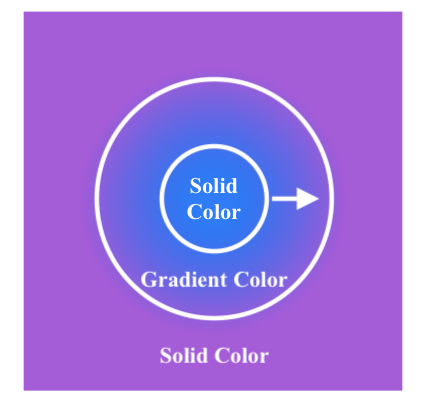
What does it mean here?
Look at the image below, the radius starts at the inner circle and ends at the outer circle. Between the inner and outer circle, that’s where the gradient begins.
Thank you for watching the article, hope it will be helpful to you.