Firebase cloud messaging with Laravel schedule
- Tram Ho
I. Foreword
Today I will share how I pushed notifications to devices (including app and web). To do this, I used Laravel’s schedule and Firebase Cloud Messaging.
II. Perform
1. Create a new project
I will skip this step for you to find out. To set up a database, you need to access https://firebase.google.com/ , then create a new database.
2. Setup Environment on laravel
First need to add to the laravel-firebase package:
composer require kreait/laravel-firebase
After installing the package, set it to the file .env 2 new variables
1 2 3 | FIREBASE_CREDENTIALS=config/name-file.json FIREBASE_DATABASE_URL=https://name-project.firebaseio.com |
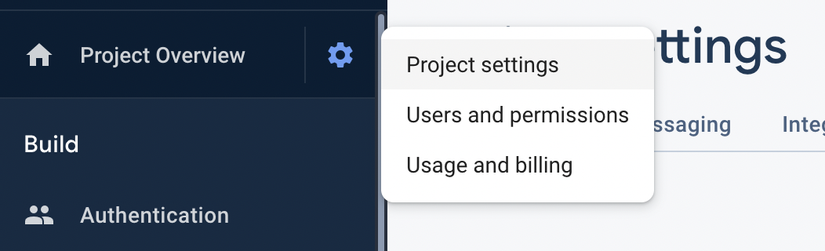
Reading this far, you will wonder where the values of the two environment variables above come from? For FIREBASE_CREDENTIALS You will go to the project section that created a database in step 1. Select project settings >> service accounts, then select Generate new private key, now you will download a json file. Put that file in the config folder. For FIREBASE_DATABASE_URL then will get the value from the databaseURL in the json file you just downloaded above.

After completing the above steps, run the command to initialize the file firebase in the config directory. In this file will call the 2 environment variables setup above to connect to firebase.
php artisan vendor:publish --provider="Kreait\Laravel\Firebase\ServiceProvider" --tag=config
That’s it, the environment setup is done!!!
3. Handling sending notifications
I will create 1 job SendNotifications, Note that in this job you will not implements ShouldQueue. In the handle part I will call the SDK app('firebase.messaging'), there are many ways and format to send a notification. Here I will use the format to send by topic like the code below:
1 2 3 4 5 6 7 8 9 10 11 12 13 | public function handle() { $messaging = app('firebase.messaging'); $message = CloudMessage::fromArray([ 'topic' => 'ios', 'notification' => [ 'body' => 'Xin chào đây là thông báo đầu tiên', 'title' => 'Thông báo đầu tiên' ], 'time' => Carbon::now()->timestamp ]); } |
4. Use schedule to push notifications
To use the schedule, I will go to the file Kernel.php In this you will call the job you just created in the above step in function schedule. Ok so the backend is done!!! Coming here to receive notifications on devices, we need to process the fontend side to complete the entire function. The fontend I will share in another post.
1 2 3 4 5 | protected function schedule(Schedule $schedule) { $schedule->job(new SendNotification)->everyMinute(); } |
III. End
Above, I shared with you how to push notifications in laravel backend. Hopefully, this article of mine will help you handle notifications, this article still has many shortcomings, hope you guys can give me suggestions for improvement.
Thank you for reading the article.
IV. References
https://github.com/kreait/laravel-firebase https://firebase-php.readthedocs.io/en/latest/cloud-messaging.html#send-messages-to-multiple-devices-multicast