Today’s article I will share with you how to customize fonts with React Native for both iOS and Android
Name the font
To avoid conditional logic errors in React Native styles, we should rename the font as needed so that it ensures the font will read the same name both iOS and Android.
For example, I am using a font file called “vinchand.ttf”. However, when I opened it in FontBook, I saw that the full name of the font was “vincHand” with a capital H. 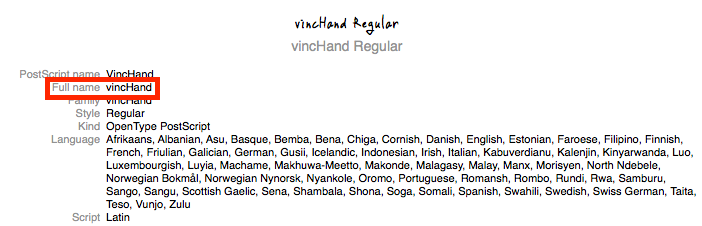
To make sure the font works smoothly, I will rename the font to “vincHand.ttf”, because Android will read from the filename and iOS will read from the “full name” property.
Add Font to Assets
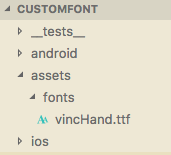
Next, add all the fonts we want to the assets/fonts folder in the React Native project’s root directory
Font alignment
Next, we’ll have to tell React Native where we have placed the custom fonts.
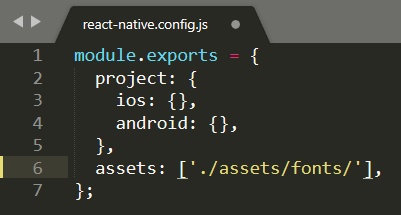
- Create react-native.config.js in the root directory, then add
assets: ['./assets/fonts/']
- Run
react-native linkcommand
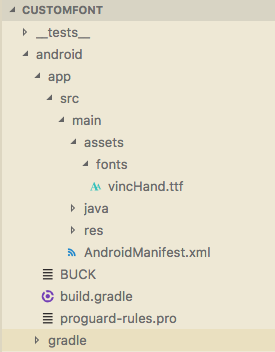
The font’s reference will be added to the Info.plist file on iOS, but on Android it will copy the font file to android/app/src/main/assets/fonts .
You can check by yourself by opening the Info.plist file and searching with the keyword UIAppFonts.
1 2 3 4 5 | <span class="token operator"><</span> key <span class="token operator">></span> <span class="token builtin">UIAppFonts</span> <span class="token operator"><</span> <span class="token operator">/</span> key <span class="token operator">></span> <span class="token operator"><</span> array <span class="token operator">></span> <span class="token operator"><</span> string <span class="token operator">></span> vincHand <span class="token builtin">Regular</span> <span class="token punctuation">.</span> ttf <span class="token operator"><</span> <span class="token operator">/</span> string <span class="token operator">></span> <span class="token operator"><</span> <span class="token operator">/</span> array <span class="token operator">></span> |
Go to the path “android / app / src / main / assets / fonts” to see that the font has been copied
React Native Styles
After we have the font embedded in the project, using it is too simple, just use the fontFamily property with the font name.
1 2 3 4 5 6 7 8 9 10 11 12 13 14 15 16 17 18 19 20 21 22 | const styles = StyleSheet.create({ container: { flex: 1, justifyContent: "center", alignItems: "center", backgroundColor: "#F5FCFF" }, welcome: { fontFamily: "vincHand", fontSize: 30, textAlign: "center", margin: 10 }, instructions: { fontFamily: "vincHand", fontSize: 20, textAlign: "center", color: "#333333", marginBottom: 5 } }); |
And here is the result:
iOS

Android

Conclude
Thank you for following the article, the article is referenced at:
https://medium.com/react-native-training/react-native-custom-fonts-ccc9aacf9e5e