Preamble
Hello Nuxtjs today I introduced how to create a Nuxtjs project and the directory structure of the Nuxtjs project. So what is Nuxtjs ??? . Nuxtjs is a framework based on Vuejs help for the construction and development of web applications quickly. So you need to learn Vue before learning Nuxjs. Here I will move on to creating the first Nuxtjs project.
Setting
There are 2 ways to create a Nuxtjs project:
- npm
- yarn
Note : when installing with npm , it must be npm from 5.2.0 and above so that it has the syntax of npx . So I will install it using yarn (because I am more familiar with using yarn). To install, you just need to run the command
1 2 | yarn create nuxt <span class="token operator">-</span> app <span class="token operator"><</span> project <span class="token operator">-</span> name <span class="token operator">></span> |
where <project-name> is the name of the project you want to set. It will take a moment for it to download the nuxt-app , and there will be some questions as follows:
- Project name: the name of your project
- Programming language: a development language with
JavaScriptandTypeScripteveryone who knows which one will choose that. - Package manager:
npm,yarn, I chooseyarn - UI framework: there are many, but I chose
Tailwind CSSbecause I found it quite delicious: v - Nuxt.js modules: modules to connect, you choose all for yourself
- Linting tools: tools to lint, choose all
- Testing framework: choose what to test, never use it, so choose
none - Rendering mode: I choose
Universal - Development tools: I chose
Jsconfig.jsonbecause I use vscode - Continuous integration: I choose
none - Version control system: select
git
Ok so now just wait for it to install again. After it’s installed, you can simply cd to that project and run
1 2 | yarn dev |
Then open a browser with the address http://localhost:3000/ to see the results
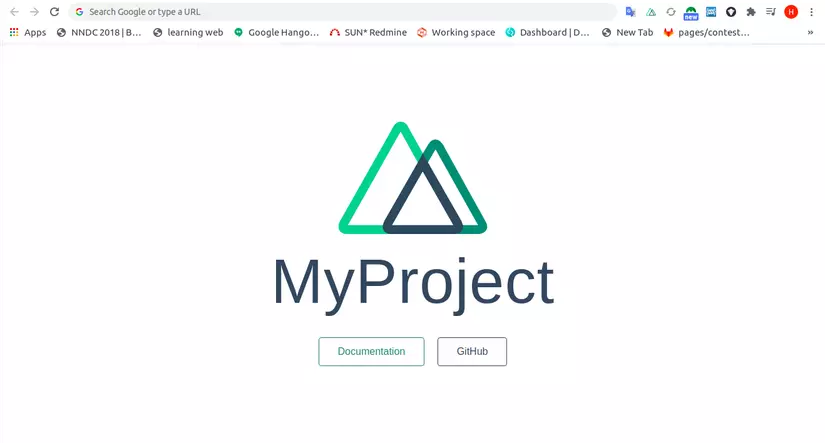
Here is my result. Next will be the part to learn the directory structure in the Nuxtjs project.
Directory structure
This is the directory structure of the Nuxjs project I just created
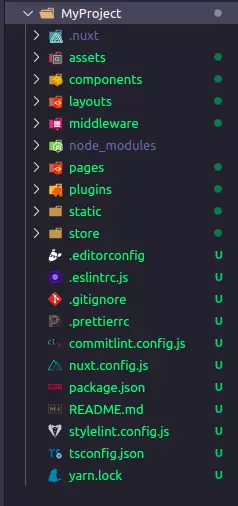
You can see that there are many directories, you can find out details here . In this article, I only introduce the common main directories.
- Assets directory: Contains untranslated entries such as images, fonts, scss global …
- Components directory: Simply contains components
- Layouts directory: Contains layouts (each page has a layout and layouts are not necessarily the same, eg login layout will be different from contact section layout …)
- Middleware directory: It simply contains the functions that are run before the Components are run
- Pages directory: contains the application’s views, each file is equivalent to 1 route of the application.
- Plugins directory: contains plugin js only
- Static directory: contains static files that are mapped directly to the server
- Store directory: is the vuex: v
- Nuxt.config.js file: configuration file for the Nuxtjs project (eg what head has, what title is … what plugins are run before rendering to the page …)
- Package.json File: familiar, it
Nodejsthere is this file inNodejs, similarly it also contains dependencies and scripts for your application.
Conclude
So I finished introducing how to create a Nuxjs project and introduced the folders in the Nuxtjs project just created. In the next part, I will introduce the routes in Nuxtjs which are quite magical. My posts please stop here, if anyone has contributed or added anything, please comment below for me to improve the article more. Thank you for watching.