Hello everyone, today’s article I will write about Core data in iOS, I write the most basic things that those who just started learning iOS also understand the basics. We think of using core data when we want to store data locally, without having to call API. I start on the demo too.
First, create a new project named CoreDataDemo, core data is built into iOS, so when you create a new project with the option to use Core data or not, I choose yes: 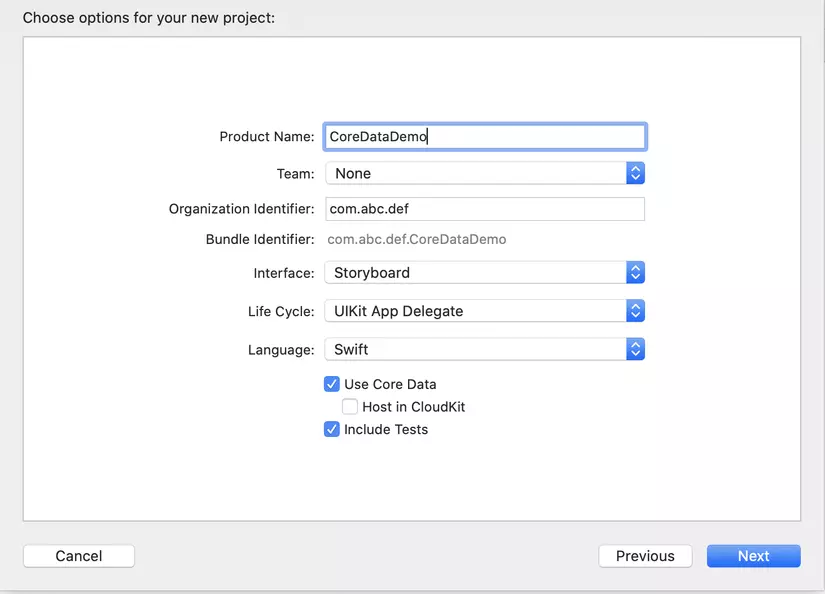
After creating the project, XCode makes available to us the CoreDataDemo.xcdatamodelId file, where we can create Entities and add Attributes to them. At the bottom left we click Add Entity and give it a name. Then we click on the newly created Entity, and choose Add Atribute. And in AppDelegate there are 2 components available, persistentContainer variable and saveContext () function to support saving and getting information from core data, each function has a comment explaining details.
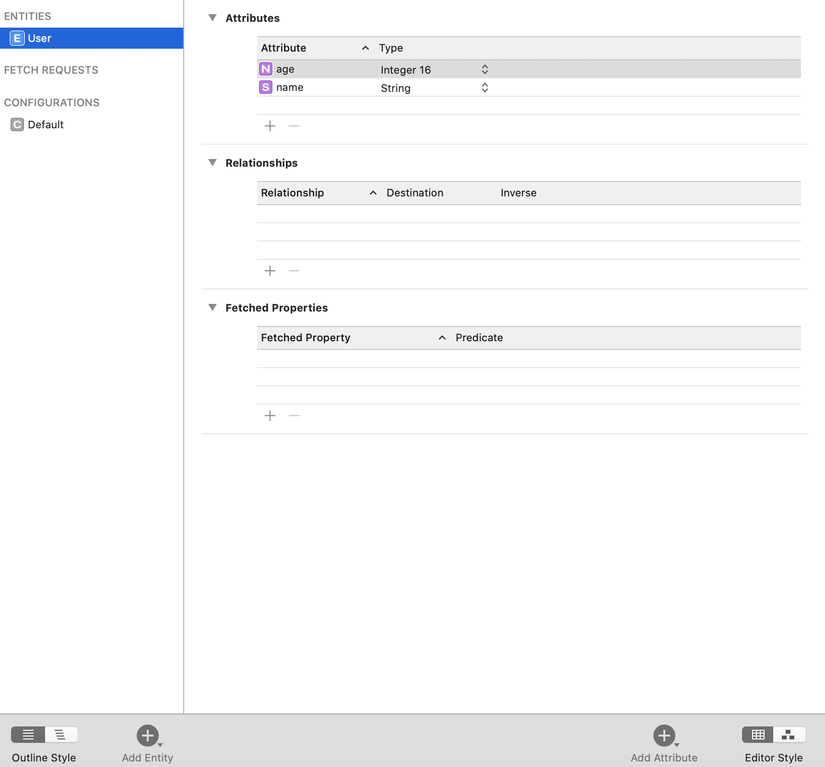
Now I open the CoreDataDemo.xcdatamodelId file and create Entity named User, and have 2 attributes named name and age as follows:
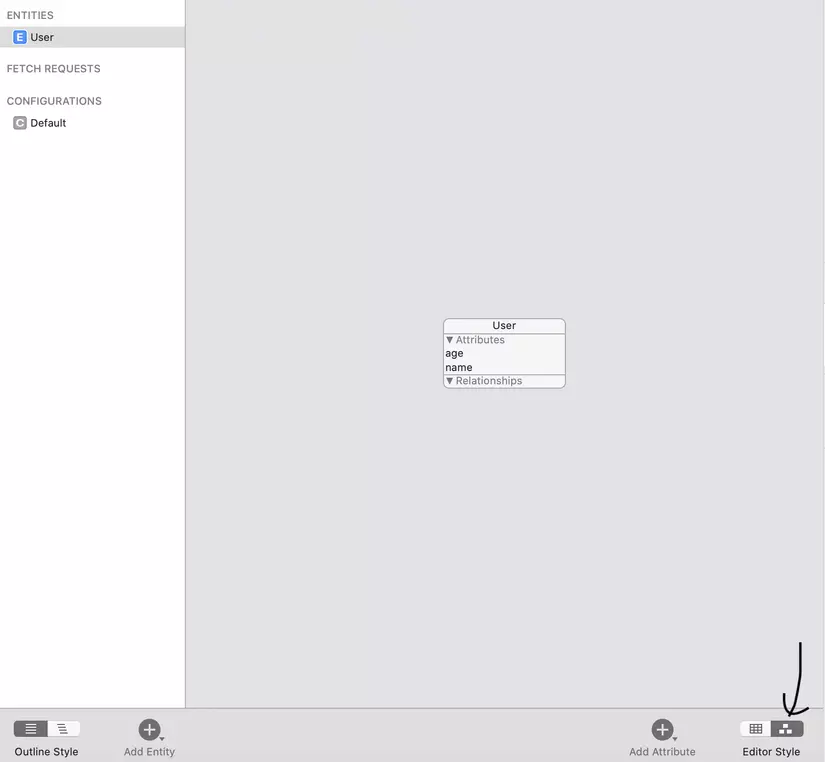
When using core data, we can see explicit Entity in the form of a table, and the relationship between Entities as well:
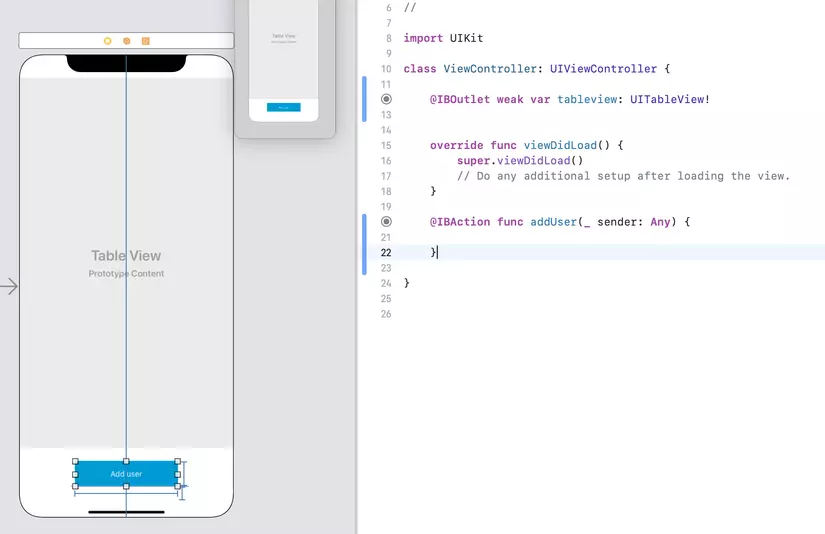
Now I create a tableview to display the list of users we store in core data, and an Add button to add the user to the core data:
Create an array of data to show to tableview:
1 2 | var users: [NSManagedObject] = [] |
NSManagedObject represents an object stored in core data, you need to use it to create, edit, save and delete from your core data. Next, I add the data source functions of the table view as follows:
1 2 3 4 5 6 7 8 9 10 11 12 13 14 15 16 | extension ViewController: UITableViewDataSource { func tableView(_ tableView: UITableView, numberOfRowsInSection section: Int) -> Int { return users.count } func tableView(_ tableView: UITableView, cellForRowAt indexPath: IndexPath) -> UITableViewCell { let user = users[indexPath.row] guard let cell = tableView.dequeueReusableCell(withIdentifier: "Cell", for: indexPath) as? TableViewCell else { return UITableViewCell()} let name = (user.value(forKey: "name") as? String) ?? "" let age = (user.value(forKey: "age") as? Int) ?? 0 let text = "(name)n(age)" cell.userInfoLabel?.text = text return cell } } |
Next, I write the code to add the user to the core data as follows:
1 2 3 4 5 6 7 8 9 10 11 12 13 14 15 16 17 18 19 20 21 22 23 24 25 | @IBAction func addUser(_ sender: Any) { guard let appDelegate = UIApplication.shared.delegate as? AppDelegate else { return } // 1. let managedContext = appDelegate.persistentContainer.viewContext // 2. let entity = NSEntityDescription.entity(forEntityName: "User", in: managedContext)! let user = NSManagedObject(entity: entity, insertInto: managedContext) // 3. age += 1 user.setValue("test name", forKey: "name") user.setValue(age, forKey: "age") // 4 do { try managedContext.save() users.append(user) tableview.reloadData() } catch let error as NSError { print("Could not save. (error), (error.userInfo)") } } |
I explain:
- Before you can save or retrieve anything from CoreData, you need to get the NSManagedObjectContext, which XCode was already in AppDelegate when I created the app.
- Create a new managed object and insert it into the managed object context. NSManagedObject represents the entity, an NSEntityDescription is the part associated with the entity definition from the Data Model to an instance of NSManagedObject at runtime.
- Set attributes for the data model.
- Commit your changes to the user and save to memory by calling the save method. Note that save with throw error must use try catch. Finally, add an object to the users array to display it on the tableview.
Now, when running the application, you can add data user to core data:
When you run the application again, need to show the list of users saved just now to tabview, we will write the code to get the data out as follows:
1 2 3 4 5 6 7 8 9 10 11 12 13 14 15 16 17 18 19 | override func viewWillAppear(_ animated: Bool) { super.viewWillAppear(animated) //1 guard let appDelegate = UIApplication.shared.delegate as? AppDelegate else { return } let managedContext = appDelegate.persistentContainer.viewContext //2 let fetchRequest = NSFetchRequest<NSManagedObject>(entityName: "User") //3 do { users = try managedContext.fetch(fetchRequest) tableview.reloadData() } catch let error as NSError { print("Could not fetch. (error), (error.userInfo)") } } |
I explain:
- Before doing anything, you need to call the NSManagedObjectContext object as mentioned above.
- NSFetchRequest is a class that handles fetching from CoreData. Fetch requests are very useful and flexible. You can use the fetch request to fetch the collection of objects (like you would get all the employees in the company …) Not only get all of them, but we can rely on NSEntityDescription to filter many different conditions for return results.
- You process your fetch request with fetch () to return the array of objects according to the request’s condition, reload the tableview.
Rerun the app, you will see the data shown as follows:
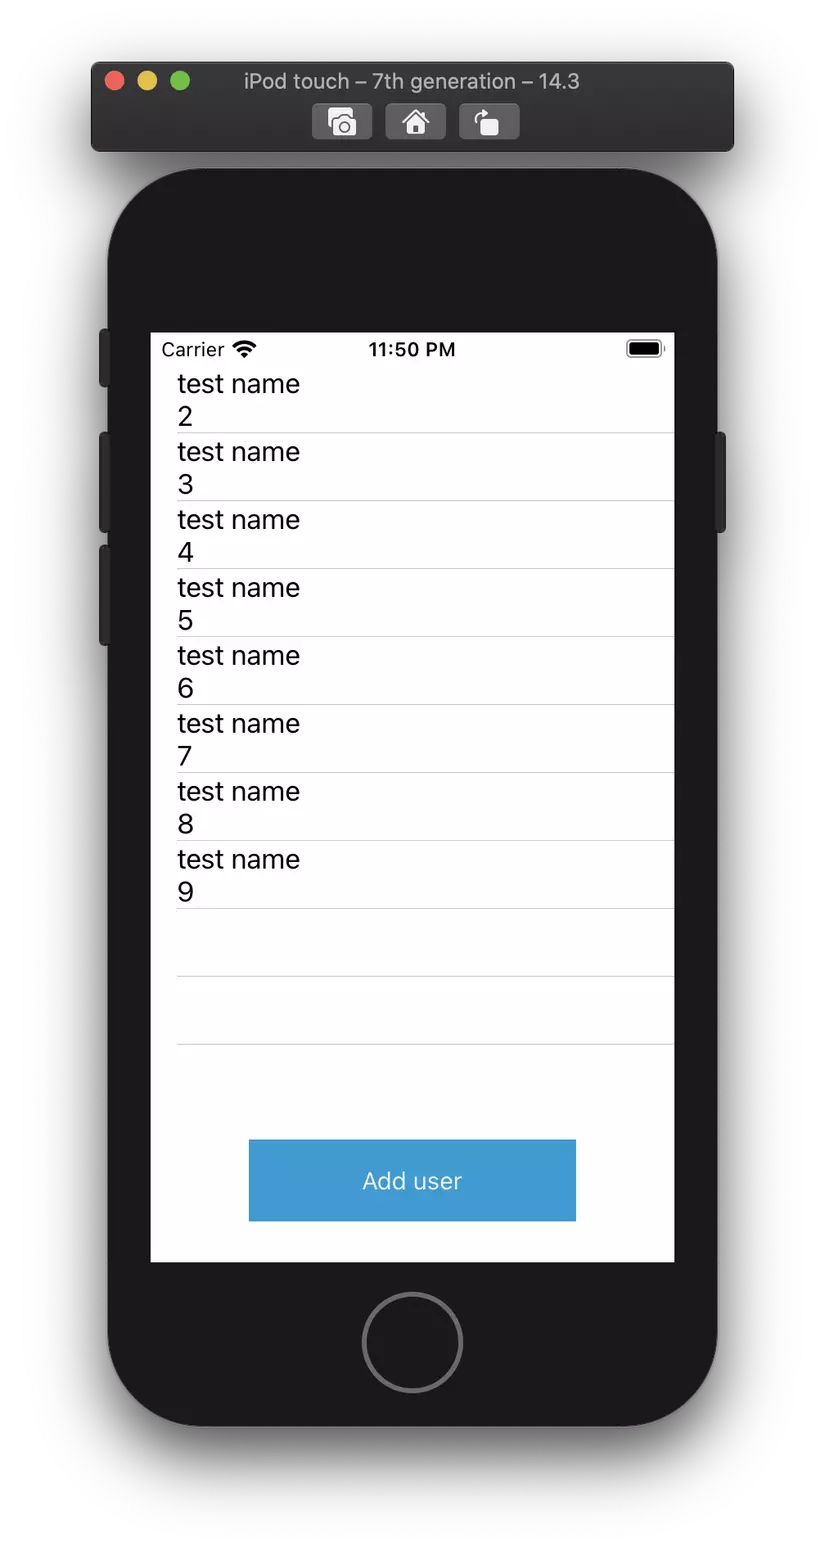
My post here is over, thank you for reading my posts ^^. Document link: https://www.raywenderlich.com/7569-getting-started-with-core-data-tutorial