What is WSL
Windows Subsystem for Linux (abbreviated WSL) is an optional feature of Windows 10 that allows users to run most Linux commands right on the computer with the Windows operating system installed, through the Kernel Interface compatible with Linux because Microsoft develops without parallel installation or virtual machine installation. From there can save quite a bit of system resources. If you haven’t used Unix or Linux before, this is an opportunity to get acquainted with bash on windows.
Request
- According to my research, WSL is only available on 64-bit version of Windows 10
- Windows with update # 16215 or higher, to check the current version you can refer here
Install WSL
Step 1: Open PowerShell with Adminstrator rights by right-clicking on the windows icon in the lower left corner of the screen, select Windows PowerShell (Admin) and run the following command to enable WSL:
1 2 | Enable-WindowsOptionalFeature -Online -FeatureName Microsoft-Windows-Subsystem-Linux |
Select Y to restart the computer

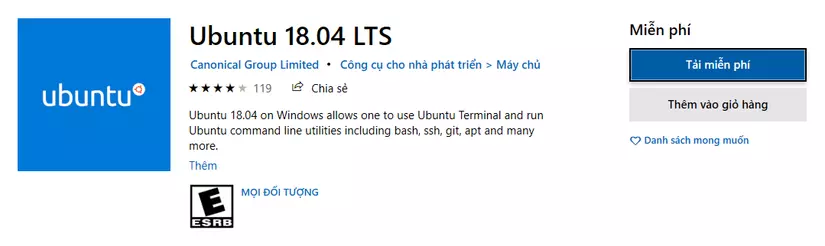
Step 2: There are many “versions” running the Linux kernel for you to choose, in this article I choose Ubuntu 18.04 LTS and I recommend that anyone new to the Linux kernel operating system should start with Ubuntu
Open Microsoft store , search with keyword Ubuntu 18.04 and select Install , then select Lauch
Use:
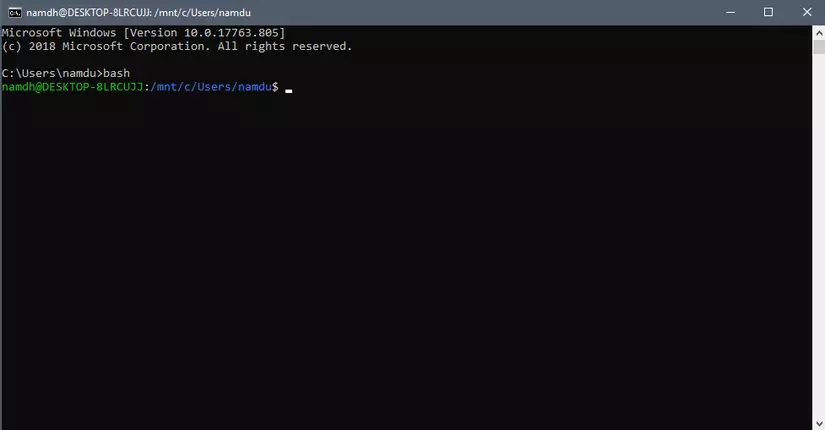
- Method 1: Search Ubuntu in the windows search section
- Method 2: Open Command Prompt / Power Shell and type bash

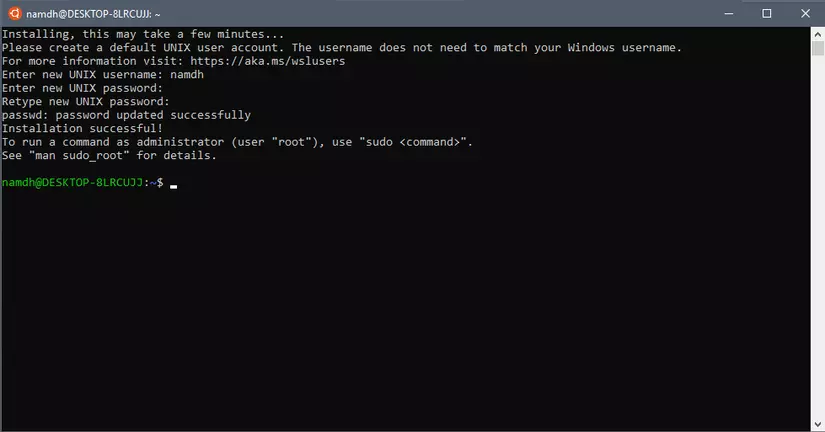
Step 3: Enter the username and password to create a new account for the Linux kernel
Try running some commands 
So I can run the linux command right on windows, to move to the hard drive on windows we use the command cd /mnt/c with c is the name of the drive
If you are wondering where is the home directory of the wsl we just installed it, it’s here
C:UsersuserAppDataLocalPackagesCanonicalGroupLimited.Ubuntu18.04onWindows_79rhkp1fndgscLocalStaterootfshome
Open Run by pressing Windows + R and then copy and paste the following link, then select OK
1 2 3 | %LOCALAPPDATA%PackagesCanonicalGroupLimited.UbuntuonWindows_79rhkp1fndgscLocalStaterootfs |
Install ZSH
ZSH was first introduced in 1990 by Paul Falstad, a bash extension that adds a lot of functions and utilities, supports many plugins (such as git, osx, ruby, rben …) to help work be productive. Higher than for example with git plugin I can easily know which branch I’m working on without having to use git branch .
In addition, zsh has an oh-my-zsh plugin to help the interface become more cool and beautiful when supporting a lot of themes and for users to customize the interface as they want, currently I am using an agnoster theme.
Begin installation
Install zsh
1 2 3 4 | sudo apt-get update sudo apt install zsh sudo apt-get install powerline fonts-powerline |
Install oh-my-zsh
- Clone the Oh My Zsh Respo
1 2 | git clone https://github.com/robbyrussell/oh-my-zsh.git ~/.oh-my-zsh |
- Create the ZSH config file and install the theme (the theme I use is the
agnostertheme, you can refer to other themes here )
1 2 3 | cp ~/.oh-my-zsh/templates/zshrc.zsh-template ~/.zshrc nano ~/.zshrc |
- Go to the section
ZSH_THEME="robbyrussell"and replacerobbyrussellwithagnoster
So, we have an additional choice to use Linux bash on Windows without having to install the full version of Linux via a virtual machine, right?