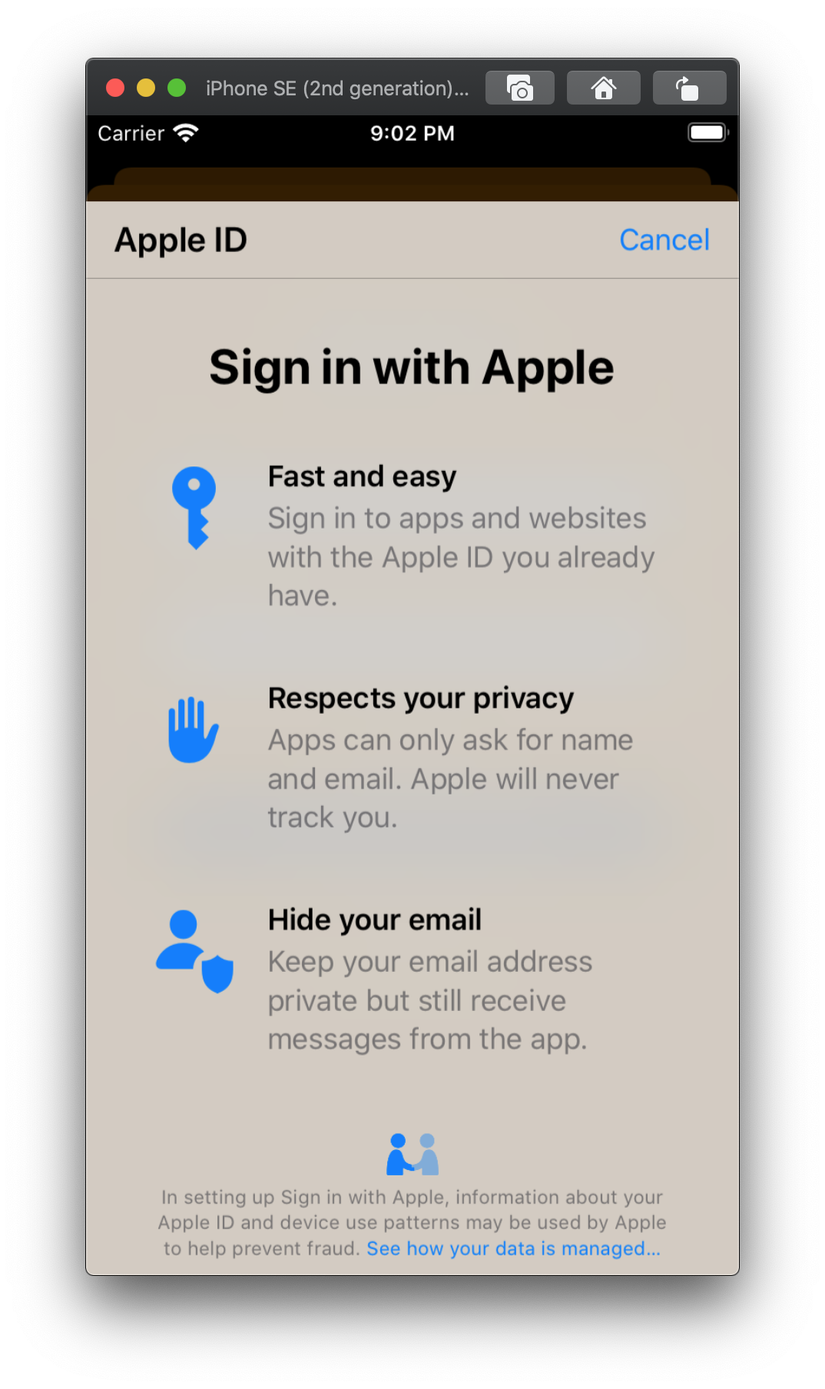
What is Sign in with apple?
At WWDC 2019, apple introduced the Sign in with apple feature, basically, we will be able to use the existing apple ID account to log into applications, or even web sites. To make it easier to imagine, imagine a website with a Sign in with Google button or with FaceBook login, likewise, apple has developed a similar thing for them, so that we can Quick login based on your existing apple ID account without having to fill in cumbersome registration information. And with security apple says “Guaranteed”.
Ironically, for apps that have implemented third-party login functions such as logging in with goolgle, facebook, line, …, there will be a Sign In with apple required. The announcement made many comments that Apple was a bit too much. However, it still has to do because, according to many opinions, it is their competitive strategy with other parties. And the iOS brothers have a maintain, update or even tip trick to deal with. For projects that do not want to inplement this function, they can …. remove login functions with other third parties: v.
Sign in with apple on iOS
Privacy and security
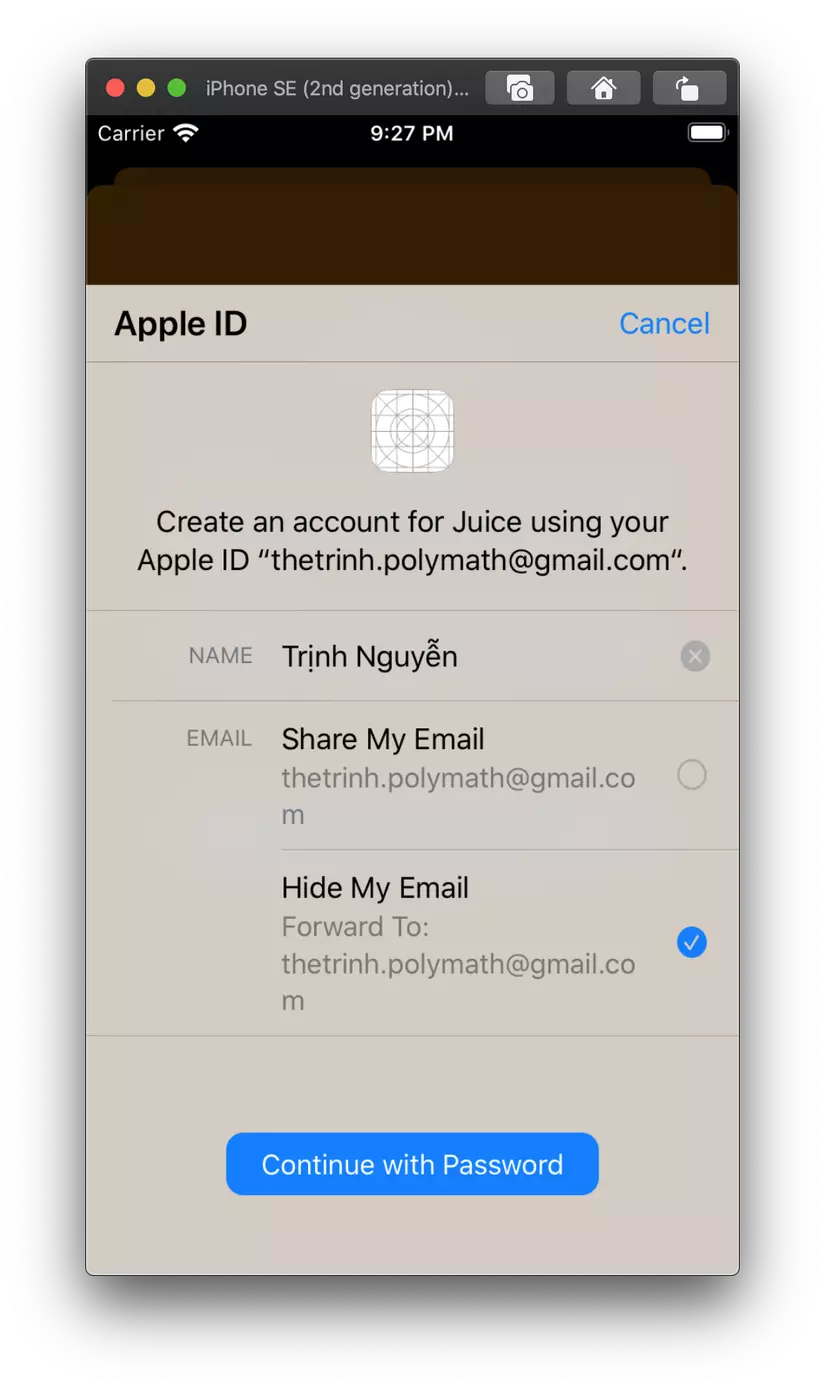
- For the first time login, the app only asks for your name and email address to set up your account
- You can use the hidden email function, which means you can subscribe to a self-created apple email, then all information sent to this email will be fowarded to your real mail
- Do not track, collect unnecessary information such as favorite websites, favorite apps, …
- Allows 2-factor authentication to be enabled
We can download the Apple Sample code tutorial here
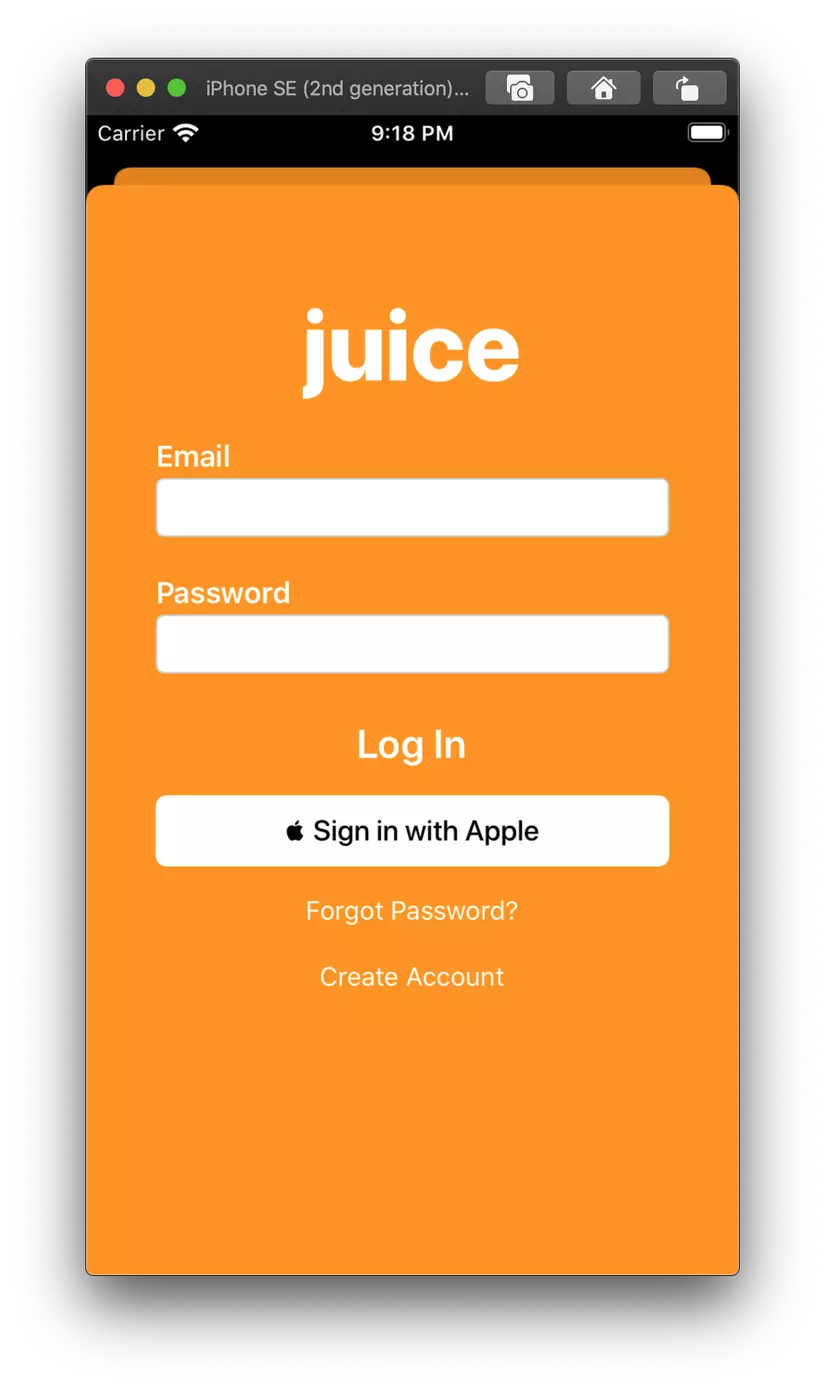
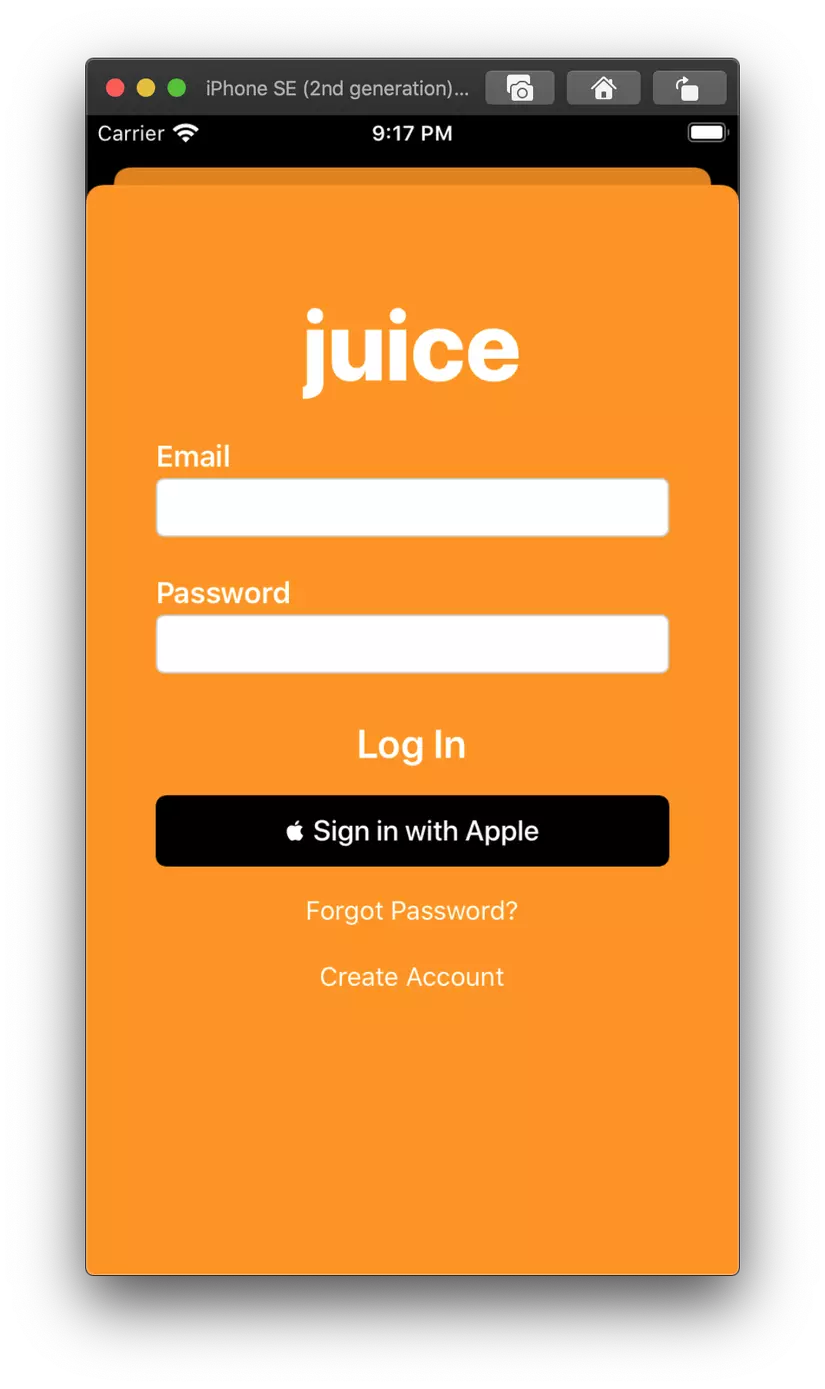
Add a Sign in with Apple button
Apple has provided a separate Button class for this button, with only 3 colors: black, white and white outline
1 2 3 4 5 6 | func setupProviderLoginView() { let authorizationButton = ASAuthorizationAppleIDButton() authorizationButton.addTarget(self, action: #selector(handleAuthorizationAppleIDButtonPress), for: .touchUpInside) self.loginProviderStackView.addArrangedSubview(authorizationButton) } |
If you want to change the color, please add the attribute]
ASAuthorizationAppleIDButton( type: .signIn, style: .whiteOutline)
1 2 |  |
Request Authorization with Apple ID
This step is the handle when clicking the Sign in with apple button
1 2 3 4 5 6 7 8 9 10 11 12 | @objc func handleAuthorizationAppleIDButtonPress() { let appleIDProvider = ASAuthorizationAppleIDProvider( let request = appleIDProvider.createRequest() request.requestedScopes = [.fullName, .email] let authorizationController = ASAuthorizationController(authorizationRequests: [request]) authorizationController.delegate = self authorizationController.presentationContextProvider = self authorizationController.performRequests() } |
Handle User Credentials
After successful login, there will be a delegate function (ASAuthorizationControllerDelegate) so we can get the requested information returned.
1 2 3 4 5 6 7 8 9 10 11 12 13 14 15 16 17 18 19 20 21 22 23 24 25 26 27 28 29 30 31 | func authorizationController(controller: ASAuthorizationController, didCompleteWithAuthorization authorization: ASAuthorization) { switch authorization.credential { case let appleIDCredential as ASAuthorizationAppleIDCredential: // Create an account in your system. let userIdentifier = appleIDCredential.user let fullName = appleIDCredential.fullName let email = appleIDCredential.email // For the purpose of this demo app, store the `userIdentifier` in the keychain. self.saveUserInKeychain(userIdentifier) // For the purpose of this demo app, show the Apple ID credential information in the `ResultViewController`. self.showResultViewController(userIdentifier: userIdentifier, fullName: fullName, email: email) case let passwordCredential as ASPasswordCredential: // Sign in using an existing iCloud Keychain credential. let username = passwordCredential.user let password = passwordCredential.password // For the purpose of this demo app, show the password credential as an alert. DispatchQueue.main.async { self.showPasswordCredentialAlert(username: username, password: password) } default: break } } |
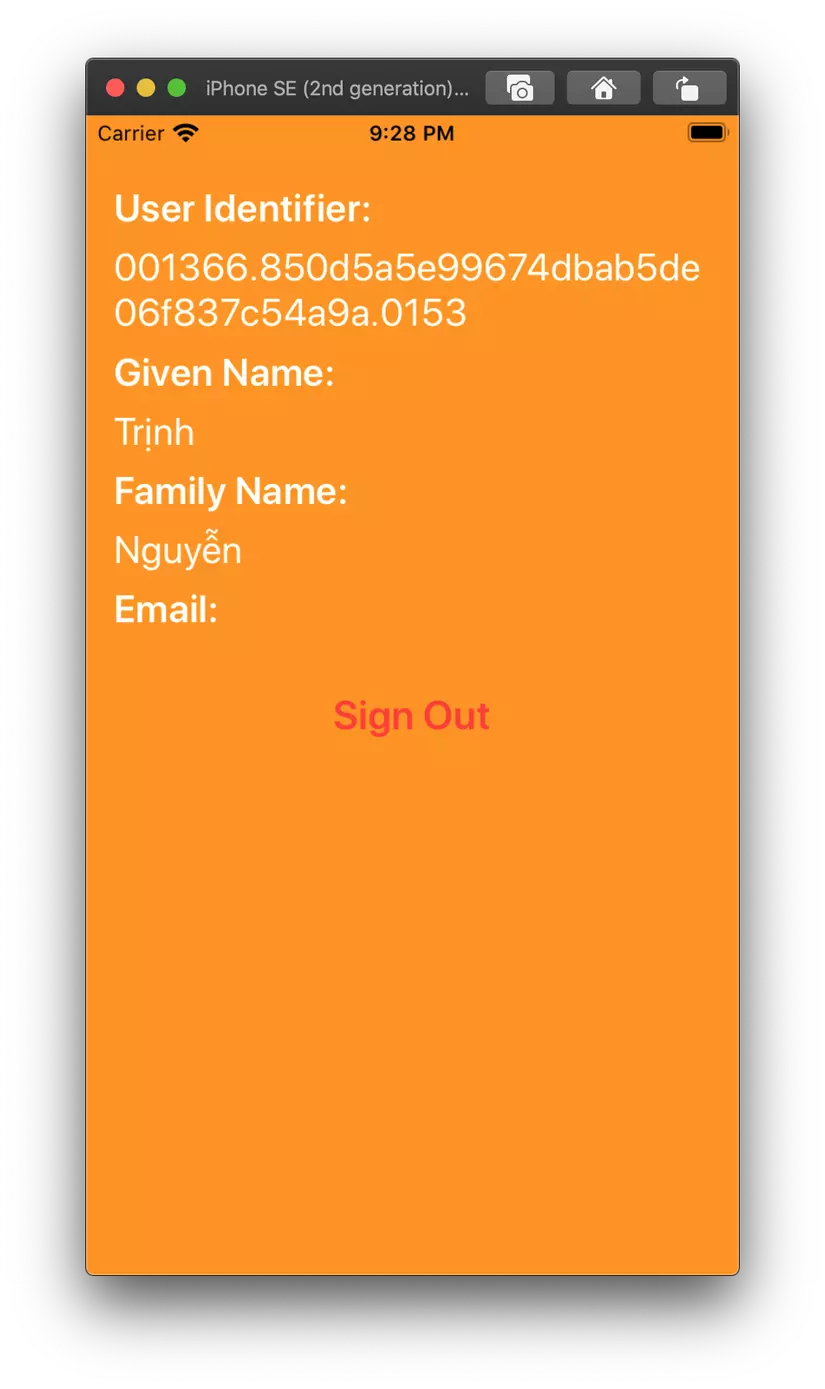
If we choose to hide the email then the email will be private, and the notifications will be fowarded to the real mail. If the pulish mail is available, it can be obtained from the data returned in the delegate
Request Existing Credentials
It is not necessary to press the button to request information, we can completely refresh, call each time the view reloads When the view loads, call the following function.
1 2 3 4 5 6 7 8 9 10 11 12 | func performExistingAccountSetupFlows() { // Prepare requests for both Apple ID and password providers. let requests = [ASAuthorizationAppleIDProvider().createRequest(), ASAuthorizationPasswordProvider().createRequest()] // Create an authorization controller with the given requests. let authorizationController = ASAuthorizationController(authorizationRequests: requests) authorizationController.delegate = self authorizationController.presentationContextProvider = self authorizationController.performRequests() } |
Check User Credentials at Launch
The handling of auto login with the previous account. Just save the UserIdentifier information when the request is informed, and call the following function in Appdelegate, you can handle it easily.
1 2 3 4 5 6 7 8 9 10 11 12 13 14 15 16 17 18 | func application(_ application: UIApplication, didFinishLaunchingWithOptions launchOptions: [UIApplication.LaunchOptionsKey: Any]?) -> Bool { let appleIDProvider = ASAuthorizationAppleIDProvider() appleIDProvider.getCredentialState(forUserID: KeychainItem.currentUserIdentifier) { (credentialState, error) in switch credentialState { case .authorized: break // The Apple ID credential is valid. case .revoked, .notFound: // The Apple ID credential is either revoked or was not found, so show the sign-in UI. DispatchQueue.main.async { self.window?.rootViewController?.showLoginViewController() } default: break } } return true } |
Thank you for reading my article, hope to help you!