During the pentest implementation with the iOS app, there will be many cases where we have to install applications or tools that are not released on the App Store. The lack of these tools will limit us a lot in the process of working, so in this article I will help people learn how to simply install a custom app on iOS devices via sideloading.
I. Sideloading
1. Definition
Sideloading, as defined by wikipedia, is a process similar to “upload” and “download” but makes the transfer from one device to another locally. For example, from a computer to a mobile device connected to it. For iOS, the use of sideloading to install applications that are not authenticated by apple so that application can run on iOS devices. Therefore, it can be sumptuous to call that iOS is an Apple crystal prison. That is also the reason that we will use sideloading to pass this prison.
2. Code-signing and Apple Developer Program
First, to talk about why you have to use sideloading instead of the usual installation, I will talk about two main points: Apple code-signing and Apple Developer Program.
Firstly, about code-signing. Apple has developed a DRM (Digital rights management) system – a complex digital rights management system – with only one purpose: only a sign-by-apple product that runs on iOS. Therefore, legally (because there are other ways), users will only be able to install applications through the App Store – where the applications have been moderated and signed by Apple.
Secondly, about the Apple Developer Program, this is an apple program for iOS developers. When participating in this program, developers can develop, compile and deploy applications and post their products on the App Store (Of course, it still has to be Apple censored). Developers will have to pay an annual fee for this. In addition, Apple also allows free developer accounts to compile and deploy applications.
3. Methods to install applications via sideloading.
There are many ways to install applications via sideloading, but within the article, I will introduce the 3 most common and easiest ways to do it:
- Use XCode
- Through Cydia Impactor
- Use self-signed and repackaging using Objection.
II. Sideloading via XCode.
1. Create a developer account
- Go to the project home page
- Click on the
account - Select
Tạo tài khoản của bạn ngay bây giờ - At the registration page, enter the required information and click
Tiếp tục - Enter the verification code and we will redirect to the
Apple Developer Agreementpage - Integrated confirm read and submit
So we have a free developer account from Apple.
2. Install the app to the device via XCode
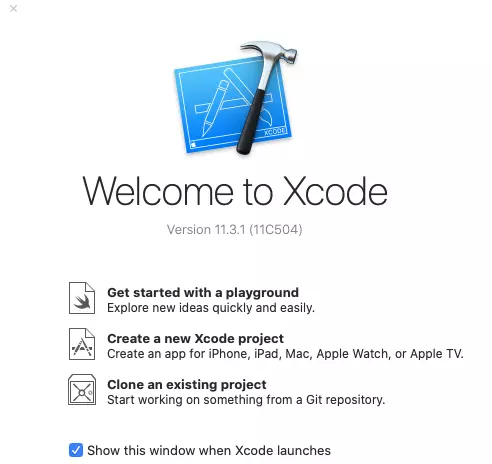
First, open up XCode
Next step, you can open an existing app or create a new project. Here, I will create a new project.

For simplicity, choose the Single View App always
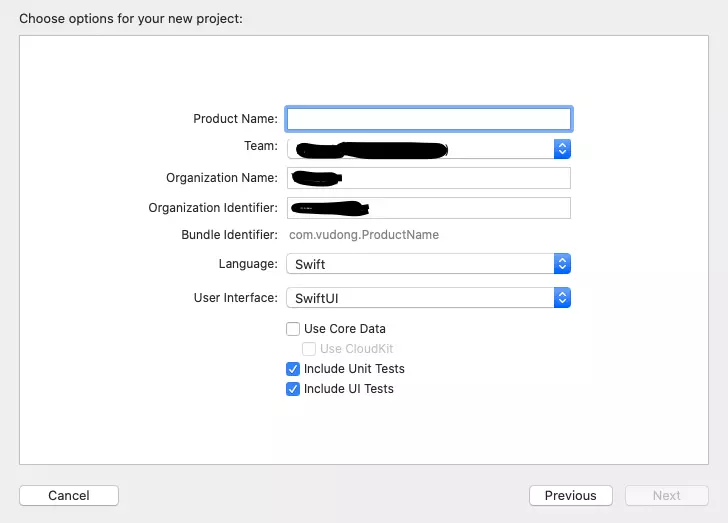
Fill in the information and select next. (the team part can be left blank)
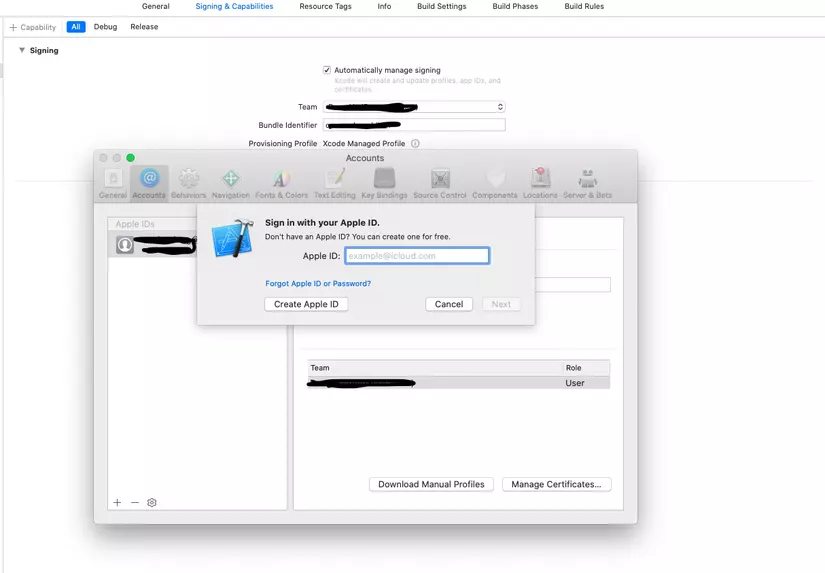
Go to the Signing and Capacibilities tab in the Team section, select Add an Account and add the Apple ID you just created above.
Next, on the toolbar choose where to build is an iOS device:

Click on build.
Switch to your iOS device, go to Settings> General> Profile & Device Management> Trust “Apple Development ….”
Done, we have installed the app on the device. For prebuilt apps, the installation method is the same as above.
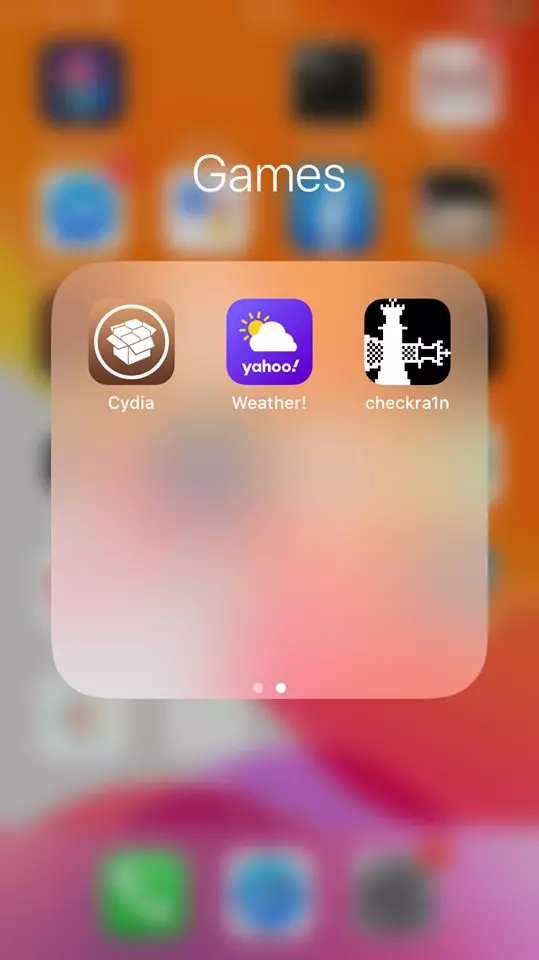
III. Sideloading through Cydia Impactor.
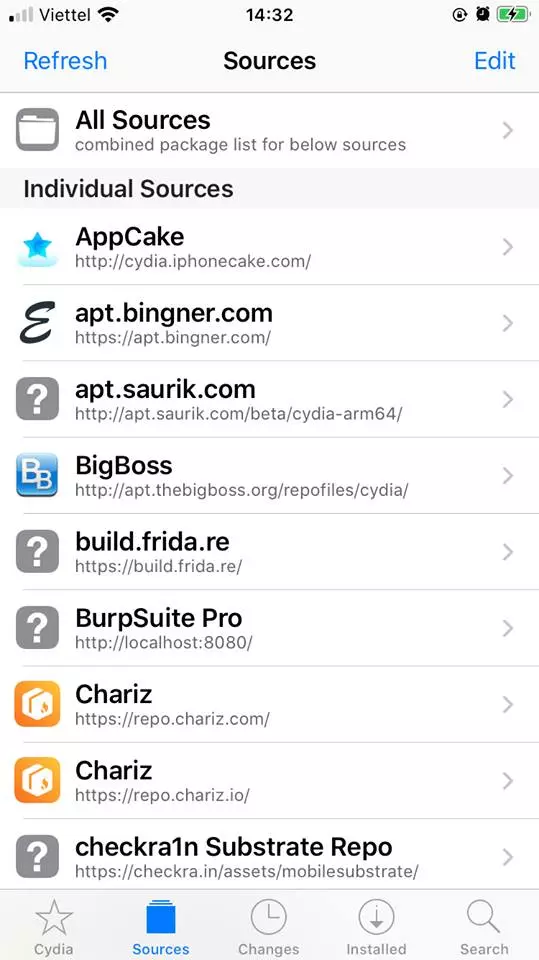
This part, I default as the device used has been jailbroken, where we will have 1 application named Cydia
Source is the source of the packages that you can install. You can add your sources at Source> edit> add
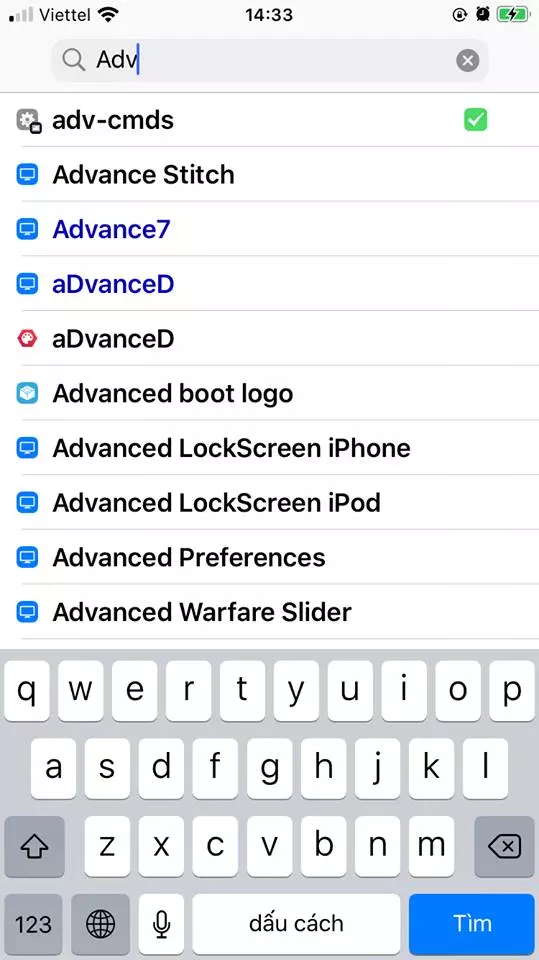
Use Search to search for the package to be installed
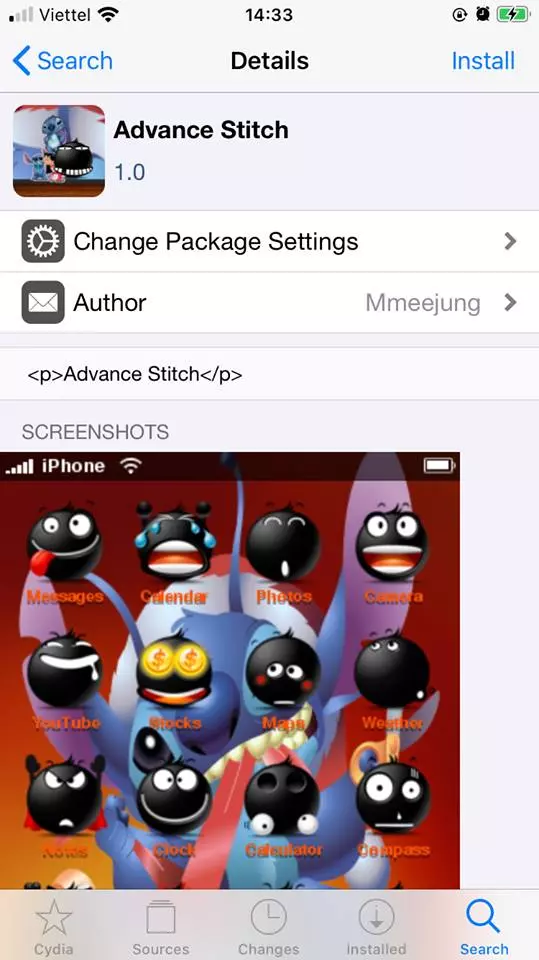
Now just press install package to install it
IV. Sideloading through resign and repackage using Objection
First, a simple introduction through the objection was introduced as a “runtime mobile exploration toolkit, powered by Frida”. Objection installation is very simple via pip3:
1 2 | pip3 install objection |
or
1 2 | pip3 install -U objection |
Next are the steps to use this tool:
1. Prepare with XCode
Go to XCode> Preference> Account
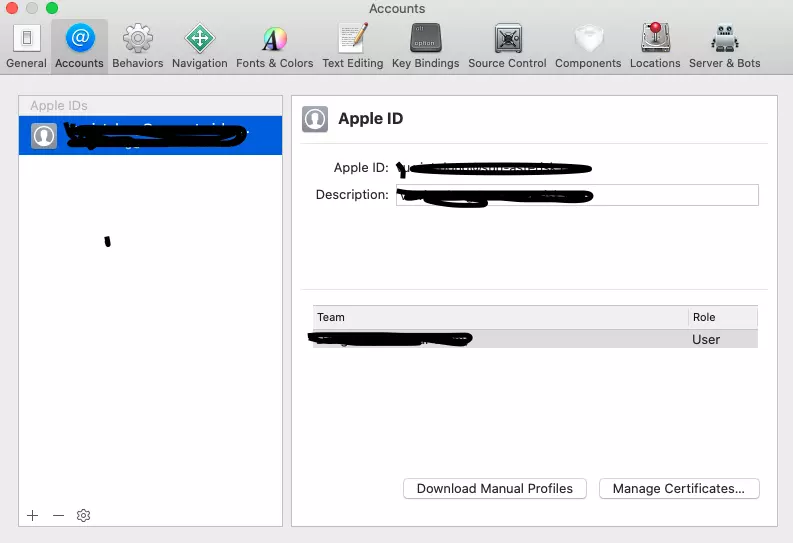
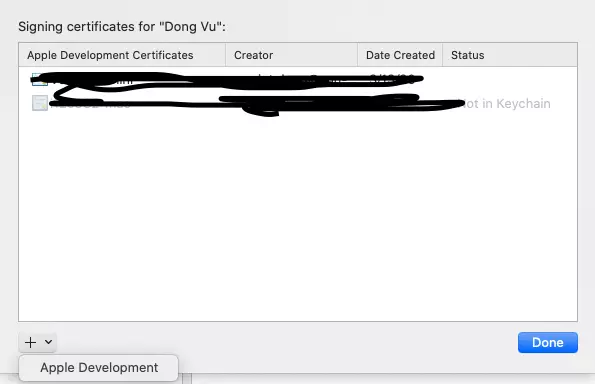
Click on Management Certificate, click + and choose Apple Development or iOS Development
You can check it with the following command:
1 2 | security find-identity -p codesigning -v |
2. Prepare mobileprovision
To create mobileprovision file, you can do the same as the app install with XCode above, here I will not repeat it.
3. Patching Dependencies
We will talk over the dependencies we will need to patching:
- applesign: from https://github.com/nowsecure/node-applesign
- insert_dylib: from https://github.com/Tyilo/insert_dylib
- security, codesign, xcodebuild – macOS / XCode commands
- zip & unzip – builtin, or just installed using homebrew
- 7z – brew install p7zip
a. applesign
Applesign can be simply installed via the command:
1 2 | npm install -g applesign |
b. insert_dylib
insert_dylib is a bit more complicated:
1 2 3 4 5 | git clone https://github.com/Tyilo/insert_dylib cd insert_dylib xcodebuild cp build/Release/insert_dylib /usr/local/bin/insert_dylib |
4. Patching an IPA
Next, we will patch an ipa file with the command:
1 2 | objection patchipa --source my-app.ipa --codesign-signature 0C2E8200Dxxxx |
with 0C2E8200Dxxxx is the output we have from step 1.
This command will unpack 1 ipa, search in binary code and patch with FridaGadget.dylib, codesign the dylib and binary code, finally repackaging for us.
Then use this file to install the app on iOS devices with ios-deploy
1 2 | ios-deploy --bundle Payload/my-app.app -W -d |
IV. Conclusion
Above is what I know about sideloading as well as a few ways to install iOS software through sideloading. In addition to the above, there are many other ways, people can refer more. Hopefully if the article has errors or errors will be added by everyone, pointing out to me. Thanks for reading.