Attaching gestures for processing in SwiftUI is a little different from UIKit.
In this section, we will talk about DragGesture, LongPressGesture, TapGesture and RotationGesture.
We will implement all of these gestures in the sample application, and we will also look at how these gestures work.
. . .
Begin
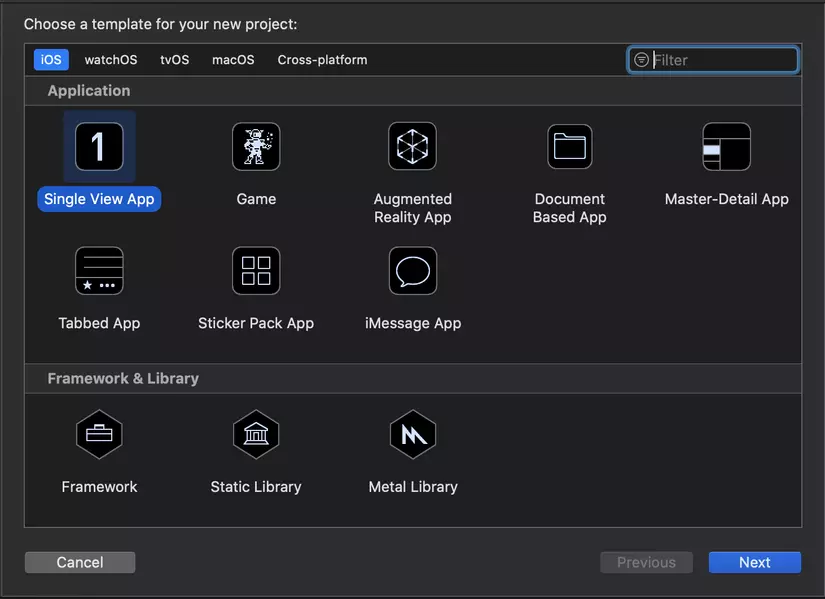
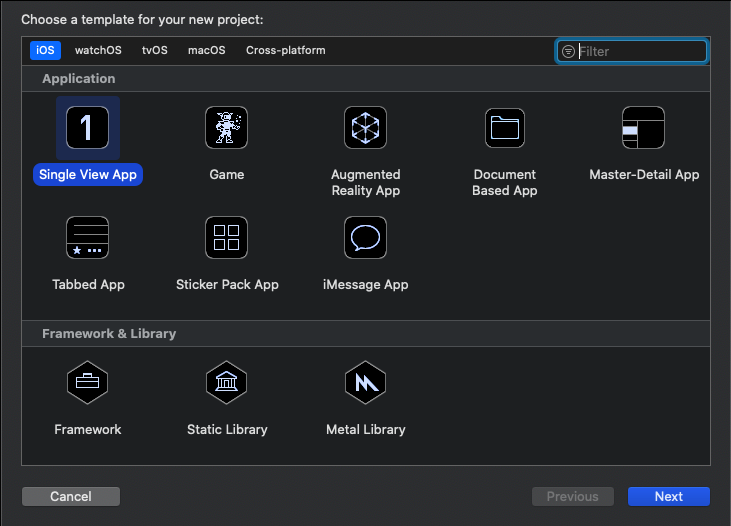
Open Xcode and create a new Project.
Select Single View App and click Next.
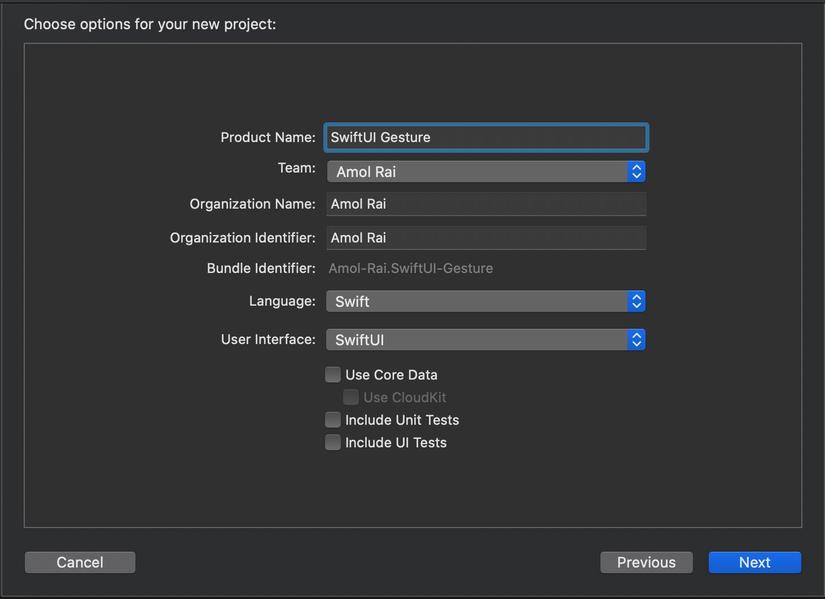
Enter Project name and select SwiftUI in User Interface -> Click Next.
By default, SwiftUI declares two structures. The first structure conforms to the View protocol that describes the content and layout of the views. The second structure creates a preview for that view.
Perform
We start by creating a TapGesture. TapGesture is called when the user touches View.
First press Command + N to create a new SwiftUI View file. Go to the TapGestureView file and paste the following code into TapGestureView.
1 2 3 4 5 6 7 8 9 10 11 12 13 14 15 16 17 18 19 20 21 22 | var body: some View { let tapGesture = TapGesture() .onEnded { _ in if self.changeColor == Color.purple { self.changeColor = Color.blue } else if self.changeColor == .blue { self.changeColor = Color.red } else if self.changeColor == .red { self.changeColor = .orange } else { self.changeColor = .purple } } return Circle() .foregroundColor(changeColor) .shadow(radius: 10) .gesture(tapGesture) .frame(width: 200, height: 200, alignment: .center) .animation(.default) } } |
In the above code, we have an @State changeColor variable to change the color of Circle () after each tap.
Then we created a Circle (), set the foregroundColor to the @State changeColor variable and finally, we added gestures and default animations.
Build and Run
It will look like this.
So after TapGesture, our next gesture is LongPressGesture. LongPressGesture is called when we press and hold on View.
First press Command + N to create a new SwiftUI View file. Call the LongPressGestureView file and paste the following code into LongPressGestureView.
1 2 3 4 5 6 7 8 9 10 11 12 13 14 15 16 17 18 19 20 21 22 23 24 25 26 | struct LongPressGestureView: View { @State private var didLongPress: Bool = false @State private var scale: CGFloat = 1 @State private var color = Color.red var body: some View { Circle() .scaleEffect(scale) .frame(width: 210, height: 210, alignment: .center) .animation(.default) .foregroundColor(color) .shadow(radius: 10) .gesture( LongPressGesture() .onEnded({ _ in if self.didLongPress == false { self.scale = 100 self.color = .blue } else if self.didLongPress == true { self.scale = 1 self.color = .red } self.didLongPress.toggle() })) } } |
In the code above, we first have three variables @State didLongPress, scale and color. Then create Circle () and in scaleEffect pass on scale to enlarge Circle ().
After that, we set the frame and in the foregroundColor change the color to change the color after each LongPress, then set some default animations.
Build and Run
It will look as above.
Now we will perform DragGesture. DragGesture is called when we drag something like circles, rectangles, images, etc.
Now press Command + N to create a new SwiftUI View file. Call the DragGestureView file and paste the following code into DragGestureView.
1 2 3 4 5 6 7 8 9 10 11 12 13 14 15 16 17 18 19 20 21 22 23 | struct DragGestureView: View { @State private var drag: CGSize = .zero @State private var color = Color.blue var body: some View { Circle() .frame(width: 120, height: 120, alignment: .center) .foregroundColor(color) .shadow(radius: 10) .animation(.default) .offset(drag) .gesture( DragGesture() .onChanged { value in self.drag = value.translation self.color = .red } .onEnded({ _ in self.drag = .zero self.color = .orange })) } } |
In the code above, we have two drag and color variables. After that, create Circle () and in foregroundColor pass color, Circle () will change color in color after dragging Circle ().
Then assign drag to the offset property to drag Circle () and add some default animations and finally we set DragGesture.
Build and Run
It looks like this.
The final gesture is RoatationGesture. RoatationGesture is called when we rotate something such as circles, rectangles, images, etc.
Now press Command + N to create a new SwiftUI View file. Call the RoatationGestureView file and paste the following code into RoatationGestureView.
1 2 3 4 5 6 7 8 9 10 11 12 13 14 15 16 17 18 19 20 | struct RotationGestureView: View { @State var rotation: Angle = .zero @State var color = Color.red var body: some View { let rotationGesture = RotationGesture() .onChanged { value in self.rotation = value self.color = .orange } return Rectangle() .foregroundColor(color) .cornerRadius(40) .shadow(radius: 10) .animation(.default) .rotationEffect(rotation) .frame(width: 200, height: 200, alignment: .center) .gesture(rotationGesture) } } |
In the above code, we first have two rotation and color variables, then create RoatationGesture, set Rectangle () and pass the color to the foregroundColor to change the Rectangle () color and in the rotationEffect pass to rotation and finally, we have Add some default animations.
Build and Run
 The result will be like this. Thank you for watching all.
Source: Medium.com